Clear Your Storm Drain Like a Pro: Stop Yard Flooding Fast & Safely
Frustrated by a flooded yard? Learn exactly how to clear a blocked storm drain yourself! Step-by-step DIY guide for homeowners - safe, effective & prevents costly water damage. Get your drainage flowing again.
You see it: water backing up in your driveway or yard after rain, a soggy mess threatening your foundation or landscaping. Maybe the grate looks clogged with leaves and mud, or worse, you can't even see the grate under the water. That helpless frustration is real. Storm drains get blocked by the usual suspects – autumn leaves, spring blossoms, dirt, small branches, even kids' toys or trash. Left alone, it leads to erosion, basement leaks, and costly damage. Let's fix it!
That sinking feeling when heavy rain turns your yard into a lake and your storm drain is just... silent? You're not alone, and that water pooling around your foundation is more than annoying – it's risky. Take a deep breath. Clearing a clogged storm drain is almost always a DIY job you can tackle confidently with the right know-how. This guide cuts through the overwhelm, giving you the exact steps and insider tips to get water flowing safely away from your home, fast.
Tools Needed
- Work Gloves (Heavy-duty, puncture-resistant)
- Safety Glasses (Essential for eye protection)
- Drain Snake or Plumber's Auger (5-10 ft, manual - for reaching deeper clogs)
- Garden Trowel or Small Shovel (For scooping debris near the grate)
- Bucket (For collecting debris)
- Garden Hose with Spray Nozzle (High-pressure setting if possible)
- Crowbar or Pry Bar (For stubborn grates - optional)
- Wet/Dry Shop Vacuum (Optional but great for wet leaves/mud)
Materials Needed
- Trash Bags (Heavy-duty, for debris disposal)
- Old Towels/Rags (For cleanup)
- Disinfectant Spray/Cleaner (For cleaning tools/area after)
Solution (Beginner - 30-60 minutes (depending on clog severity))
Step 1: Safety First & Assess the Situation
Before touching anything, gear up! Put on those heavy-duty gloves and safety glasses. Carefully approach the drain area. Is there standing water? Is the grate visibly blocked? Try to identify the source of the backup if possible (e.g., is it just this one drain or multiple?). Never attempt to open a grate if there's fast-moving water flowing over it.
⚠️ Warning: ALWAYS assume standing water near drains could be contaminated. Protect your eyes and skin. Be mindful of slippery surfaces.
Step 2: Clear the Grate Surface
Using your gloved hands, garden trowel, or shovel, remove all debris piled on top of and immediately around the drain grate. Place it directly into your bucket or trash bag. Be thorough – even small twigs can block water flow. If the grate is sunken or covered in mud, clear as much muck away as possible. This often solves minor blockages instantly!
⚠️ Warning: Watch for sharp objects (glass, metal) hidden in debris. Lift with your legs, not your back.
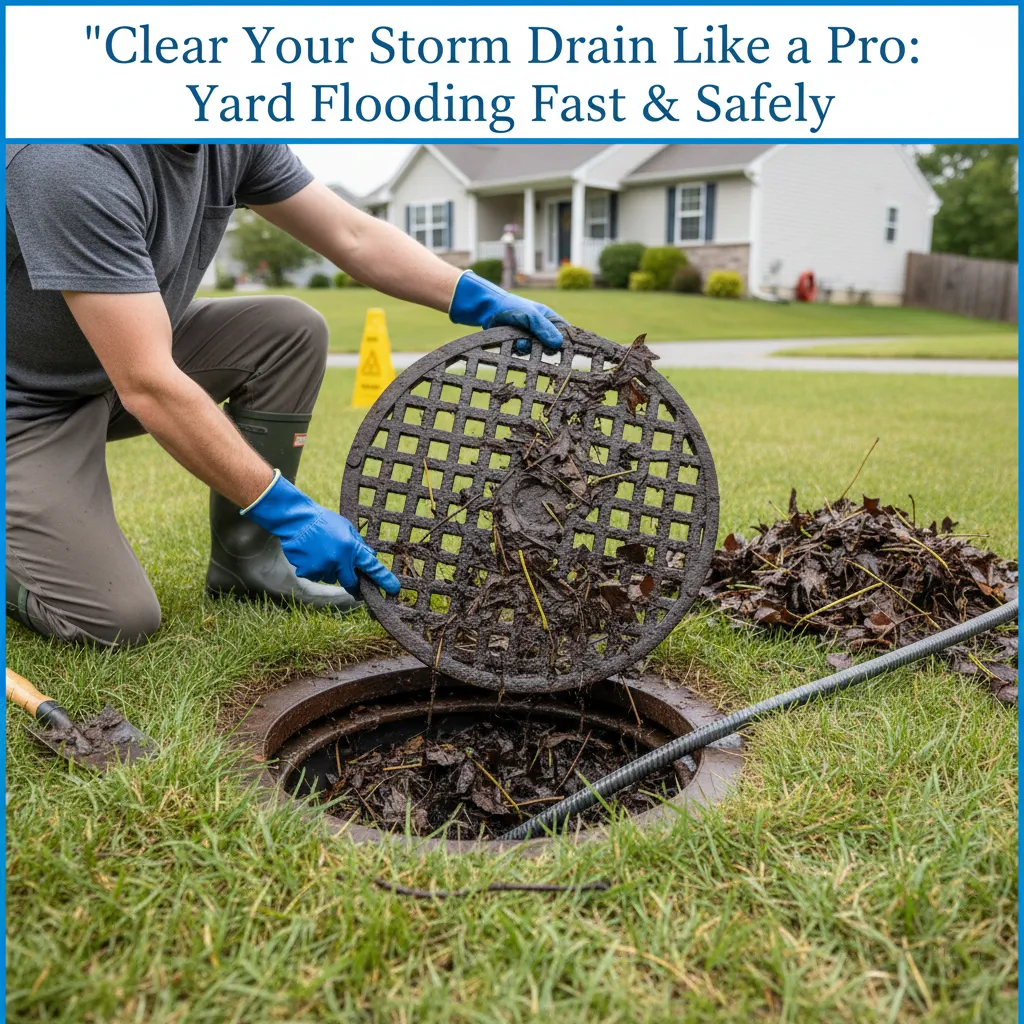
Step 3: Lift the Grate Safely
Most grates lift straight up. Look for slots or holes designed for leverage. Use your fingers (with gloves!) or carefully insert the tip of your shovel/crowbar. Lift slowly and steadily. If it's extremely heavy or stuck, DON'T force it – you might break the grate or injure yourself. Sometimes rocking it gently side-to-side helps break the seal. Set the grate aside carefully on a stable surface.
⚠️ Warning: Storm drain grates are HEAVY! Lift with your legs, keep your back straight. If it won't budge easily, STOP. You may need professional help to avoid damage.
Step 4: Attack the Clog Below
Now you see the pipe opening! Shine a flashlight down. Use your hands (gloved!), trowel, or shovel to scoop out debris from the immediate opening – often a thick layer of sludge and leaves sits right here. If water is still not draining, the clog is deeper. Feed your drain snake/auger carefully down the pipe. Crank it slowly clockwise when you feel resistance. Pull it back, clearing debris as it comes up. Repeat until you feel no more resistance. A shop vac is excellent here for sucking out wet muck.
⚠️ Warning: Work deliberately. Forcing the snake can damage pipes or kink the cable. Never put your hand deep into an unseen pipe.
Step 5: Flush & Test
Once you've pulled out as much debris as possible, it's test time! Grab your garden hose. Turn it on to a strong jet spray and blast water straight down the drain pipe for 1-2 minutes. Does the water flow away freely? Great! If it backs up again quickly, the clog might be further down – try snaking again. If it slowly drains, you might have cleared the main blockage, but finer sediment could be lining the pipe.
⚠️ Warning: Be cautious of splashback, especially if you suspect contamination. Don't spray forcefully if you think the pipe might be damaged.
Step 6: Clean Up & Replace the Grate
Dispose of all debris in trash bags. Rinse off your tools, the grate, and the surrounding area with the hose (or disinfectant spray/water mix). Carefully lower the grate back into place, ensuring it sits flat and secure. Double-check it won't shift if stepped on. Pat yourself on the back!
⚠️ Warning: Wash your hands and arms thoroughly with soap and water after cleanup, even with gloves. Disinfect tools.
Pro Tips
- Pre-Wet Stubborn Debris: If leaves/mud are caked on, spray them with the hose for a few minutes before scooping – they'll come up easier.
- Shop Vac Power: Use a wet/dry vac before snaking to suck out surface water and loose debris – it's incredibly effective for muck.
- Know Your Drain's Path: If possible, figure out where your drain pipe exits (often daylighting in a ditch or curb). Checking if water flows out there confirms you've cleared the whole line.
- Downspout Check: Ensure gutter downspouts aren't dumping debris directly onto your drain grate – extend them away if needed!
- Bag Debris Immediately: Putting leaves/mud straight into bags prevents them from washing back in during cleanup.
When to Call a Professional
Call a professional drain cleaning service if: 1) The grate is damaged, cemented in, or too heavy to lift safely. 2) Snaking repeatedly doesn't clear the clog (indicates deep roots or collapsed pipe). 3) You suspect a main sewer line issue (especially if basement drains back up simultaneously). 4) There's significant erosion or damage around the drain. 5) You simply don't feel comfortable doing it yourself. It's cheaper than fixing flood damage!
Understanding the Problem in Detail
Storm drains are your yard's exit ramp for rainwater. They connect to underground pipes leading away from your foundation. Think of the grate as a sieve – it catches big stuff, but leaves, dirt, and small debris wash through and build up inside the pipe, especially at bends or low points. Over time, this 'gunk' forms a dam, blocking water flow. Common causes: Fall leaves, spring seeds/petals, soil erosion, nearby trees (roots!), litter, or even sediment from new construction. Understanding this 'why' helps target your cleaning.
Tools and Materials Guide
Gloves: Nitrile-coated work gloves offer dexterity and puncture resistance. Glasses: Basic ANSI-rated safety glasses from any hardware store. Snake/Auger: A 5-10 ft manual closet auger ($15-$30) is perfect for beginners – find them in plumbing sections. Avoid tiny 'drain sticks'. Trowel/Shovel: A sturdy garden hand trowel or small spade. Hose: Any standard garden hose, but a pistol-grip nozzle with a 'jet' setting is ideal. Crowbar: A small 12-18" pry bar helps with stuck grates. Shop Vac: A 5+ gallon wet/dry vac is a game-changer for wet clogs but optional. Alternatives: No snake? Try a straightened wire coat hanger with a small hook bent at the end for grabbing debris. No shop vac? Bucket-brigade water out first.
Safety Considerations
Contamination: Storm water can carry bacteria, chemicals, or animal waste. Gloves and eye protection are NON-NEGOTIABLE. Wash hands/arms thoroughly afterward. Heavy Lifting: Grates are deceptively heavy! Use proper lifting technique (bend knees, straight back). Get help if needed. Slips/Falls: Wet surfaces and mud are slippery. Wear sturdy shoes/boots. Sharp Objects: Debris can hide broken glass, nails, or sharp metal. Work carefully. Wildlife: Spiders, insects, or even small rodents might be near the drain. Be aware. Pipe Damage: Don't force tools aggressively; you could crack old pipes. Water Flow: Never work on a drain during active, heavy runoff.
Troubleshooting Common Issues
Water Still Pooling After Cleaning: 1) Clog is deeper than your snake reached (try longer snake or pro). 2) Multiple drains connected? Check others are clear. 3) Pipe might be damaged/collapsed further down (call pro). 4) Downspouts overwhelming the system (add extensions/splash blocks). Grate Won't Budge: 1) Rock it gently side-to-side. 2) Clear packed mud/sediment around its edges. 3) Penetrating oil (like WD-40) around the rim, wait 15 mins. 4) If stuck, STOP – call pro to avoid breakage. Snake Gets Stuck: 1) DON'T yank. Reverse the crank direction (counter-clockwise) slowly. 2) Gently wiggle and pull. 3) If truly stuck, call pro – forcing it worsens it.
Maintenance and Prevention
Seasonal Sweeps: Clear leaves/debris off the grate before major rains, especially in fall and spring. Gutter Love: Clean gutters regularly! Clogged gutters dump debris straight onto your drain. Landscaping: Keep grass clippings, mulch, and soil away from the grate. Trim overhanging branches. Grate Upgrade: Consider a removable mesh filter basket that sits under the grate for easy debris lifting (available at home centers). Flush Regularly: Every few months, briefly blast water down the drain with your hose to flush out minor buildup.
Cost Analysis: DIY vs Professional
DIY: Basic tools (gloves, glasses, trowel, hose): $0-$50 (if you don't own them). Manual Drain Snake: $15-$30. Shop Vac: $50-$100 (optional). Total DIY Potential: $15-$150. Professional: Average cost for clearing one exterior drain: $100-$300, depending on severity and location. Savings: Regular DIY maintenance ($0-$5 per cleaning) prevents most clogs, saving the $100-$300 pro call and potentially thousands in water damage repairs. Investing $30 in a snake pays for itself after one avoided service call.
Related Plumbing Problems
Clogged Gutters & Downspouts: The #1 contributor to drain clogs! Basement Flooding: Often linked to failed storm drainage. Foundation Cracks/Leaks: Caused by persistent water pooling. Soggy Lawn/Soil Erosion: Result of poor drainage. Mosquito Breeding: Standing water in yards attracts pests. Frozen Drain Pipes: Blocked drains can lead to ice dams and pipe bursts in winter.
Frequently Asked Questions
How often should I clean my storm drain?
At a minimum, clear debris off the grate before heavy rain seasons (fall & spring). Inspect the pipe opening below the grate 1-2 times per year, especially if you have lots of trees. If you notice slower drainage after rain, clean it promptly.
Can I use chemical drain cleaners?
Strongly NOT recommended for storm drains. They are often ineffective on organic clogs (leaves/mud), can harm the environment by leaching into soil/groundwater, damage older pipes, and create toxic fumes in enclosed spaces. Stick to mechanical removal (snake, scooping) and flushing with water.
I see tree roots near the drain, what now?
This is a red flag. Small root hairs might come out with snaking, but established roots indicate a potential pipe crack or joint failure. Roots will grow back aggressively. Professional help with a powered auger and possibly a camera inspection is needed. They might recommend root cutting or pipe repair/replacement.
The drain pipe is full of muddy sediment, how do I clean it?
This is common. Your shop vac is the best DIY tool here. Use it to suck out as much wet mud as possible from the pipe opening. Follow up with aggressive flushing using your hose on jet mode. You might need to repeat this process several times over a few days as sediment loosens. A professional jetting service uses high-pressure water for a thorough clean.
Is this the same as my sewer drain?
NO! Crucial difference. Your storm drain handles rainwater runoff from your yard, driveway, and roof (via gutters). It usually flows to the street, a ditch, or a dry well. Your sewer drain carries wastewater from toilets, sinks, and showers to the city sewer or septic tank. Never dump chemicals or try to clear a sewer line yourself like this – call a plumber for sewer issues.