Fix Pipe Insulation Like a Pro: Stop Freezing Pipes & Save Money
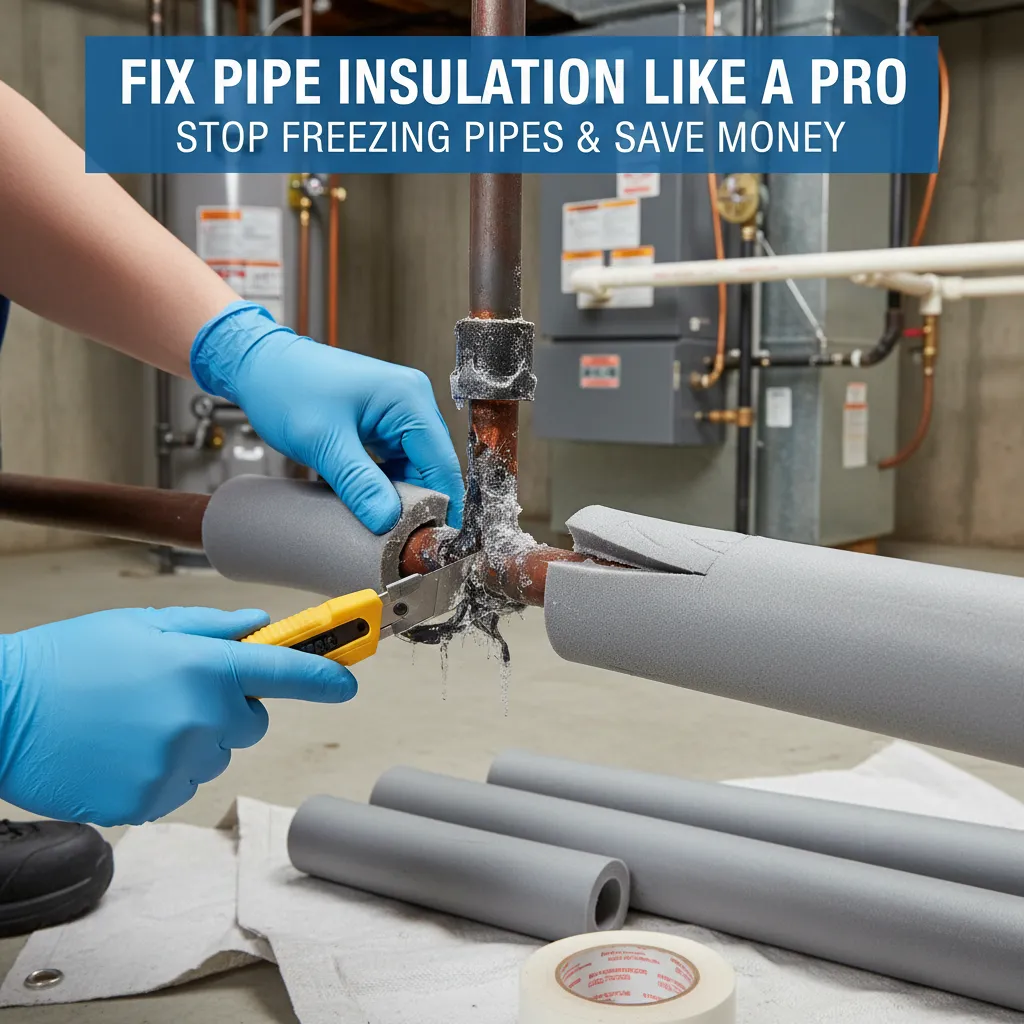
Struggling with frozen pipes or high energy bills? Learn how to fix pipe insulation yourself with our step-by-step guide. Prevent costly damage and stay cozy all winter!
You’ve spotted sagging foam tubes, frost on pipes, or worse – a chilly draft near exposed plumbing. Maybe your energy bill spiked, or you’re dreading another frozen pipe burst. It’s frustrating, wasteful, and risky. But here’s the good news: most insulation fixes are simpler than you think and can save you hundreds in repairs and energy costs.
Waking up to frozen pipes or sky-high energy bills because your insulation is failing? That sinking feeling is all too familiar. Take a deep breath – you’ve found your fix. This guide turns pipe insulation repairs from a panic-inducing chore into a satisfying DIY win, even if you’ve never held a pipe sleeve before.
Tools Needed
- Utility knife: For precise cutting of insulation materials
- Tape measure: To measure pipe diameter and length accurately
- Scissors: For foam or rubber insulation trimming
- Gloves: Protect hands from fiberglass irritation (if applicable)
- Flashlight: Illuminate dark spaces like basements or crawl spaces
Materials Needed
- Pipe insulation sleeve: Foam (polyethylene) or rubber (closed-cell) – match existing type. Common sizes: 1/2", 3/4", 1" inner diameter.
- Insulation tape: Foil-backed or self-sealing adhesive tape (HVAC grade)
- Cable ties or pipe straps: For securing loose sections (plastic, corrosion-resistant)
- Rubbing alcohol & rag: Clean pipe surface before applying new insulation
- Sandpaper (if rusty pipes): Light grit (120) to smooth rough spots
Solution (Beginner - 30-90 minutes (depending on pipe length and damage))
Step 1: Shut Off Water & Inspect the Damage
Turn off water at the main valve. Trace the pipe to find ALL damaged sections – look for cracks, gaps, moisture, or pest damage. Measure the length needing repair and pipe diameter (use a tape measure or coin test: a quarter fits 1" pipes, nickel fits 3/4").
⚠️ Warning: Never work on pipes without shutting off water first! A small leak could become a flood.
Step 2: Remove Old Insulation & Clean Pipes
Slice through damaged insulation lengthwise with a utility knife and peel it off. Wipe pipes with rubbing alcohol to remove dirt, grease, or mold. If pipes are rusty, lightly sand smooth. Let dry completely – moisture under insulation causes corrosion.
⚠️ Warning: Wear gloves and a mask if handling old fiberglass insulation. Itchy particles are no joke!
Step 3: Cut & Fit New Insulation Sleeves
Match insulation type to existing (foam for cold pipes, rubber for hot). Cut sleeves 1" longer than needed using scissors. Slit pre-cut sleeves lengthwise, press firmly around the pipe, and align seams tightly. Overlap ends of existing insulation by 2".
⚠️ Warning: Don’t compress insulation – air gaps ruin its effectiveness. Snug but not squeezed!
Step 4: Seal Seams & Secure Everything
Apply adhesive tape over all seams and joints. Use foil tape for hot pipes near boilers. Wrap every 6-8" along the pipe. For tricky spots (elbows, valves), use stretchy silicone tape or pre-formed fittings. Secure loose runs with plastic straps.
⚠️ Warning: Avoid duct tape! It dries out and fails. HVAC tape withstands temperature swings.
Pro Tips
- Double up insulation in extreme cold zones – use foam sleeves covered with rubber for -40°F protection.
- Stuff gaps behind insulation with spray foam for airtight seals around wall penetrations.
- Label hot/cold pipes with colored tape under insulation to prevent future confusion.
- Buy 10% extra materials for mistakes – it’s cheaper than a second hardware store run.
When to Call a Professional
Call a plumber if pipes are actively leaking, severely corroded, or inaccessible behind finished walls. Also seek help if you suspect frozen pipes might be burst (bulging sections, no water flow). Don’t risk structural damage!
Understanding the Problem in Detail
Insulation fails due to age, moisture, pests, or incorrect installation. Cold pipes sweat (causing mold), while hot pipes lose heat (wasting energy). Uninsulated pipes in attics/crawl spaces freeze at 20°F, bursting with 2500+ PSI pressure – a disaster waiting to happen.
Tools and Materials Guide
Foam sleeves ($0.50-$1/ft) at hardware stores suit cold water lines. Rubber ($1-$2/ft) handles hot water/steam. Use foil tape ($5/roll) for heat resistance. Cheaper alternatives: Fiberglass wrap (messy) or pipe foam + zip ties. Pro tip: Buy kits with pre-slit sleeves and tape for small jobs.
Safety Considerations
Wear goggles when cutting overhead. Check for electrical wires before drilling/sanding. Never insulate gas pipes! Keep insulation 6" from flues/heaters (fire risk). In crawl spaces, use a knee pad and watch for nails.
Troubleshooting Common Issues
Sleeves won't stay? Use straps instead of tape. Condensation after repair? Seal missed gaps with silicone caulk. Frozen pipe during fix? Thaw slowly with a hairdryer (NEVER open flame!). Insulation still slipping? Roughen pipe surface with sandpaper for better grip.
Maintenance and Prevention
Check insulation annually before winter. Feel for cold spots. Seal attic/crawl space drafts. Let faucets drip during hard freezes. Keep cabinet doors open to let warm air reach pipes. Install smart leak detectors near vulnerable areas.
Cost Analysis: DIY vs Professional
DIY fix: $20-$50 (materials). Professional repair: $150-$500. Burst pipe replacement: $500-$5000+. Energy savings: Proper insulation cuts heat loss by 80%, saving $5-$15/month per 10ft of hot water pipe.
Related Plumbing Problems
Frozen pipes, pipe corrosion, high water bills, mold growth, inefficient water heaters, rodent nesting in insulation.
Frequently Asked Questions
Can I reuse old insulation?
Only if it's intact, dry, and mold-free. Compressed or torn insulation loses effectiveness. When in doubt, replace it – it's cheaper than water damage!
What insulation is best for outdoor pipes?
Use thick rubber sleeves (min 1" wall) covered with UV-resistant wrap or PVC pipe. Outdoor insulation needs waterproofing and pest resistance.
How tight should insulation fit?
Snug but not squeezed. You should barely see the pipe outline. Air gaps reduce efficiency by 50% – if you can slip a finger under it, it’s too loose.