Stop Freezing or Scalding! How to Fix Shower Temperature Problems Yourself
Frustrated by sudden cold blasts or scalding water? Learn easy DIY fixes for common shower temperature issues. Save money & enjoy reliable hot showers with our step-by-step guide!
Your shower should be a sanctuary, not a source of stress. Maybe it's the dreaded 'toilet flush freeze,' sudden scalding surges, lukewarm water no matter how far you turn the knob, or a temperature that dances wildly with the slightest touch. You feel the frustration – wasted water, uncomfortable showers, maybe even a fear of getting burned. It feels like your plumbing is conspiring against you. The good news? The culprit is usually one of a few common, fixable issues.
That icy shock when someone flushes the toilet? The frustrating hunt for the 'sweet spot' that never stays? We've all been there – shower temperature woes are maddening! Take a deep breath. Most fixes are simpler than you think, and you can tackle them safely. This guide cuts through the confusion, giving you clear steps to diagnose and solve your shower's temperature tantrums, whether it's wild fluctuations or just not getting hot enough.
Tools Needed
- Adjustable Wrench (6-inch or 8-inch): For gripping nuts.
- Phillips & Flathead Screwdrivers: For trim plates and some cartridges.
- Needle-Nose Pliers: For pulling cartridges or grabbing small parts.
- Allen Wrench Set (Hex Keys): Often needed for cartridge removal.
- Bucket & Towels: For catching water spills.
- Flashlight: For seeing into dark valve cavities.
- Channel-Lock Pliers (Optional but helpful): For extra grip.
- Cartridge Puller Tool (Highly Recommended for Moen): Saves HUGE frustration.
Materials Needed
- Replacement Cartridge (Brand & Model Specific): MUST match your faucet. Take the old one to the store.
- Plumber's Grease (Silicone-Based): Lubricates new cartridge O-rings. ESSENTIAL.
- White Vinegar: For cleaning mineral deposits.
- Plumber's Tape (Teflon Tape): For threaded connections if reassembling pipes.
- Replacement Shower Head Washers (1/2" or 3/4"): If cleaning the showerhead.
Solution (Beginner to Intermediate - 30 minutes - 2 hours (depends on solution))
Step 1: Play Detective: Identify Your Faucet Type
Look behind the shower handle trim plate. Do you see one handle (rotates or lifts), two handles (hot & cold separate), or three handles (hot, cold, diverter)? One-handle is usually a cartridge (pressure-balancing or thermostatic). Two-handle might be cartridges or older compression valves. Knowing this tells you your fix path. Tip: Take a picture! Brand names are often hidden under handles or on the cartridge itself.
⚠️ Warning: SHUT OFF WATER FIRST! Locate your home's main water shutoff valve or the dedicated shower shutoffs (usually behind an access panel). Test that water is OFF before proceeding!
Step 2: The Quick Fix: Clean Your Shower Head & Aerator
Mineral buildup can restrict flow, messing with pressure balance. Unscrew the shower head. Soak it (and the shower arm aerator if present) overnight in a baggie filled with white vinegar. Use an old toothbrush to scrub away loosened gunk. Check and replace the rubber washer inside the shower head if it's cracked or flattened. Reattach tightly.
⚠️ Warning: Don't overtighten plastic shower heads! Hand-tight plus a quarter turn with pliers is plenty. Wrap threads with Teflon tape first.
Step 3: Access the Heart: Remove Handle & Trim Plate
Carefully pry off any decorative cap on the handle screw. Remove the screw and gently pull off the handle (it might need wiggling). Unscrew or unclip the trim plate/escutecheon covering the valve body. Be gentle to avoid scratching fixtures.
⚠️ Warning: Handle screws can be stubborn. Ensure correct screwdriver bit to avoid stripping the head. Protect surrounding tile with a rag.
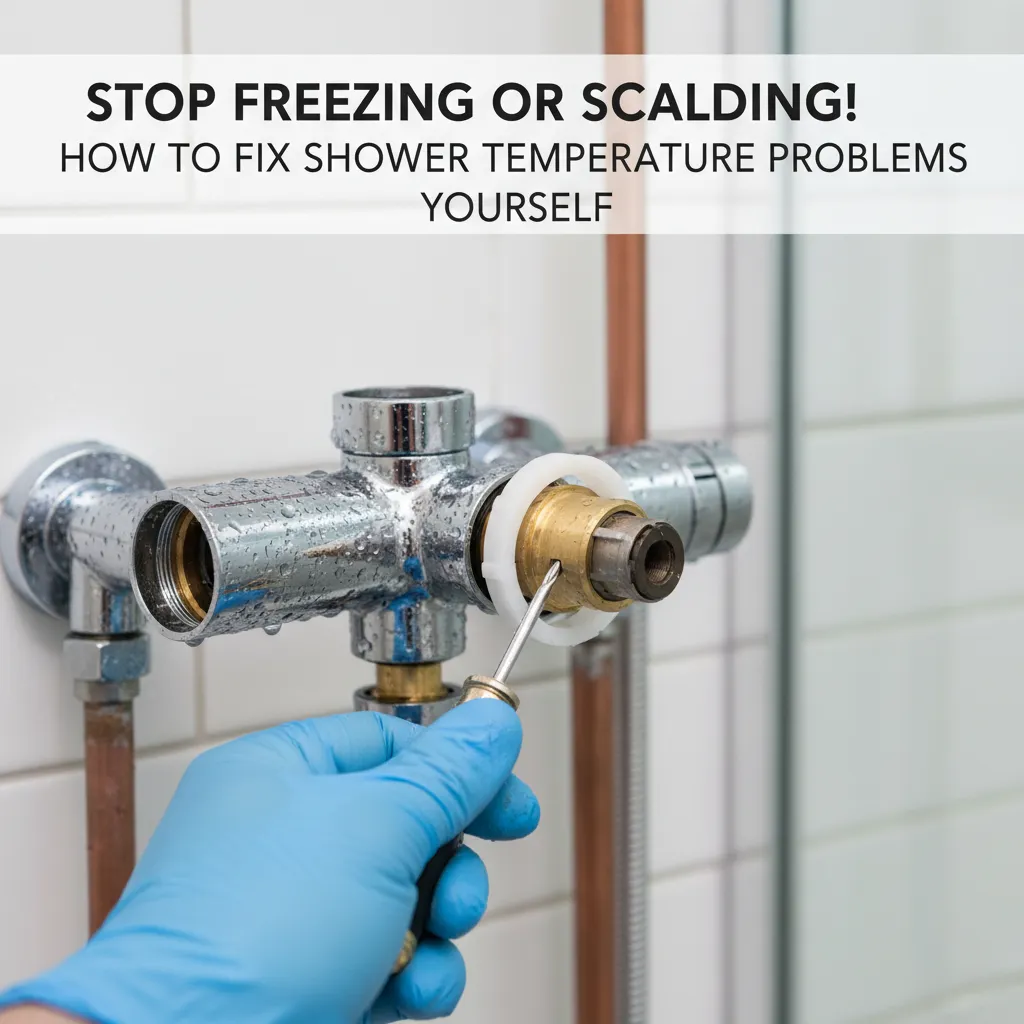
Step 4: Remove & Inspect the Cartridge (The Usual Suspect)
This is where the magic happens. Locate the cartridge inside the valve body. It will have a stem the handle attached to. Consult online guides or your manual for your specific brand (Delta, Moen, Pfister, Kohler). Most require removing a retaining clip (pliers/screwdriver) or nut (wrench). Pull the cartridge straight out. Inspect: Are O-rings cracked? Is it gunked up with minerals? Does it feel stiff?
⚠️ Warning: FOR MOEN: Use the cartridge puller tool! Pulling without it often breaks the cartridge, making removal a nightmare. Apply steady, straight force.
Step 5: Replace the Cartridge (Matchmaker Game)
Take the OLD cartridge to the hardware store/plumbing supply. Get the EXACT match. Apply a generous amount of plumber's grease to ALL the new cartridge's O-rings. Carefully insert the new cartridge into the valve body EXACTLY as the old one came out, aligning any notches or tabs. Reinstall the retaining clip or nut. Don't force it!
⚠️ Warning: Grease is CRITICAL! Dry O-rings will tear or bind. Ensure cartridge is fully seated and oriented correctly before securing.
Step 6: Test & Reassemble Carefully
Slowly turn the main water back on. Turn on the shower faucet before reinstalling the handle/trim. Check for leaks around the valve body and cartridge. Test temperature function thoroughly – check for fluctuations, max heat, and smooth adjustment. Once leak-free and working, reattach the trim plate and handle securely.
⚠️ Warning: Test for leaks BEFORE putting trim back! Be cautious of hot water when testing – start cooler. If leaks appear at the cartridge, it's likely not seated correctly or an O-ring is pinched.
Pro Tips
- Take Pictures: Snap photos at each disassembly step. Lifesaver for reassembly!
- Bag & Tag Screws: Use small bags or tape screws to the trim plate they came from.
- Moen = Puller Tool: Seriously, just buy/rent the Moen cartridge puller. It's worth every penny.
- Grease is Gold: Silicone plumber's grease prevents leaks and makes future removal easier.
- Check Water Heater First: If no fixtures get hot water, check your water heater thermostat/pilot light!
- Turn On Slowly: When restoring water, open valves slowly to prevent water hammer.
When to Call a Professional
Call a licensed plumber if: 1) You can't identify the valve type/brand, 2) You encounter soldered pipes or major leaks behind the wall, 3) The valve body itself is damaged or leaking (not just the cartridge), 4) You lack dedicated shutoffs and can't safely work on the main, 5) You replace the cartridge but the problem persists (could indicate a deeper valve issue), 6) You feel uncomfortable or unsafe at any point.
Understanding the Problem in Detail
Shower temperature issues usually stem from two culprits: 1) Pressure-Balance Cartridge Failure: This clever part uses water pressure to keep hot/cold balanced. When it fails (worn O-rings, debris, internal parts), pressure changes (like flushing a toilet) cause sudden temperature shifts. 2) Thermostatic Cartridge Failure: These actively regulate to a set temp. Failure means inaccurate temps or fluctuations. Mineral Buildup in the shower head, cartridge, or supply lines can also restrict flow and disrupt pressure balance.
Tools and Materials Guide
Wrenches: 6-8" adjustable for most nuts. Screwdrivers: #1 & #2 Phillips, small flathead. Pliers: Needle-nose for clips; Channel Locks for extra grip. Allen Keys: Often metric sizes (4mm, 5mm common). Cartridge Puller: Essential for Moen (rent/buy), helpful for others. Plumber's Grease: Silicone-based ONLY (like Danco). Avoid petroleum! Cartridge: MUST match exactly – take the old one! Brands have unique designs. Teflon Tape: Use on shower arm threads only. Vinegar: Cheap, effective descaler. Washers: Flat rubber washers for shower head connections (size matters!).
Safety Considerations
1. Shut Off Water: NON-NEGOTIABLE. Know your main shutoff location. Test faucets after shutting off. 2. Prevent Scalding: When testing, start with cooler settings. Be mindful after restoring hot water. 3. Protect Eyes: Wear safety glasses when removing cartridges/clips – debris or water can spray. 4. Avoid Force: If something won't budge, stop! Forcing can break expensive valve bodies. Reassess or call a pro. 5. Electricity: Keep tools/dry hands away from electrical outlets/switches near the shower. 6. Work Area: Keep floor dry to prevent slips. Use towels/bucket liberally.
Troubleshooting Common Issues
- Leaking After Replacement: Cartridge likely not seated fully or O-ring pinched. Recheck alignment/grease. * Handle Hard to Turn: New cartridge might be stiff initially; ensure it's greased. If old was stiff, mineral buildup in valve body might need cleaning (carefully!). * Still Fluctuating? Did you replace with the correct cartridge? Could be debris in supply lines or a failing pressure-balance valve body (rare). * Not Hot Enough: Check water heater temp first (120°F is safe/recommended). Could be anti-scald limiter set too low on cartridge (consult manual) or a crossed hot/cold line (professional fix). * Cartridge Won't Budge: Soak with vinegar or CLR around the base. Use penetrating oil (sparingly, wipe excess). Leverage carefully with puller/tools. Don't break the valve!
Maintenance and Prevention
- Monthly Flush: Turn shower to full cold for 30 seconds, then full hot for 30 seconds. Helps clear sediment. * Annual Head Clean: Soak shower head in vinegar yearly. * Check Washers: Replace shower head washers if leaking when tightening. * Avoid Overtightening: Handles and shower heads only need snug, not gorilla-tight. * Know Your Shutoffs: Label them! Practice turning them on/off occasionally so they don't seize.
Cost Analysis: DIY vs Professional
- DIY: Cartridge: $15 - $80 (common brands $20-$40). Plumber's Grease/Tape: $5-$10. Vinegar: $3. Total DIY: ~$25 - $100. * Professional: Service Call + Labor: $150 - $300+. Parts: $20-$100. Total Pro: $170 - $400+. Savings: Significant! DIY pays for tools quickly. Tip: Buy quality name-brand cartridges; cheap ones fail faster.
Related Plumbing Problems
Low Water Pressure: Often linked (mineral buildup in head/cartridge). Shower Head Leak/Drip: Worn washers or seat. Tub Spout Diverter Failure: Won't send water to shower head. Water Heater Issues: Affects all hot water. Leaking Shower Valve: Worn seals/O-rings beyond the cartridge.
Frequently Asked Questions
Why does my shower get cold when someone flushes the toilet?
This is classic pressure-balance cartridge failure! When the toilet flushes, cold water pressure drops suddenly. A working cartridge compensates. A failing one can't react fast enough, letting hot water dominate briefly (scald risk!) or letting cold water overwhelm the mix (freeze!). Replacing the cartridge fixes this.
I replaced the cartridge, but it's still not right! What now?
First, double-check you installed the exact correct cartridge and seated it fully with plenty of grease. If yes: 1) There might be debris in the valve body or supply lines – try flushing the lines briefly. 2) The cartridge's temperature limiter might be set too low (consult manual). 3) Rarely, the valve body itself could be faulty. 4) Ensure your water heater is working properly. If unsure, a plumber can diagnose.
How do I know if it's the cartridge or my water heater?
Test other hot water fixtures! If only the shower has temperature problems (especially fluctuations), it's almost certainly the shower valve/cartridge. If no fixtures get hot water, or it runs out very quickly, suspect the water heater (check pilot light, thermostat setting, age).
Is it safe for me to do this? I'm worried about causing a leak.
If you carefully shut off the water, take your time, follow the steps for your specific faucet, and test thoroughly for leaks before fully reassembling, the risk is very low. Cartridge replacement is designed to be user-serviceable. The biggest leak risks are from overtightening (cracking plastic) or not seating the cartridge/O-rings properly (grease prevents this!). If you're methodical, you can do it!