Is the No-Blowout Method Right for Your System?
This method is a confident, complete solution for systems that meet all four of these criteria. If any one is absent, use the compressor blowout method instead.
1. Mild climate (USDA Hardiness Zones 8–10) These zones cover most of the Pacific Coast, the Gulf Coast, southern Arizona, and the lower Southeast. Winter lows rarely drop below 20°F (-7°C), and when they do, it's brief — a few hours, not sustained days. A properly drained and insulated system handles that without issue. If you're in Zone 7 or colder (most of the Midwest, Northeast, and Mountain states), use a compressor blowout — sustained hard freezes will crack pipes that still hold any water.
2. Your system has drain valves at zone low points This method relies on drain valves — either manual or automatic — installed at the low point of each irrigation zone. These valves actually remove the water; insulation alone isn't enough. If your system doesn't have drain valves, this method won't work regardless of your climate.
- Manual drain valves are opened by hand or with a screwdriver and must be closed again in spring. They're typically 1/4-turn ball valves or gate valves located at low points in the mainline piping 1.
- Automatic drain valves open on their own when water pressure drops below 2–3 PSI, so shutting off the main supply triggers drainage automatically.
If you're unsure whether your system has drain valves, look for small valve housings at the far end or lowest point of each lateral line, often just below a sprinkler head or at a T-junction.
3. Your system has air relief (air-vacuum) valves at zone high points This criterion is just as important as the drain valves — and often overlooked. When water drains out of a closed pipe through the low-point valve, air must enter from above to replace it. Without air entry, a vacuum forms inside the pipe, stalling drainage and leaving water trapped at mid-line elevations where it can freeze. Air relief valves — installed at the high point of each zone — break that vacuum automatically as pressure drops. They open with an audible click or hiss as the water level falls past them.
If your system has drain valves but no air relief valves, gravity drainage will be incomplete. Don't rely on this method in that case. A qualified irrigation technician can confirm whether your system has air relief valves; they're typically small inline valves positioned at zone peaks, sometimes housed in a small green plastic body flush with the ground.
4. Your pipe runs slope toward the drain valves Water only drains by gravity. If any section of your lateral pipe runs flat or uphill relative to the drain valve, water will pool in that section and freeze. What matters is a consistent downward grade toward each drain valve along the whole run — even a slight flat or reverse section will hold water back. If your system was installed with a consistent downward slope to the low-point valves, you're in good shape. If it wasn't — or if you don't know — a blowout is safer.
All four criteria apply to your system? Read on.
Air relief valves at the zone high points break that vacuum by admitting air, allowing water to fall freely to the drain. A system with only one of these components won't fully drain.
This method is designed for mild-winter regions — USDA Hardiness Zones 8–10 — where freezing temperatures are shallow and infrequent. In these climates, a properly drained and insulated system faces frost events measured in hours, not days, and can handle them without issue.
If you are in Zone 7 or colder, or your region experiences sustained freezing temperatures or deep ground frost, use a compressor blowout regardless of whether your system has drain and air relief valves. Gravity drainage removes the bulk of the water but not every drop. In sustained freeze conditions, residual moisture in fittings, valve bodies, and sprinkler heads is enough to cause cracking. A blowout is the only method that removes enough water to be safe in those conditions.
Not sure which method fits your situation? Use this table:
| Factor | No-Blowout Method | Compressor Blowout |
|---|---|---|
| USDA Zone 8–10 (mild winter) | ✓ | ✓ |
| USDA Zone 7 or colder (hard-freeze regions) | ✗ | ✓ |
| Sustained freezing or deep ground frost | ✗ | ✓ |
| Drain valves at zone low points | ✓ | ✓ |
| No drain valves installed | ✗ | ✓ |
| Air relief valves at zone high points | ✓ | ✓ |
| No air relief valves installed | ✗ | ✓ |
| Consistent downward pipe slope to drains | ✓ | ✓ |
| Flat or uphill pipe runs | ✗ | ✓ |
| Prefer no equipment rental | ✓ | ✗ |
The no-blowout method isn't a lesser alternative — it's the right method when the system was designed for it. In mild climates with fully draining systems, a compressor blowout offers no meaningful benefit and adds the risk of seal damage from over-pressurization if done incorrectly. Choose based on your system's design and your climate, not habit.
When to Call a Professional
Some sprinkler winterizing jobs are better left to a pro. If your system has a backflow preventer that needs to be drained and you're not sure how to do it safely, call a licensed plumber — backflow devices can be damaged by improper handling, and a cracked backflow can contaminate your drinking water 2. If you have a large or complex system with multiple zones, deep main lines, or high-end components, the risk of leaving water behind is higher, and a pro with a commercial compressor can clear it thoroughly 3. And if you've already tried the drain-down method and you're still seeing water in the lines, or if you hear freezing weather is coming and you're out of time, don't gamble — get a professional out there. The cost of a service call is a lot less than digging up and replacing burst pipes come spring.
Safety Considerations
Before you touch a single valve, know where your water shut-off is and what you're dealing with underground. Sprinkler lines are buried, but the backflow preventer, main shut-off valve, and any above-ground piping are exposed to freezing air — and that's where damage starts if you miss a step. You'll be working around water, metal, and possibly electrical components, so take a few minutes to get set up safely.
Locate your main water shut-off for the irrigation system. It's usually near the water meter or in a basement, crawl space, or utility room. If you can't find it or it's stuck, stop and call a plumber — forcing a corroded valve can snap the handle or crack the pipe, and you'll have a live leak on your hands. Once it's off, open a hose bib or drain valve downstream to confirm the water's really stopped.
Wear gloves and safety glasses. When you drain valves or remove drain plugs, residual water can spray out under pressure, and old metal parts can have sharp edges. If your system has an electric controller, turn it to "off" or "rain mode" so no zone valves try to open while you're working — you don't want a surprise surge of water when you're mid-step.
If your backflow preventer is above ground and you're using heat tape or insulation, check the manufacturer's instructions. Some heat tapes can't be overlapped or covered with certain materials, and a fire hazard is the last thing you need in a cold, dry utility space. Never use an open flame to thaw frozen pipes — one homeowner learned the hard way that a propane torch near PVC can ignite in seconds.
Finally, if you're on a well system, kill power to the pump at the breaker before draining anything. A dry-running pump burns out fast, and a sudden start while you're working on a line can injure you. If you're unsure about any electrical disconnect, hire an electrician or a plumber who handles well systems.
⚠️ Warning: If your system has a backflow preventer that's hard-piped with copper or brass and you're not confident in disassembling it without damaging the fittings, call a professional. A cracked backflow body or a cross-threaded test cock can lead to a costly repair and a potential contamination risk for your drinking water. 4
Steps to Winterize Without a Blowout
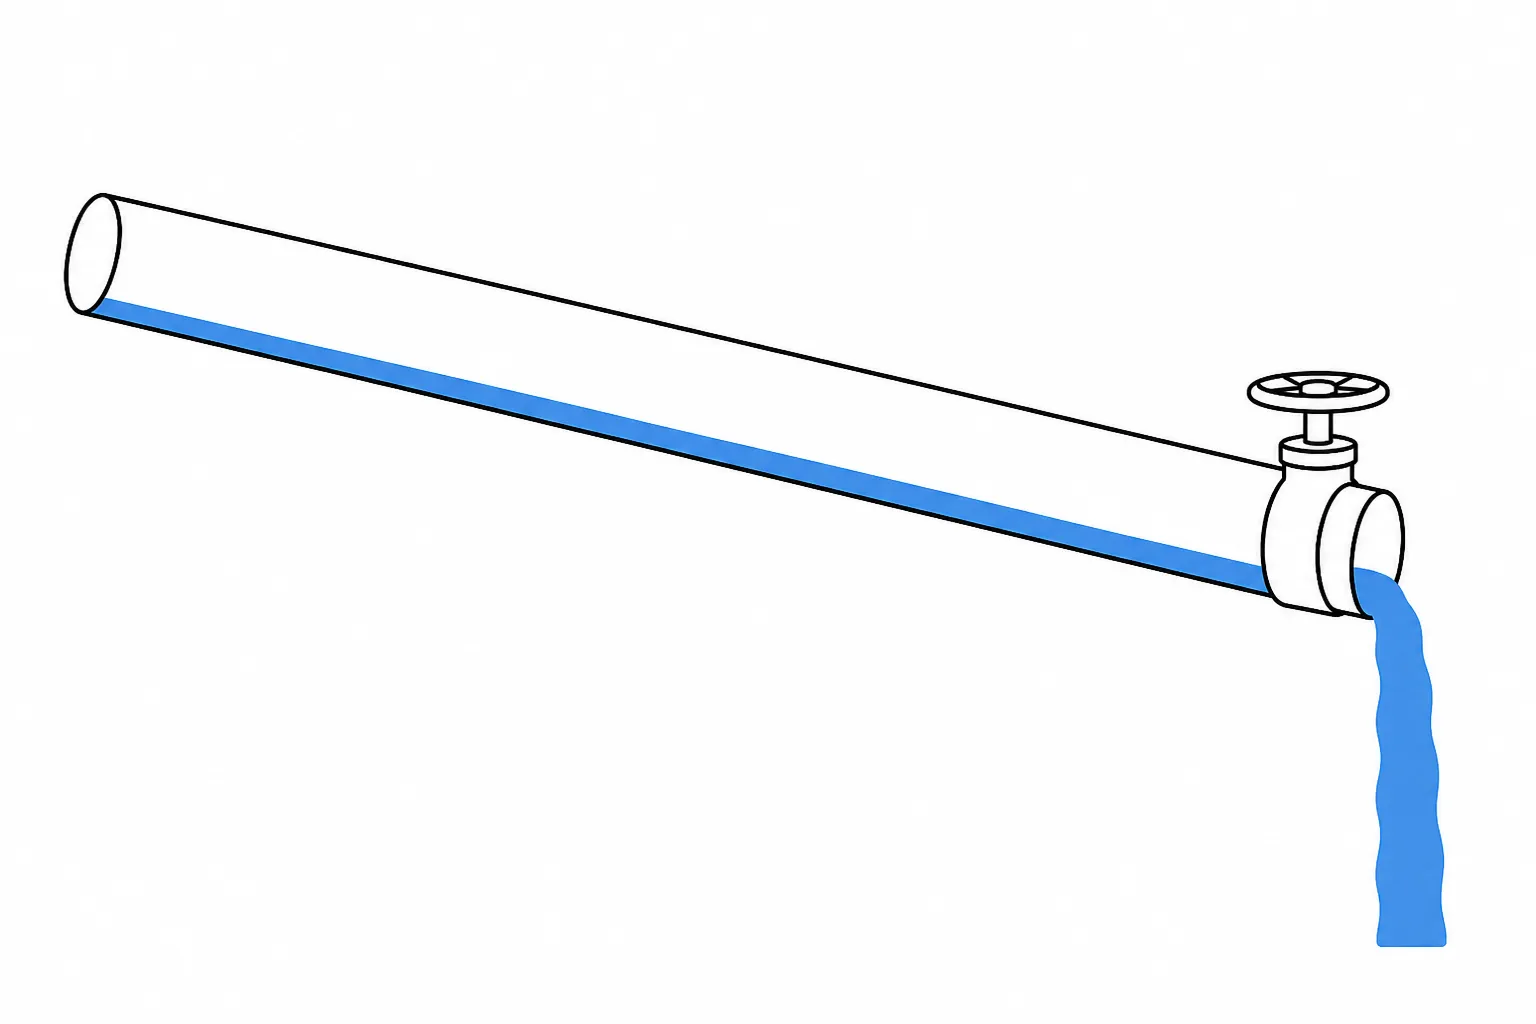
1. Shut Off the Main Water Supply
First, turn off the irrigation controller and shut off the water supply near the water meter or backflow prevention device 3. Locate the shutoff valve for your irrigation system — this is usually a dedicated ball valve or gate valve on the supply line to the system, separate from your home's main water supply. Turn it fully off. If your shutoff is a ball valve, the handle should be perpendicular to the pipe when closed.
Do not skip this step or assume turning off the controller is sufficient. The controller only stops activation; it does not stop pressurized water from sitting in the lines.
2. Disable the Irrigation Controller
Set your controller (timer) to Rain, Off, or Seasonal Adjustment: 0% — whichever your model supports. The goal is to prevent any zone from activating on a schedule while the system is drained and open.
- Rain/Sensor mode: The controller keeps its schedule but will not activate zones. Preferred because your schedule is preserved for spring.
- System Off: Completely disables all scheduled runs.
- Seasonal Adjustment at 0%: Keeps the schedule active but runs zero minutes — another clean option.
Do not simply unplug the controller if it requires a battery to retain its program — you'll lose your entire zone schedule and have to reprogram in spring.
3. Open the Zone Drain Valves and Confirm Air Relief
With water supply off, open the drain valve at the low point of each zone:
- Manual drain valves: Insert a flathead screwdriver into the slotted head and turn ¼ turn counterclockwise. You'll hear or see a small amount of water discharge. Leave the valve open for the entire winter — close it again only in spring before reopening the water supply.
- Automatic drain valves: These opened on their own the moment pressure dropped when you closed the main shutoff. Confirm drainage by checking that the valve housing is no longer pressurized (press the small test pin if present — no water should spray out).
As drainage begins, the air relief valves at the zone high points should open automatically. You may hear a faint click or brief hiss from the high-point area as air enters the line — this is normal and confirms the vacuum is broken and water is flowing freely toward the drain. If you hear nothing and drainage seems slow or incomplete, the air relief valve may be stuck or absent; do not assume the zone is clear.
Work zone by zone. If a manual drain valve doesn't produce flow, the pipe may not slope toward it — flag that zone for professional evaluation before the first hard frost.
4. Insulate Exposed Pipes and Risers
Any pipe or riser that runs above ground is vulnerable to a frost event even in Zone 8–10. Insulate all of them:
- Measure the outside diameter of the exposed pipe or riser.
- Cut foam insulation sleeves to length with scissors or a utility knife.
- Slip the sleeve over the pipe, closing the pre-cut slit around it.
- Secure the seam and any butt joints with duct tape every 6 inches.
- Pay particular attention to the section of riser between the soil surface and the sprinkler head — this short section is the most exposed.
Use R-4 or higher rated foam (polyethylene foam insulation commonly sold in the plumbing aisle). For zones that see occasional frost, consider wrapping a second layer on risers taller than 6 inches.
⚠️ Warning: Exterior water supply piping must be installed at least 12 inches below grade and 6 inches below the frost line per UPC Section 305 5. If your system's pipes are shallower than this, they're at higher risk of freezing even with drainage — consider having a professional assess and possibly lower the lines.
5. Protect the Backflow Preventer
The backflow preventer is the most vulnerable above-ground component — it contains multiple internal chambers that trap water and crack easily in a freeze. Insulating it properly is non-negotiable.
Use a purpose-made insulated backflow preventer cover, not a towel or burlap sack. Towels absorb moisture and hold it against the device, which can accelerate freeze damage on cold nights. Commercial insulated covers are inexpensive ($15–$30), rated by minimum temperature, and designed to fit the most common preventer sizes (Watts, Febco, Wilkins). Match the cover to your minimum expected winter temperature — not your average low.
To install: open the cover, wrap it snugly around the preventer assembly including all exposed fittings, and secure the fastening strap or zipper. The preventer should be fully enclosed with no gaps at the top or bottom.
6. Cover Sprinkler Heads
Install hard plastic protective dome covers over each sprinkler head. These snap or twist over the top of the head and protect the internal wiper seal from freezing debris and frost. They are sold at irrigation suppliers and most hardware stores.
If your system has pop-up heads that retract fully below grade when not pressurized, covering them is optional — they're largely protected by the surrounding soil. Rotary heads and any head with an above-grade body benefit most from covers.
7. Store Hoses and Mark the System
Disconnect any hoses from outdoor faucets and store them coiled in a garage or shed. Water left in a hose that's connected to a faucet can back-siphon into the supply line and create a freezing risk at the connection point.
If any part of your system is buried at shallow depth or in areas where you'll be doing winter digging, landscaping, or snow removal, mark the location of heads and valve boxes with stakes or flags to avoid accidental damage.
Tools and materials for the steps above: flathead screwdriver (most manual drain valves use a ¼-turn slotted head), foam pipe insulation sleeves sized to your pipe's outer diameter (common ¾" or 1"; R-4 or higher for exposed sections), duct tape or zip ties for the seams, a commercial insulated backflow preventer cover rated to at least 10°F (-12°C) and sized to your model, hard plastic sprinkler-head dome covers (optional but useful where frost is occasional), and a valve key if your manual drains are key-operated rather than slotted.
Troubleshooting Common Issues
Even when you follow every step, things can still go sideways. Here are the most common failure modes homeowners run into, and what to do next.
Water still in the system after draining. If you open the drain valves and nothing comes out, the drain might be clogged with dirt or debris. Try gently poking a stiff wire into the drain opening to clear it. If the drain is at a high point in the system, water could be trapped in low spots. In that case, you may need to install additional drains at the lowest points of each zone — a job for a pro if you're not comfortable cutting into pipes.
Backflow preventer still has water inside. After draining, some water often remains in the body of the backflow preventer. That's normal, but it can freeze and crack the brass. If your backflow preventer has ball valves, leave them at a 45-degree angle so water can expand without breaking the valve body 2. If it's a pressure vacuum breaker (PVB), remove the bell cover and pour a small amount of RV antifreeze (the pink, non-toxic kind) into the assembly to displace any remaining water.
Sprinkler heads pop up and leak after winterizing. This usually means there's still water in the lines and a valve is leaking by. Shut off the main water supply to the system again and double-check that all zone valves are fully closed. If a valve is stuck open, you might hear water hissing or see a slight trickle from the lowest head. Replacing a faulty valve diaphragm is a common fix, but if you're not sure how to do it, call a pro.
Frozen pipes despite draining. If you get a hard freeze and a pipe bursts anyway, the most likely culprit is a low spot that didn't drain completely. After the thaw, inspect the system for cracks and replace the damaged section. To prevent this next year, consider adding more drain valves or using a shop vac to suck water out of each zone from the sprinkler heads. Some experienced plumbers recommend pouring a cup of RV antifreeze into each zone through the highest sprinkler head as a cheap insurance policy 1.
System won't turn on in the spring. If you open the main valve in the spring and nothing happens, check that you didn't leave a drain valve open over the winter. Also, backflow preventers can seize up if they dried out — you may need to lubricate the internal seals or replace the assembly. If you're not comfortable working on the backflow device, hire a licensed plumber to test and repair it.
Pro Tips
After you've drained the system and checked for leaks, a few extra steps can make the difference between a trouble-free spring and a cracked manifold. These tips come from experienced plumbers and irrigation pros who've seen what happens when a shortcut backfires.
- If your backflow preventer has ball valves, leave them at a 45-degree angle — not fully open or closed. Fully closed traps water behind the ball, and fully open leaves the seals exposed to freezing air. The 45-degree position lets any residual water drain out while protecting the seals 4.
- Don't wrap your backflow preventer in a towel or insulation that holds moisture. A dry, breathable insulated cover is fine, but a wet wrap freezes solid and can crack the brass body. One homeowner learned this the hard way after a "protected" backflow shattered during a cold snap 6.
- If you have above-ground valves or a manifold, open the test cocks and drain ports after the main drain is done. Often a small amount of water lingers in the valve body and freezes right at the seat, causing a slow leak you won't notice until spring 3.
- Mark your shut-off valve location clearly — a bright flag or a labeled stake — so you can find it quickly if a pipe bursts mid-winter. In a panic, you don't want to be digging through snow 7.
- If your system has a master valve, cycle it manually a couple of times after draining. A stuck master valve is a common springtime surprise that sends water to zones you thought were isolated 1.
- Write down the date you winterized and any steps you skipped (like a zone that wouldn't drain fully). Tape the note inside the controller door. Come spring, you'll know exactly what needs attention before you pressurize 8.
A little extra effort now saves you from a muddy, expensive excavation later.
Maintenance and Prevention
Winterizing your sprinkler system isn't a one-and-done job. A few simple checks each year will save you from cracked pipes and expensive spring repairs.
Test your drain valves every fall before the first freeze. Open each one and make sure water flows freely—sediment can clog them over time, and a blocked drain leaves water sitting where it shouldn't. If you have automatic drain valves, check that the caps are intact and the springs still move. One homeowner learned the hard way that a stuck auto-drain left a low spot full of water, which froze and split the pipe 6.
Backflow preventers need extra attention. After you've drained the system, insulate the backflow device with a foam cover or wrap it in insulation tape—don't use plastic bags, which trap moisture and make freezing worse 2. If your backflow preventer has ball valves, leave them at a 45-degree angle so any residual water can expand without cracking the valve body 4.
Plan to replace rubber gaskets and O-rings every three to five years. They dry out and lose their seal, which leads to slow leaks you won't notice until spring startup 8. Valve diaphragms can last longer, but if you see water weeping from a sprinkler head when the zone is off, it's time to swap the diaphragm.
If you've got an older system with metal drain plugs, check for rust each season. A corroded plug can seize in place, and you'll be stuck calling a plumber to drill it out. Replace any rusty plugs with brass or stainless steel before they become a problem.
Finally, keep a simple log: date you shut off the water, date you drained each zone, and any parts you replaced. When something goes wrong next year, you'll know exactly what you did—and what you might have missed.
Cost Analysis: DIY vs Professional
Winterizing your sprinkler system without a blowout costs very little—typically $10 to $30 for basic supplies like pipe insulation, Teflon tape, and a drain valve key if you don't already have one. If you need to buy a shop vacuum for the manual drain method, you're looking at another $50 to $100, but that's a tool you'll use for years. Professional winterization services usually run $80 to $150 per visit, depending on your region and system size 3.
If your system has a backflow preventer, hiring a pro might make more sense. Damaging that component during DIY winterization can lead to a $300 to $500 repair bill come spring 2. So if you're not confident you can drain it properly, the professional fee is cheap insurance.
For most homeowners with a basic in-ground system, the math is simple: one season of DIY pays for itself, and every year after that you're saving $80 to $150. But if your system is complex—multiple zones, elevation changes, or a pump—the risk of freeze damage from incomplete draining can easily exceed $1,000 in repairs 8. In those cases, the professional route is the safer bet.
Related Plumbing Problems
Once your sprinkler system is winterized, you might notice other cold-weather plumbing issues around the house. A frozen hose bib or an outdoor faucet that won't shut off completely can cause the same kind of freeze damage you just prevented in the irrigation lines. If you're dealing with a stubborn outdoor spigot, our guide on fixing a leaky hose bib walks you through the repair step by step. For homes with older galvanized pipes, winter is often when small leaks turn into big problems—our article on spotting and patching pinhole leaks can help you catch them early. And if you're unsure whether a damp spot in the yard is from a broken sprinkler line or a main water leak, the piece on diagnosing underground leaks will show you what to look for.
Frequently Asked Questions
Can I really winterize my sprinkler system without an air compressor? Yes, you can. Gravity draining and manual draining both work if your system has proper slope and drain valves. Experienced plumbers note that many systems are designed for manual draining, though it takes more time and attention than a blowout 4. The key is getting enough water out so that any remaining ice has room to expand without cracking pipes.
How much water is too much to leave in the lines? Even a small amount of standing water can cause damage if it freezes in a confined space. The goal is to remove enough water so that any ice formation can expand along the pipe rather than against it. One homeowner reported that a single low spot with just a cup of water was enough to split a lateral line 6. If you're unsure, it's better to drain more thoroughly.
What if my system doesn't have drain valves? If your system lacks automatic or manual drain valves, you'll need to install them or use a blowout method. Without a way to let water out, gravity draining won't work. A professional can add drain valves at low points, but this requires cutting into the main line — call a plumber for that work.
Do I need to do anything special for the backflow preventer? Yes. The backflow preventer is often the most vulnerable component because it sits above ground and holds water in small chambers. After draining the main system, you'll need to isolate and drain the backflow preventer separately. Many models have test cocks and ball valves that must be opened to let water out 2. If you're not comfortable working with backflow devices, hire a licensed plumber — mistakes here can lead to contamination of your drinking water.
When should I winterize? Timing depends on your local climate, but a good rule is to winterize before the first hard freeze — typically when nighttime temperatures consistently drop below 32°F (0°C). In colder regions, this might be as early as October; in milder areas, you might wait until November or December 8. Don't wait until the forecast calls for a freeze, because a sudden cold snap can catch you off guard.
Can I use antifreeze instead of draining? No. Automotive antifreeze is toxic and should never be used in a sprinkler system. Even "non-toxic" RV antifreeze can damage seals and backflow preventers, and it's not approved for irrigation systems in most areas. Stick with draining methods — they're safer and more reliable.
What if I already had a freeze and now a zone won't work? You likely have a cracked pipe or fitting underground. Turn off the water supply to that zone and wait until spring to dig up and repair the damaged section. If you're not experienced with PVC or poly pipe repairs, call a professional — a bad repair can lead to leaks and water waste.