Understanding the Problem in Detail
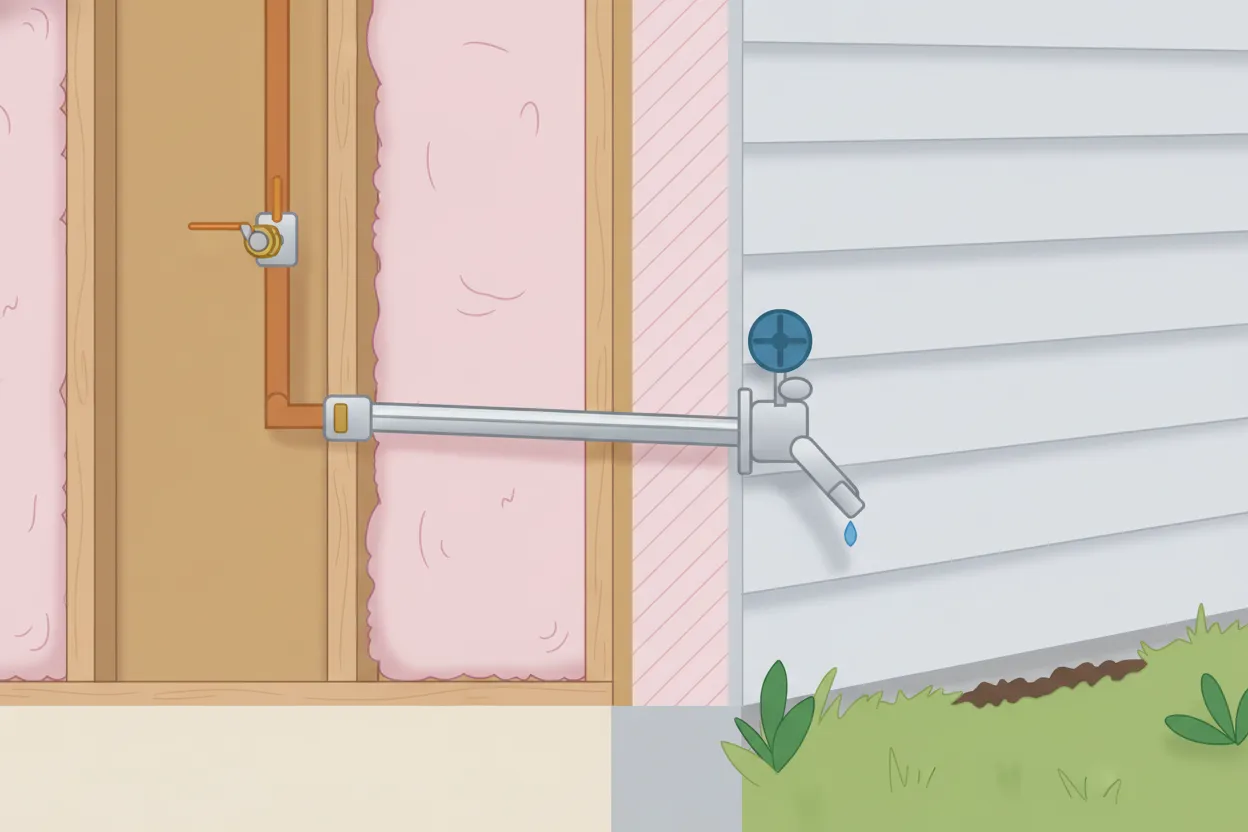
Outdoor spigots usually fail for one reason: on a regular hose bib, the shut-off valve sits outside in the cold, so it freezes and bursts when the temperature drops. A frost-free sillcock moves that valve back inside your heated wall, where it can't freeze 1. ("Sillcock" is just the plumber's word for an outdoor faucet.) You can spot a frost-free one by its handle, which sits on top of the pipe instead of at an angle, plus a small anti-siphon cap up top 2.
But even a frost-free sillcock needs help from the rest of your plumbing. Code requires an accessible stop-and-waste valve inside the building for any hose bibb subject to freezing, including frost-free models 3. That valve lets you shut off and drain the line from indoors. Outside, the supply piping must be buried at least 6 inches below your local frost line and no less than 12 inches below grade 4.
The pipe also needs to tilt slightly downhill toward the outside, so any leftover water drains out instead of sitting inside and freezing. And the spigot has to match how thick your wall is — too short, and the valve ends up in the cold zone where it can still freeze.
For parts, the spigot itself — a frost-free sillcock — runs about $25–$60. You'll also need a way to join it to your pipes: push-to-connect fittings ($8–$15) are the easiest for a first-timer because they snap on with no torch, while soldering costs only a few dollars in materials but takes real skill. For the supply line, 1/2-inch Type L copper or freeze-resistant PEX-A both work and are stocked at any home center. Grab an extra roll of Teflon tape too — it's cheap insurance against drips at threaded joints.
Step-by-Step Installation
Step 1: Shut off the water and drain the line
Locate the main water shut-off valve and turn it off. Open the lowest faucet in the house to drain remaining water from the pipes.
If you can't find or operate the main shut-off, call a plumber.
Step 2: Cut into the cold-water line
Choose a section of cold-water pipe near where you want the spigot. With a pipe cutter, remove a piece long enough to add a tee fitting — the T-shaped connector that branches a new line off the existing pipe. Smooth the rough inside edge of each cut end with a reaming tool so it won't restrict flow.
If you're working with main-line piping or aren't confident cutting into pressurized lines, call a plumber.
Step 3: Install a tee and shut-off valve
Fit a tee into the cut section. From the tee's branch, run a short length of pipe to a dedicated quarter-turn ball valve. This valve lets you isolate the outdoor spigot without shutting off water to the whole house. Experienced plumbers recommend a service loop or a 90° fitting to absorb movement and prevent stress on the connection 5.
If soldering, PEX crimping, or CPVC cementing is required, call a plumber.
Step 4: Run pipe to the exterior wall
Extend the pipe from the shut-off valve to the rim joist — the framing board around the edge of your floor where it meets the foundation — or wherever the spigot will exit. Drill a hole through it slightly larger than the pipe. Pitch the pipe a touch downhill toward the outside so water drains out when the spigot is off.
If drilling through structural framing or exterior sheathing, call a plumber.
Step 5: Mount the frost-free sillcock
Slide the sillcock through the hole from the outside. The valve body — the working part inside the barrel — must end up inside the heated part of the house, not out in the wall's cold zone. Secure the mounting flange to the exterior wall with corrosion-resistant screws. On the inside, secure the pipe to the sillcock inlet using the appropriate connection (solder, PEX, or push-fit).
If soldering or PEX crimping is required, call a plumber.
Step 6: Insulate and seal
Fill the gap around the pipe where it passes through the rim joist with expanding foam or caulk rated for exterior use. Wrap the interior pipe and valve body with foam pipe insulation to prevent condensation and heat loss.
If you're unsure about air-sealing best practices, call a plumber.
Step 7: Turn the water back on and check for leaks
Close all open faucets. Slowly turn on the main water supply. Open the new outdoor spigot to bleed air from the line, then close it. Check all connections inside for drips. Tighten or reseal any weeping joints.
If you see a leak at a soldered or crimped joint, call a plumber.
Tools & Materials: pipe cutter, reaming tool, tee fitting, quarter-turn ball valve, pipe (Type L copper or PEX-A), frost-free sillcock, drill, corrosion-resistant screws, expanding foam or exterior caulk, foam pipe insulation, Teflon tape.
When to Call a Professional
Some spigot installations push beyond what a homeowner should tackle without a license. If you're tapping into a main water line, working inside a wall cavity, or dealing with galvanized steel pipes that are corroded, stop and call a plumber. These jobs can go wrong fast — a cracked main or a hidden leak inside a wall can cause thousands in damage before you even notice.
You'll also want a pro if your local code requires a dedicated shut-off valve for the hose bibb and you don't already have one. Adding a valve inside the house often means cutting into existing copper or PEX and soldering or crimping in a tee — work that's easy to botch without experience. One homeowner reported a slow leak on a PEX-A joint that took a plumber to diagnose because the expansion ring hadn't seated fully 6.
If your frost-free sillcock needs to be soldered onto copper pipe and you've never sweat a joint before, don't learn on a live water line. The same goes for any connection that requires a torch in a tight space — fire risk is real. And if you open up the wall and find the existing pipe is threaded galvanized steel that's rusted solid, you're in for a fight. Experienced plumbers note that over-torquing old galvanized fittings can snap the pipe inside the wall, turning a simple swap into a major repair 7.
Cost-wise, hiring a plumber for a straightforward outdoor spigot replacement runs about $150–$400, while a new installation from scratch can hit $500–$1,000 depending on how far the pipe has to run 89. That's real money, but it's cheaper than fixing a flooded basement. If any step in this guide makes you uneasy, trust that instinct and make the call.
Safety Considerations
Shutting the water off first is non-negotiable. Beyond that, a few habits keep this job safe. Wear eye protection whenever you cut pipe, and if your home is older, wash your hands after handling the pipes — old plumbing can contain lead. Working in a crawlspace means knee pads and a quick check for pests or mold before you settle in. And if any joint needs a torch, never run one near insulation without a flame-proof cloth backing your work.
If you're working with PEX-A (Wirsbo) and a joint leaks, the barb is likely nicked and must be replaced — there's no remedy 6.
When installing a spigot near a driveway or alleyway, the plumbing components must be recessed into the wall or otherwise protected from damage 4.
Troubleshooting Common Issues
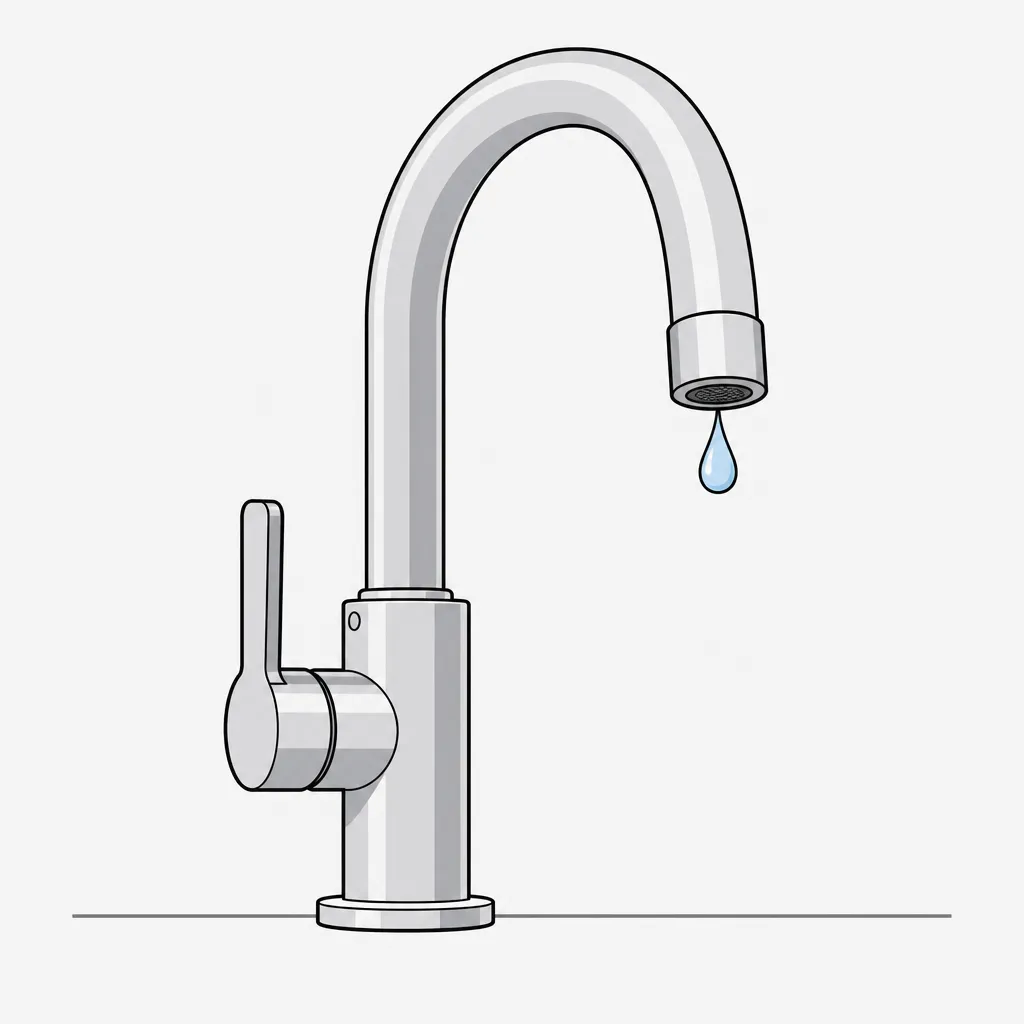
Leaking at the threads? Add more Teflon tape. Spray from the handle? Replace the washer inside. No water flow? Check for a kinked PEX line or a closed shutoff valve. Slow drip after shutdown? It likely needs a longer drainage slope. Frozen pipe? Use a heat lamp, never an open flame.
A screaming sillcock is often caused by air escaping; check for air in the line or a faulty anti-siphon valve 7.
Pro Tips
A few practical pointers that experienced plumbers and engineers rely on to make a sillcock installation last.
Use a frost-free sillcock even in mild climates. A frost-free model like the Matco-Norca MN-209 places the valve seat deep inside the warm wall cavity, so the pipe drains itself when you shut it off 10. That design prevents freeze damage without you having to remember to disconnect the hose every winter. If you live where temperatures occasionally dip below freezing, a standard hose bibb is a gamble you don't need to take.
Leave a service loop behind the wall. Instead of a tight 90° fitting right at the sillcock inlet, let the supply line curve in a gentle loop. That gives you enough slack to pull the sillcock out a few inches if you ever need to replace the packing or swap the whole unit — without cutting into the wall again. One homeowner learned this the hard way when a rigid copper elbow made a simple repair into a drywall project 5.
Check your local code for a dedicated shut-off. The International Plumbing Code doesn't always require an interior stop valve on an exterior hose bibb, but many cold-weather jurisdictions do 11. Adding one now — a simple ball valve inside the basement or crawlspace — lets you isolate the outdoor line for repairs without shutting down the whole house. It's cheap insurance.
Don't overtighten the packing nut. If the handle stem weeps a few drops when the sillcock is fully open, snug the packing nut an eighth of a turn at a time until the drip stops. Cranking it down hard crushes the packing and makes the handle stiff. A tiny drip that stops when you close the valve is normal on some models — replacing the packing is a five-minute fix, not a reason to muscle the nut.
Mount the sillcock with a slight downward pitch. A 1/8-inch drop per foot toward the outside lets any residual water drain out after shutoff. That's especially important on frost-free models, where a level or back-pitched installation can trap water in the stem and freeze anyway.
If you're tapping into PEX, use the manufacturer's expansion tool — not a crimp ring. PEX-A joints depend on the pipe fully relaxing onto the fitting. A slow leak that appears days later is almost always a ring that wasn't expanded evenly or a fitting that wasn't held in place long enough during contraction 6. If you don't own the correct expander, hire a plumber for this connection.
Maintenance and Prevention
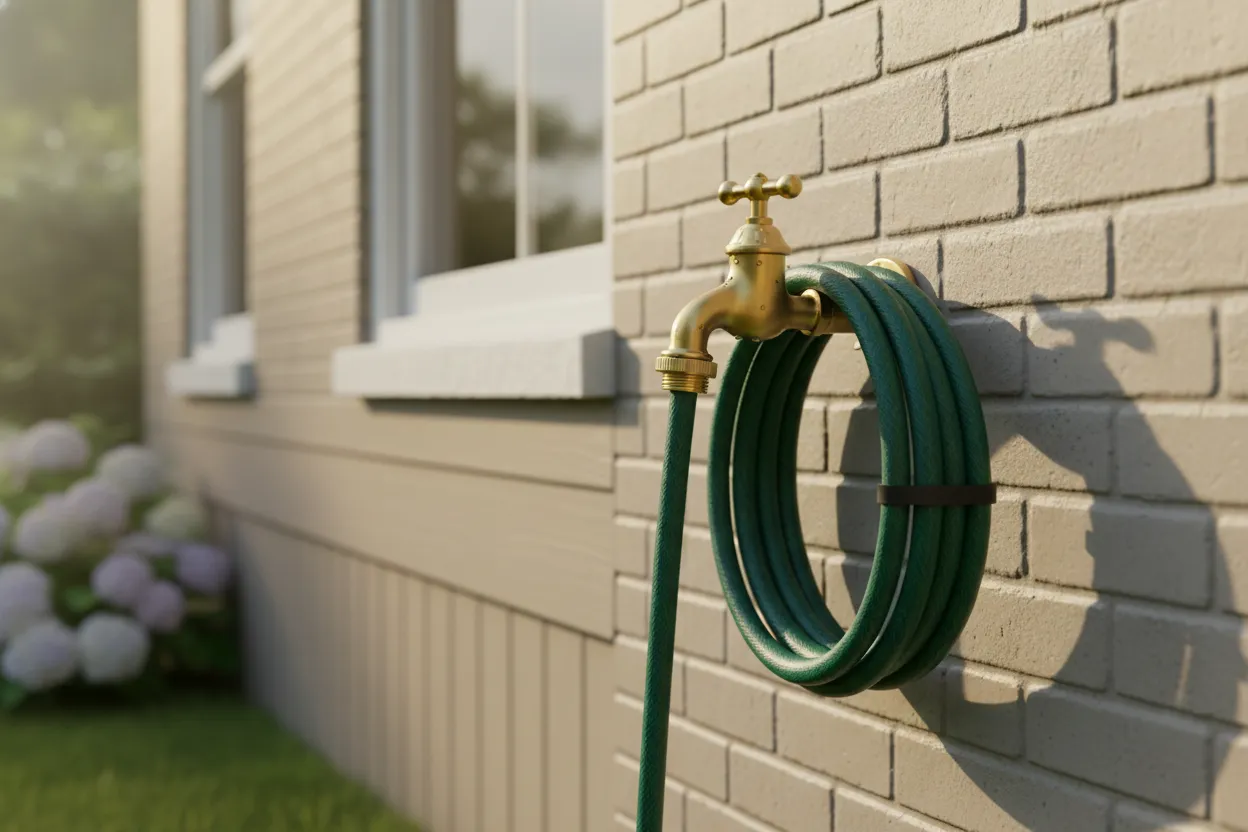
Before winter, disconnect your hoses and drain the spigot ahead of the first freeze — a foam faucet cover (about $3) buys you a little extra protection on cold nights. Come spring, check for leaks and swap out the washer if the flow has gone weak. Give the exterior caulk a once-over every year while you're at it.
Cost Analysis: DIY vs Professional
If you're weighing whether to tackle this yourself or call in a pro, the numbers tell a clear story. For a new spigot installation, DIY parts typically run $20–$50, while hiring a plumber averages $190–$415 12. Replacing an existing spigot falls in a similar range—most homeowners spend around $250, though the job can run from $120 to $500 depending on access and local rates 8.
You can keep costs down by borrowing specialty tools from a tool library instead of buying them. Splurge on brass fittings over plastic—they'll last decades. PEX is cheaper and easier to work with than copper, especially if you're already set up for it.
Related Plumbing Problems
Replacing a leaky spigot follows similar steps. Low water pressure may indicate clogged pipes. Adding a shutoff valve inside lets you winterize without cutting the main water. Frozen or burst pipes require immediate professional attention.
Frequently Asked Questions
Can I install a spigot without accessing interior pipes?
Unfortunately no – you'll need to connect to your home's water lines. Crawlspaces or basements are easiest. If you don't have access, consider a professional who can use wall-scanner tech to minimize damage.
Will this void my home insurance?
Not if it's done to code. Use frost-free spigots in freezing climates, get permits if required locally, and always install a vacuum breaker. Document your work with photos.
How long will a DIY spigot last?
Properly installed frost-free spigots last 10-20 years. Brass fittings outlive plastic. Annual maintenance prevents 90% of failures – replace washers when drips appear.