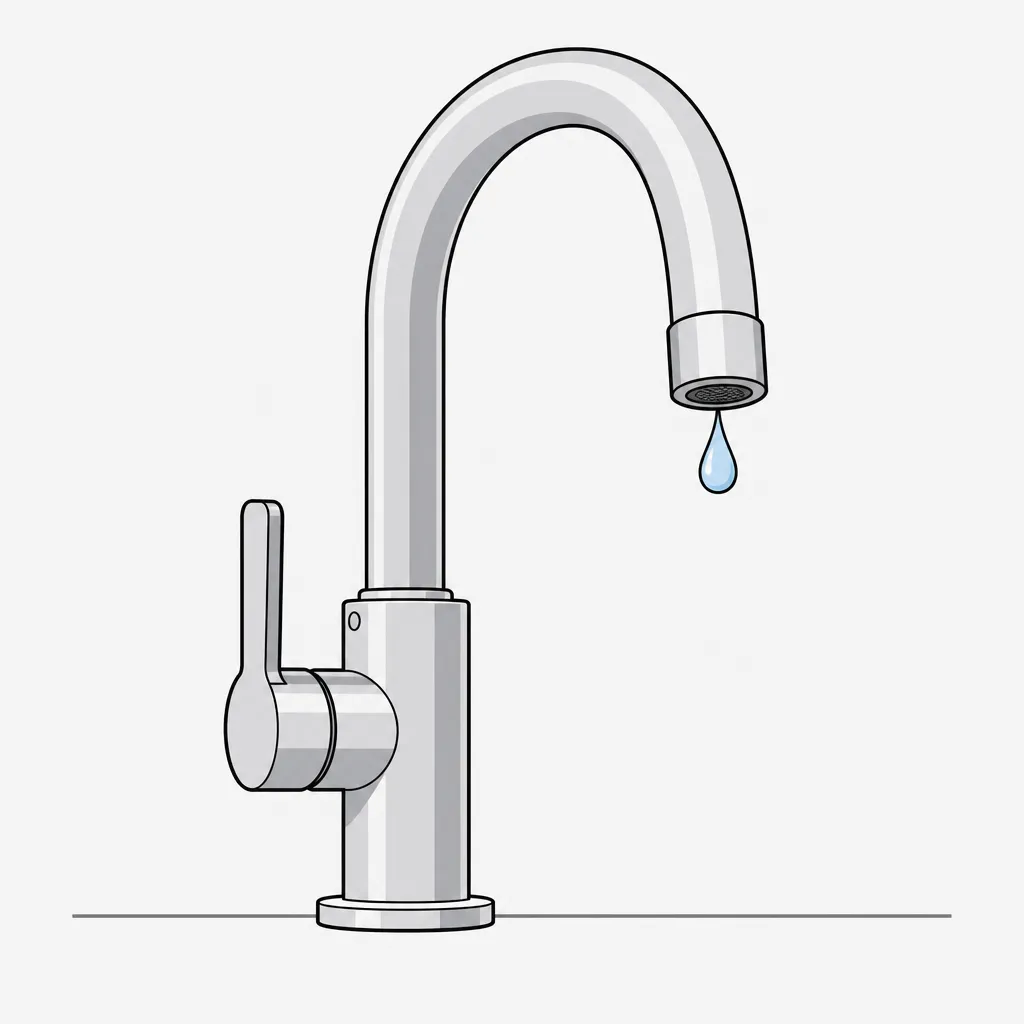
A leaky faucet usually means worn-out rubber washers, O-rings, or internal cartridges. Constant water pressure wears them down, hard water minerals cause corrosion, and cheap parts fail faster. Whether it's a steady drip from the spout, a sneaky leak around the base, or a frustrating hiss from the handle, that wasted water adds up quickly and the sound can drive anyone crazy. It's fixable.
That incessant drip... drip... drip... isn't just annoying; it's water down the drain and money out of your pocket. Fixing most leaky faucets is a surprisingly approachable DIY task. Before you even pick up a wrench, though, one experienced plumber's tip can save you a world of trouble: if your faucet keeps dripping after you've shut off the water valves underneath, the shutoff valves themselves are likely failing, not the faucet 1. You'll need to address that first.
Solution (Beginner to Intermediate - 30 minutes to 2 hours (depending on faucet type & complexity))
Step 1: Shut Off the Water & Prep Your Workspace
Locate the shutoff valves under your sink (turn clockwise until tight). Turn the faucet handles on briefly to drain remaining water and relieve pressure, then let them run for 30 seconds to flush out any debris. Place a rag or towel in the sink basin to catch dropped parts and protect the surface. Gather all your tools and materials within easy reach. Pro Tip: Take a photo of your faucet before disassembly – it's a useful reassembly reference.
⚠️ Warning: Never skip shutting off the water! Forcing parts under pressure can cause flooding.
Step 2: Remove the Handle & Access the Guts
Look for a small decorative cap on top of the handle (often hiding a screw). Pry it off gently with a utility knife tip or small flathead. Unscrew the handle screw and lift the handle off. If the handle is stuck, tap it gently with a cloth-wrapped screwdriver handle — don't force it; porcelain handles crack and soft metal screws strip easily. You'll now see the stem assembly (older faucets) or cartridge housing (modern faucets). Pro Tip: If you see a retaining clip holding the cartridge, use needle-nose pliers to carefully remove it.
Step 3: Extract the Stem or Cartridge
Use your adjustable wrench (or basin wrench for tight spots) to unscrew the retaining nut holding the stem or cartridge in place. Turn counter-clockwise. Once loose, carefully pull the stem or cartridge straight out. If it's stubborn, gently wiggle it side-to-side while pulling – don't yank. Place it on your work surface. Pro Tip: Keep track of the orientation of all parts as they come out – lay them in order on a towel.
Step 4: Identify & Replace Worn Parts
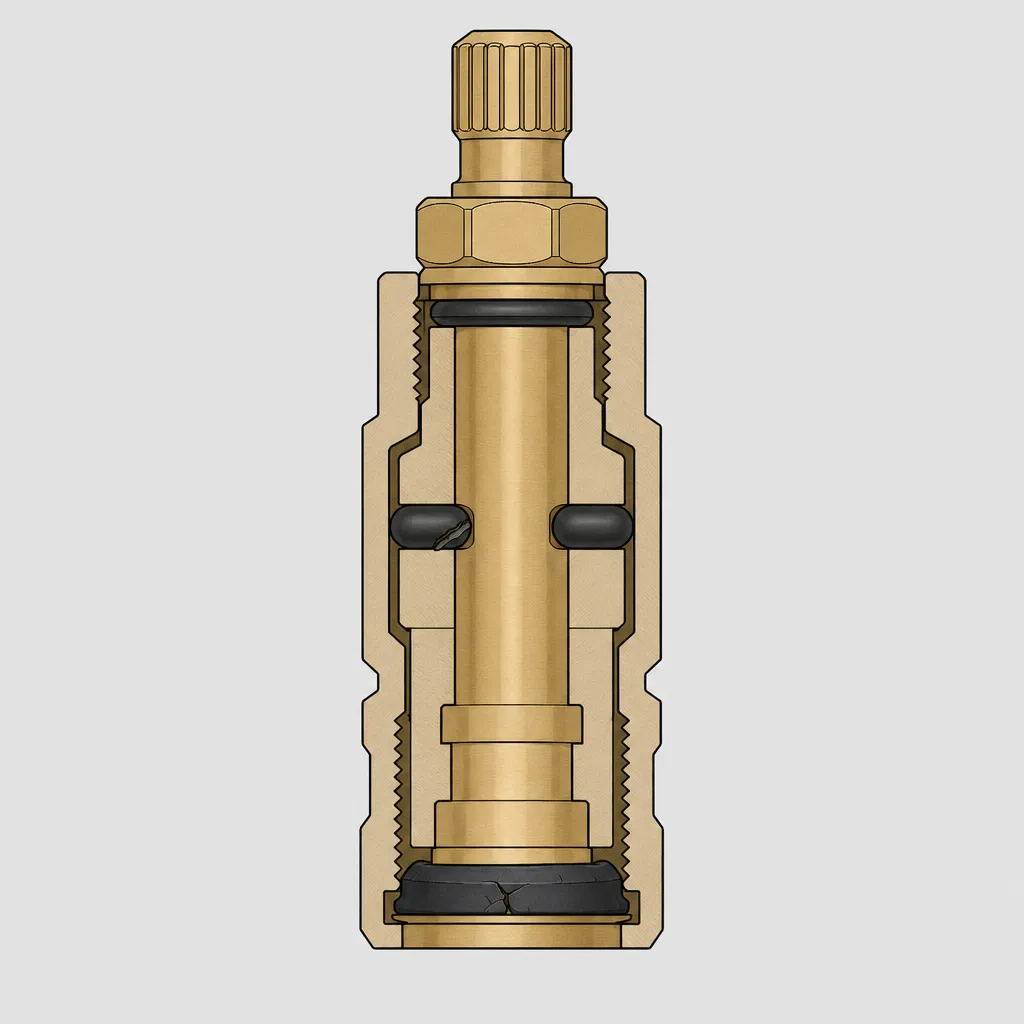
Inspect the stem/cartridge: 1) Spout Drip? Focus on the rubber washer(s) at the very bottom of the stem or cartridge. They'll be flat, cupped, or beveled. Look for cracks, flattening, or tears. 2) Handle/Base Leak? Focus on small O-rings along the sides of the stem or cartridge body. Look for nicks, flattening, or brittleness. Replace any damaged parts with exact matches from your kit. Apply a thin smear of silicone-based plumber's grease to all new O-rings and washer seats before reassembly — never petroleum jelly, which degrades rubber. Pro Tip: Clean mineral buildup off the metal parts with vinegar and an old toothbrush while they're out.
Step 5: Reassemble Everything Carefully
Insert the stem or cartridge back into the faucet body in the exact same orientation it came out. Hand-tighten the retaining nut first to avoid cross-threading, then snug it with the wrench – do not overtighten. Reattach the handle, ensuring it aligns properly with the stem/cartridge. Pop the decorative cap back on. Pro Tip: Snug is sufficient; overtightening crushes the seat and causes leaks.
Step 6: Test Slowly & Check for Leaks
Slowly turn the main water supply valves back on (counter-clockwise) — if a major leak appears, shut off immediately and recheck before trying again. Check for: 1) No drip from the spout when closed? 2) No water seeping around the base of the handle(s)? 3) No water pooling under the sink? If leaks persist, slightly tighten the retaining nut (handle base leak) or revisit washer/O-ring fit (spout drip). Pro Tip: Use a dry paper towel to dab around joints – it reveals tiny leaks easily.
Pro Tips
- Identify your faucet brand and model before buying parts — logos or stamped numbers are under the base or on the handles. A brand-matched kit avoids a return trip.
- An old muffin tin or egg carton keeps disassembled pieces in removal order and makes reassembly much less guesswork.
- Tape your wrench jaws with masking tape to protect chrome finishes from scratching.
- Soak mineral-encrusted parts in white vinegar for 15–30 minutes before scrubbing with an old toothbrush.
- If a screw is stripped, needle-nose pliers gripping the head can often still turn it out.
- Hold onto old parts until the repair holds — you'll sometimes need to compare a seal against the original to confirm the right size.
When to Call a Professional
Call a plumber if: 1) The leak is from the pipes under the sink, not the faucet itself. 2) Shutoff valves are stuck or leaking when turned. 3) The faucet body is cracked or badly corroded. 4) You've replaced washers/O-rings twice and it still leaks. 5) You feel uncomfortable or unsafe at any point. It's smarter to call than risk water damage.
Understanding the Problem in Detail
Think of faucet parts like tires. Constant friction from water pressure wears down the rubber—washers and O-rings. Hard water leaves mineral scale that acts like sandpaper, accelerating the wear. Cheap parts wear out faster. Different faucet types have different wear points, but rubber seals are always the weak link. A drip per second wastes over 3,000 gallons a year — you'll often notice the water bill creeping up before you can even hear the leak.
Sometimes the culprit isn't just a simple rubber washer. A worn ceramic cartridge paired with a valve seat that's become pitted by minerals can create a persistent drip that a basic washer swap won't touch. If you've replaced the obvious seals and the leak continues, you might be dealing with this deeper issue. That often means replacing the entire cartridge and resurfacing or replacing the seat.
Tools and Materials Guide
Wrenches: Basin wrenches ($10-20) are lifesavers for tight sink nuts – borrow or rent if needed. But they can be finicky. Working plumbers report that a basin wrench often fails to grip properly on corroded nuts, so you might need a strap wrench or an offset wrench as a backup 2. Washers/O-Rings: Universal kits ($5-10) cover most needs; brand-specific kits ($10-25) are better. Match the shape & size exactly. Cartridges: Identify brand/model first ($15-50). Always use manufacturer-specified replacement cartridges and O-rings for your faucet brand; using generic parts may cause leaks. Plumber's Grease: Silicone-based tub ($3-8) lasts years. Buy at hardware stores, home centers, or online. Silicone is the correct choice for any grease that contacts potable water components — the UPC prohibits petroleum-based lubricants in contact with drinking water supply systems 6. Alternatives: For a very stuck handle, penetrating oil (WD-40 Specialist Penetrant) can help, but keep it off rubber parts.
Safety Considerations
Turn the water off and double-check it before you touch anything. Wear safety glasses — mineral flakes and small spring clips can flick out unexpectedly. Keep the work area dry and wipe up any drips immediately; crawling under a sink in a puddle is a real slip risk. Watch for sharp edges inside sink cabinets, and crack a window if you're cleaning parts with vinegar.
The other thing to be deliberate about is force. If a part won't move, stop and reassess rather than muscling it — faucet bodies crack, threads strip, and a $10 repair becomes a much bigger problem. Position yourself carefully under the sink too; an awkward angle and a stuck nut is how backs get hurt.
Troubleshooting Common Issues
Stuck Handle: Tap gently with a cloth-covered hammer handle. Apply penetrating oil around the base (not on rubber), wait 15 minutes, try again. Stuck Retaining Nut: Ensure correct wrench size. Tap wrench handle gently with a hammer. Apply penetrating oil to threads. Leak Persists After Repair: 1) Did you replace ALL worn O-rings (not just washers)? 2) Is the new washer/O-ring the exact size/shape? 3) Did you apply plumber's grease? 4) Is the retaining nut snug but not overtightened? 5) Is the cartridge/stem seated perfectly straight? New Drip Location: Check if an O-ring got pinched or displaced during reassembly. Low Water Pressure After: Check aerator for debris – unscrew spout tip and clean screen.
Maintenance and Prevention
What wears out washers faster than years of normal use is force — cranking a handle shut hard crushes the rubber. Close handles gently and you'll get years more out of every seal. Every year or so, it's worth removing the handle, applying fresh silicone grease to the stem and O-rings, and reinstalling; it takes 15 minutes and prevents the next drip. Clean your aerators every three to six months while you're at it — a clogged aerator pushes backpressure onto the seals. If you have hard water and scale is building up quickly despite maintenance, a whole-house softener pays for itself in extended washer life.
If you're a first-time homeowner, it's easy to let these tasks slip. Experienced homeowners recommend creating a to-do list with reminders for routine maintenance like aerator cleaning and exercising shutoff valves to prevent leaks before they start 3. Setting a calendar alert for an annual lubrication and a semi-annual aerator check can save you from a midnight drip emergency.
Cost Analysis: DIY vs Professional
A washer-and-O-ring kit with silicone grease runs $5–$15. A replacement cartridge adds $15–$50 depending on brand. Either way, you're under $50 and done in an afternoon — versus $150–$350 for a plumber's visit, before parts. The water savings from stopping a one-drip-per-second leak pay back your kit cost within months. Leaky faucet repairs are handyman-level work, not something that strictly requires a licensed plumber 4 — if you're not up for it yourself, a trustworthy handyman is a perfectly reasonable and more budget-friendly option.
Related Plumbing Problems
If your handle has gotten stiff to turn, that's the same lubrication issue — fresh silicone grease on the stem fixes it without disassembling anything beyond the handle. Low pressure at one faucet is usually a clogged aerator, not a supply problem; unscrew the spout tip and clean the screen. A leaky kitchen sprayer typically has a failed diverter valve or a cracked hose O-ring. And if you've gained confidence here, a dripping showerhead is the same repair — same tools, same technique, same rubber seals wearing down from the same cause.
Frequently Asked Questions
I can't find the shutoff valves under my sink! What do I do?
Look carefully – sometimes they're behind pipes or insulation. Check nearby closets, the basement, or where the main water line enters your house for a whole-house shutoff. If truly inaccessible, you must call a plumber to install accessible valves before attempting the repair.
How do I know what kind of faucet I have?
Look for brand names. Count the handles: Two handles (hot/cold) are often compression or cartridge. One handle is usually cartridge, ball, or ceramic disk. If turning the handle(s) requires more than 1/4 turn to go from off to full on, it's likely cartridge/ceramic. If it spins freely, it might be a ball type. Take photos and show them at the hardware store.
I replaced the washers, but it's still dripping! Why?
The most common reasons are: 1) You missed a worn O-ring further up the stem or on the cartridge body (especially causing handle/base leaks). 2) The replacement washer isn't the exact correct size or type. 3) The seat (the metal surface the washer presses against) is pitted or damaged. 4) The retaining nut is too loose or overtightened. 5) The cartridge itself is cracked or worn internally and needs full replacement.
Is it worth fixing an old faucet, or should I just replace it?
If it's a simple washer/O-ring fix and you like the faucet, repair is very cost-effective. If the faucet body is corroded, parts are unavailable, you need multiple cartridge replacements quickly, or you want an upgrade (like a pull-down sprayer), replacement is a good option. Modern faucets are often easier to repair in the long run. When you do shop for a new one, experienced plumbers most often recommend Moen, Delta, and Kohler for their reliability and easy-to-find replacement parts 5.