No hot water at all, or hot water that runs out halfway through a shower? On an electric water heater, a burned-out heating element is one of the most common causes. It's a repair you can do yourself in an afternoon with a $10 element wrench and a multimeter.
The catch is that the element isn't always the problem. A tripped reset button, a failed thermostat or a dead breaker can look exactly the same, and plenty of people replace an element that was fine. So this guide starts with how to tell which part failed, then walks through the swap.
How to Tell Which Water Heater Element Is Bad
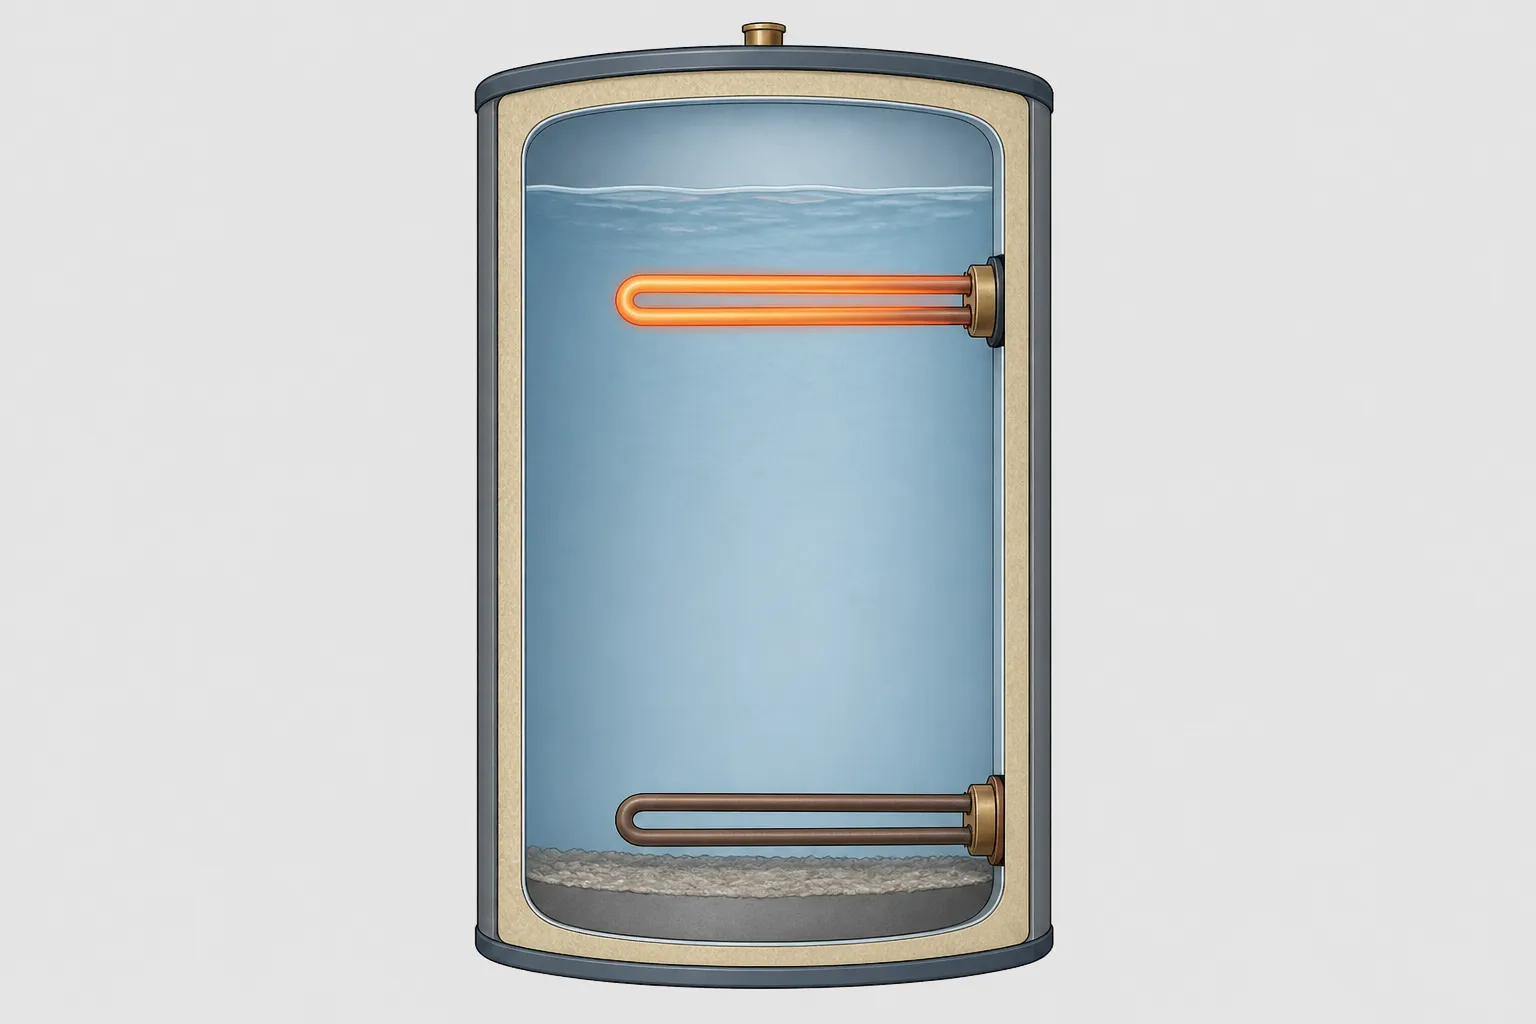
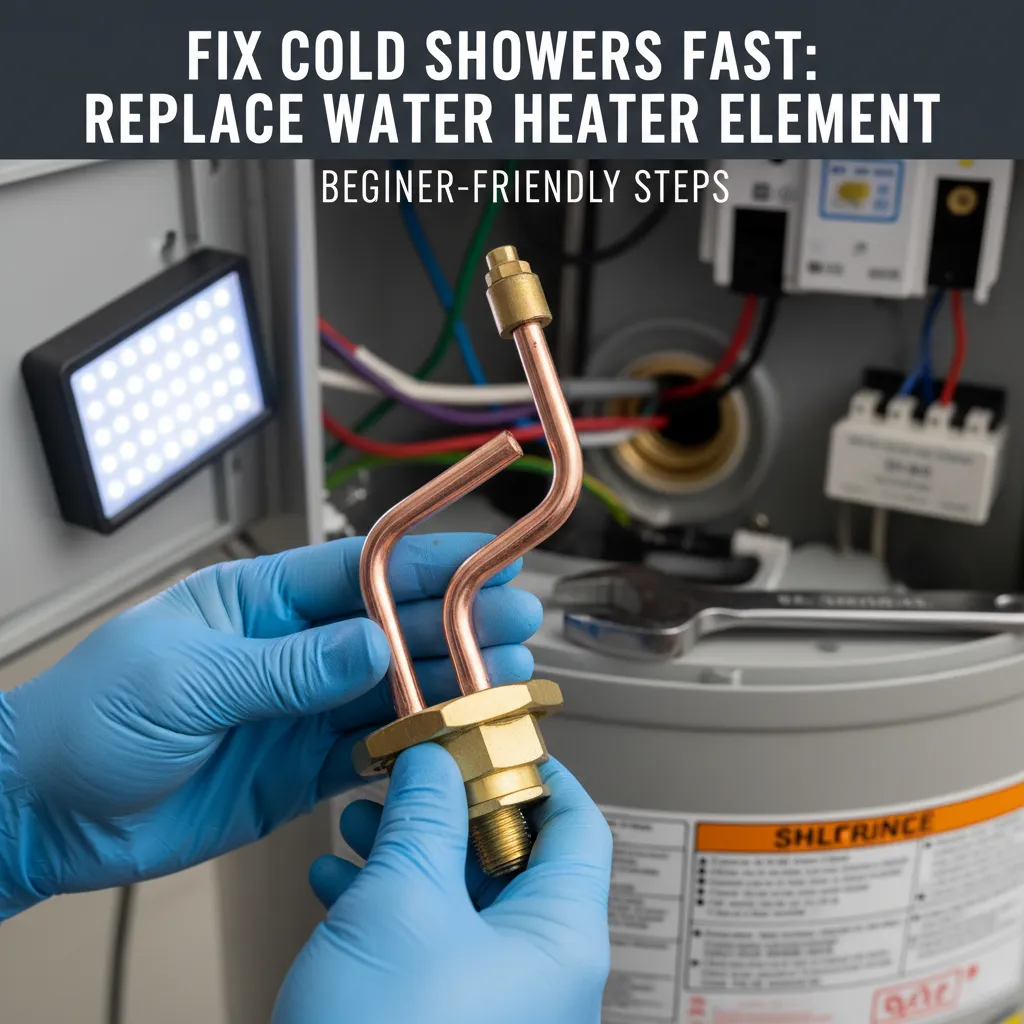
Most home electric water heaters have two elements: metal loops that reach into the tank and heat the water, a bit like the coil in a kettle. The upper element heats the top of the tank first. Once that water is hot, the upper thermostat (the temperature switch behind each access panel) hands power to the lower element, which does most of the heating from then on. The two never run at the same time.
That's why the symptom tells you where to look. A failed upper element causes a total loss of hot water, while a failed lower element only cuts the supply 1. No hot water at all? Test the upper element first. Running out faster than usual? The lower one is the likely culprit.
Elements usually die from sediment, age or dry firing. Minerals in your water settle to the bottom of the tank and crust onto the lower element. That crust insulates it, so the element runs hotter than it was designed to and eventually burns out.
Test the element with a multimeter
Turn the breaker off and confirm the power is dead first (Step 1 below covers how). Disconnect the wires from the element, set your multimeter to ohms and touch the probes to the element's two screws. A good 240-volt element reads roughly 10 to 16 ohms: a 4500-watt element works out to about 13 ohms, a 5500-watt one about 10.5. A reading of infinity (OL on most meters) means the wire inside has broken and the element is dead.
Next, check for a short. Touch one probe to each element screw in turn and the other to a bare metal part of the tank. With a continuity tester, the light should stay off on a good element. If it lights up, the element is shorted to the tank and has to go 2.
If both elements test good, look at the thermostats. This test is done with the power on, so if you're not comfortable testing live 240-volt circuits, call a plumber or electrician. Check for voltage across the top two screws of the upper thermostat. No voltage there means the problem is upstream: the breaker, the wiring, or the red reset button above the upper thermostat (the high-limit switch that cuts power if the water overheats). Voltage present and good elements? Replace the thermostats instead 2.
Working plumbers see the same two mistakes again and again. Homeowners swap both elements, only to find the upper thermostat or a tripped breaker was the real problem. Others dry-fire a brand-new element, powering it before the tank is full, and burn it out in 30 to 45 seconds 3.
How to Replace a Water Heater Element
Plan on 1.5 to 3 hours, most of it spent draining and refilling the tank.
Step 1: Turn off the power and water
Switch off the water heater's breaker (a 240-volt double-pole breaker, usually 30 amps) and tape the handle so nobody flips it back on. Close the cold-water valve above the tank, take off the access panel and check the element wires with your non-contact voltage tester. If you're not comfortable working around 240-volt wiring, call a plumber or electrician.
⚠️ Warning: A water heater runs on 240 volts. Confirm the power is dead at the element itself, not just at the panel, before you touch a wire.
Step 2: Drain the tank below the element
Connect a garden hose to the drain valve at the bottom of the tank, run it to a floor drain or outside, and open a hot faucet in the house so air can get in and the tank drains freely. For the upper element, drain until the water is below it, roughly a third of the tank. For the lower element you'll need to drain almost all of it, and the water may still be hot, so wear gloves.
Step 3: Remove the old element
Photograph the wiring, then disconnect both wires. Fit the element wrench over the element and turn it counterclockwise with steady pressure; rocking the wrench sideways can crack the tank fitting. Once it's out, clean any scale off the threads in the tank opening with an old toothbrush.
Step 4: Install the new element
Fit the new gasket (the rubber ring that comes with the element) and thread the element in by hand so it can't cross-thread. You don't need Teflon tape, because the gasket does the sealing. Snug it about a quarter turn past hand-tight with the wrench, then reconnect the wires exactly as in your photo.
Step 5: Refill the tank before you restore power
Close the drain valve, open the cold-water valve and leave a hot faucet running until the water flows steadily with no sputtering, which purges the air from the tank. Check the element for drips, put the panel back on, then switch the breaker on and give the tank about an hour to heat.
⚠️ Warning: Never turn the power on until the tank is full. An element firing in air can burn out in under a minute.
Tools and materials: element wrench, non-contact voltage tester, multimeter, screwdriver, garden hose, bucket and rags, work gloves, safety glasses, replacement element with a new gasket.
Choosing the Right Replacement Element
Check the data plate on the side of the tank before you buy. It lists the voltage and wattage of the elements, and the new element has to match both. Replacement elements come with a gasket and installation instructions, but a mismatched element can overload the thermostat and wiring, which is a safety risk 4. So if your old element was 4500 watts, stick with 4500 unless an electrician confirms the circuit can handle more.
Most replacements are 1-inch screw-in elements rated 240 volts at 4500 or 5500 watts. They come in copper or stainless steel, some with resistored or dry-fire-resistant designs 5. For example, the Rheem SP10552MH is a 1-inch copper resistored 240V/4500W element, and the SP10869PH is a 1-inch stainless resistored 240V/5500W. If you've burned out an element before, the Rheem RPD-SP17198BM is a 240V/4500W stainless dry-fire-resistant LWD element (low watt density, meaning the heat is spread over a longer element so it runs cooler), and it ships with a gasket 5.
An element wrench costs $8 to $20 and it's worth buying. Pliers or a pipe wrench can slip and damage the tank opening, which turns a $30 repair into a new water heater.
Safety: Shock and Dry Firing

Treat every wire as live until your tester says otherwise, and drain the water well away from the electrical panel and the heater's wiring. Use only an element wrench on the element, and don't overtighten it; the tank fitting cracks more easily than you'd think.
The other big risk is to the element itself. Powering an element before the tank is refilled can destroy it in 30 to 45 seconds, though some dry-fired elements fail months later, so always refill and purge the air before restoring power 6.
I'm not a licensed electrician, and this guide doesn't replace your local electrical code. If you see any sign of an electrical fire or scorched wiring, stop and call a licensed professional. Don't attempt a DIY thermostat swap on fire-damaged wiring 7.
Water Heater Still Not Working After Replacing the Element
Leaking at the new element? Tighten it another eighth of a turn. If it still leaks, drain down again and replace the gasket.
Still no hot water? Check the breaker, then press the red reset button above the upper thermostat. If it trips again, the thermostat or wiring needs attention.
New element burned out right away? It was almost certainly powered before the tank was full. Replace it and purge the air properly this time.
Breaker trips? Make sure none of the wire connections are touching the tank or the panel.
Water smells or tastes metallic? Flush the tank completely, because the repair stirs up sediment.
Low flow at a faucet after an element and thermostat swap is usually a clogged aerator (the small screen at the tip of the faucet), not a plumbing failure. Experienced plumbers say to unscrew it and clean out the debris, or soak it in white vinegar for several hours 8.
Maintenance: Flushing and Testing Elements
Flush the tank once a year to clear sediment: attach a hose to the drain valve and drain until the water runs clear. Test the elements every couple of years with a multimeter; they should still read 10 to 16 ohms. Setting the thermostat to 120°F cuts scale buildup and saves energy, and checking the anode rod (the sacrificial metal rod that protects the tank from rust) every few years extends the tank's life.
If you're in an earthquake area, check your strapping too. UPC Section 507 requires water heaters to be accessible for service and anchored against movement. The straps must sit within the upper and lower thirds of the tank's height, and the lower strap needs at least 4 inches of clearance from the controls 9. Check which code your area has adopted before relying on this.
Water Heater Element Replacement Cost
A DIY element swap runs $50 to $150 in parts. A professional job averages $150 to $300 including labor, and replacing both upper and lower elements runs $250 to $450 depending on tank size and element type 10. Angi puts professional element repair at about $200 to $300 11.
That's real money saved, but look at the tank's age before you spend it. On a 26-year-old tank, replacing elements is usually throwing money at a sediment-filled unit. Experienced plumbers recommend replacing the heater instead, and insurers may ask about its age 12.
As a rough rule, if your tank is over 12 years old and showing rust, leaks or heavy sediment, a new heater usually makes more sense than repeated element swaps. On a younger, healthy tank, a DIY element replacement is an easy way to save $100 or more.
When to Call a Plumber Instead
Some problems aren't element problems. Call a pro if the tank itself is leaking (that can't be repaired, only replaced), if the breaker keeps tripping after the repair, which points to a wiring fault, or if you'd rather not test live circuits. Expect to pay $150 to $300 for the visit and repair.
If new elements don't fix it, the usual suspects are a faulty thermostat (test it as described above), a tripped high-limit switch, a tank packed with sediment that needs a thorough flush, or a failing temperature and pressure relief valve, which shows up as water dripping from the overflow pipe on the side of the tank.
Frequently Asked Questions
Should I replace one element or both?
Both, if the tank's already drained. Elements wear at similar rates, and replacing the second one now saves you draining the tank again later. The lower element works hardest and usually fails first, but the upper isn't far behind.
How do I know if it's the element or the thermostat?
Test the elements first, with the power off and the wires disconnected. A good element reads 10 to 16 ohms; infinite resistance means it's dead. If both elements test fine, the thermostat is the likely problem, and a tripped red reset button is the first thing to check.
Why isn't my new element working?
There are three common reasons. The power went on before the tank was full and burned out the new element, the high-limit reset button is still tripped, or there's air trapped in the lines (run hot water at every faucet for a few minutes). Always confirm the tank is full before restoring power.