When to Call a Professional
Before you grab tools or shut off the water, check whether your situation is a safe DIY project. Some valve replacements cross into territory where a mistake can flood your home or break the law, and it's smarter to call a licensed plumber from the start.
You'll want a professional if:
- Your main shut-off valve is at the street or buried in a meter pit. Utility companies often own the valve on the street side of the meter, and tampering with it can lead to fines or liability if something breaks 1. Many municipalities require a plumber with a permit to work on the customer-side main valve 2.
- The existing valve is soldered or threaded onto galvanized steel pipe. Removing old galvanized fittings without cracking the pipe takes experience, and working plumbers report that these jobs often turn into chasing rusted threads farther down the line 3.
- You're dealing with CPVC, PEX-A with expansion fittings, or any pipe material that requires specialty tools and technique. A bad crimp or solvent-weld joint can hold for a while and then let go when you're not home.
- The valve is in a tight, fire-hazard spot where you'd need to solder close to wood framing or insulation. One homeowner learned the hard way that a heat shield can slip, and the resulting smolder isn't worth the risk.
- Your home has a PRV (pressure reducing valve) or backflow preventer near the main shut-off, and you're not sure how to depressurize the system safely. Releasing pressure incorrectly can damage the PRV or send a slug of water backward into the municipal supply.
If any of these apply, stop and call a plumber. The cost of a pro install for a main shut-off valve typically runs $375 to $600 for a straightforward replacement, and $600 to $1,200 if the valve is in a crawlspace, buried, or requires rerouting pipe 4. That's cheap insurance compared to a failed DIY repair that dumps water into your house for hours.
Safety Considerations
Wear gloves to protect from sharp pipe edges. Shut off water heaters BEFORE draining pipes to prevent element damage. Beware of lead in pre-1980 pipes – wash hands after handling. Never stand directly under pipes when reopening the main valve.
Where you put a valve matters for safety. The IPC 2018 Section 305.6 requires piping to be protected from physical damage, so don't tuck a shutoff behind a laundry cart or in a spot where it'll get kicked 5. And if you're thinking about an unconditioned space like an attic or crawlspace, check your local code — Indiana's freeze-protection rule, for example, prohibits water lines in areas subject to freezing temperatures 6. A frozen valve can burst and flood the house, so keep it inside the conditioned envelope.
Understanding the Problem in Detail
Shutoff valves fail because of mineral buildup, corrosion, or cheap plastic parts. Older homes often lack valves at individual fixtures—codes have evolved. A working valve isolates problems so you don't have to turn off water to the whole house during repairs.
Compression valves (no soldering) are ideal for beginners. For copper pipes, use quarter-turn ball valves. PEX pipes require crimp or clamp tools. Buy valves at hardware stores—avoid big-box store bargain bins. Quality brands include BrassCraft, SharkBite (push-fit), and Apollo.
When you install a ball valve, point the handle in the direction of flow when the valve is open. That way you can tell at a glance whether it's open or closed 7. For a truly reliable shutoff, look for valves rated for bubble-tight performance. The Watts LFB6800 series, for example, is designed to provide bubble-tight shutoff up to 600 psi when selected for your pressure and temperature 8.
Step-by-Step Installation
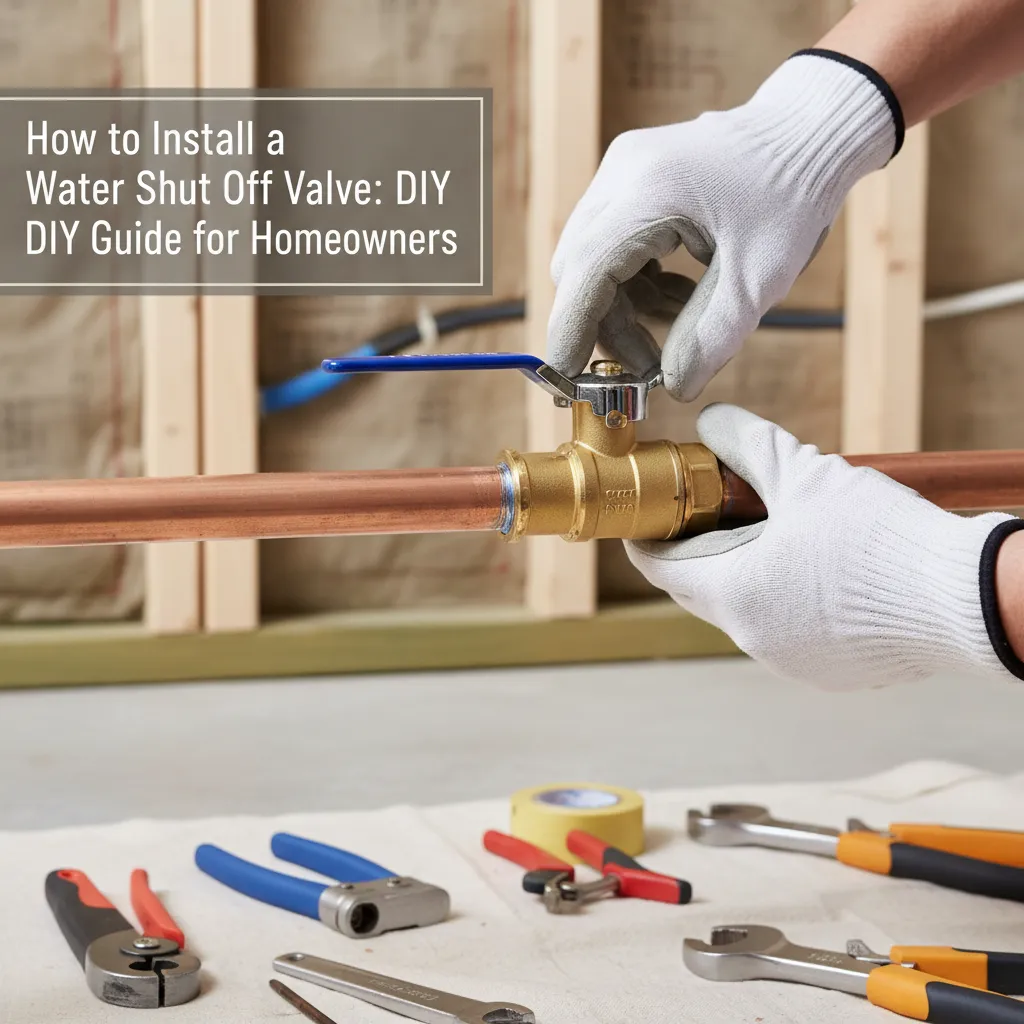
Installing a shut-off valve yourself is straightforward if you stick to compression or push-fit fittings—no soldering required. Here’s how to do it safely, with clear off-ramps when a task is beyond a typical DIY job.
Step 1: Shut off the main water supply Locate your main shut-off valve (usually near the water meter or where the line enters the house) and turn it fully clockwise. Open a faucet at the lowest point in the house to drain the pipes.
Step 2: Cut the pipe cleanly Mark the pipe where the valve will go, then use a tubing cutter for copper or a PEX cutter for PEX. Rotate the cutter around the pipe, tightening gradually until it severs cleanly. A hacksaw leaves burrs that cause leaks—skip it. If you’re working on galvanized steel pipe, call a plumber. Threading or cutting old galvanized lines often leads to cracked fittings and hidden corrosion.
Step 3: Deburr and clean the pipe end For copper, ream the inside of the cut with the deburring blade on your cutter, then sand the outside with emery cloth until bright. For PEX, ensure the cut is square and free of plastic shavings. A smooth, clean surface is what makes compression and push-fit seals hold.
Step 4: Mark the insertion depth (push-fit only) If you’re using a push-fit valve, measure the socket depth and mark that distance from the pipe end with a pencil. Push the valve on until the mark meets the release collar—this confirms full engagement.
Step 5: Install the valve
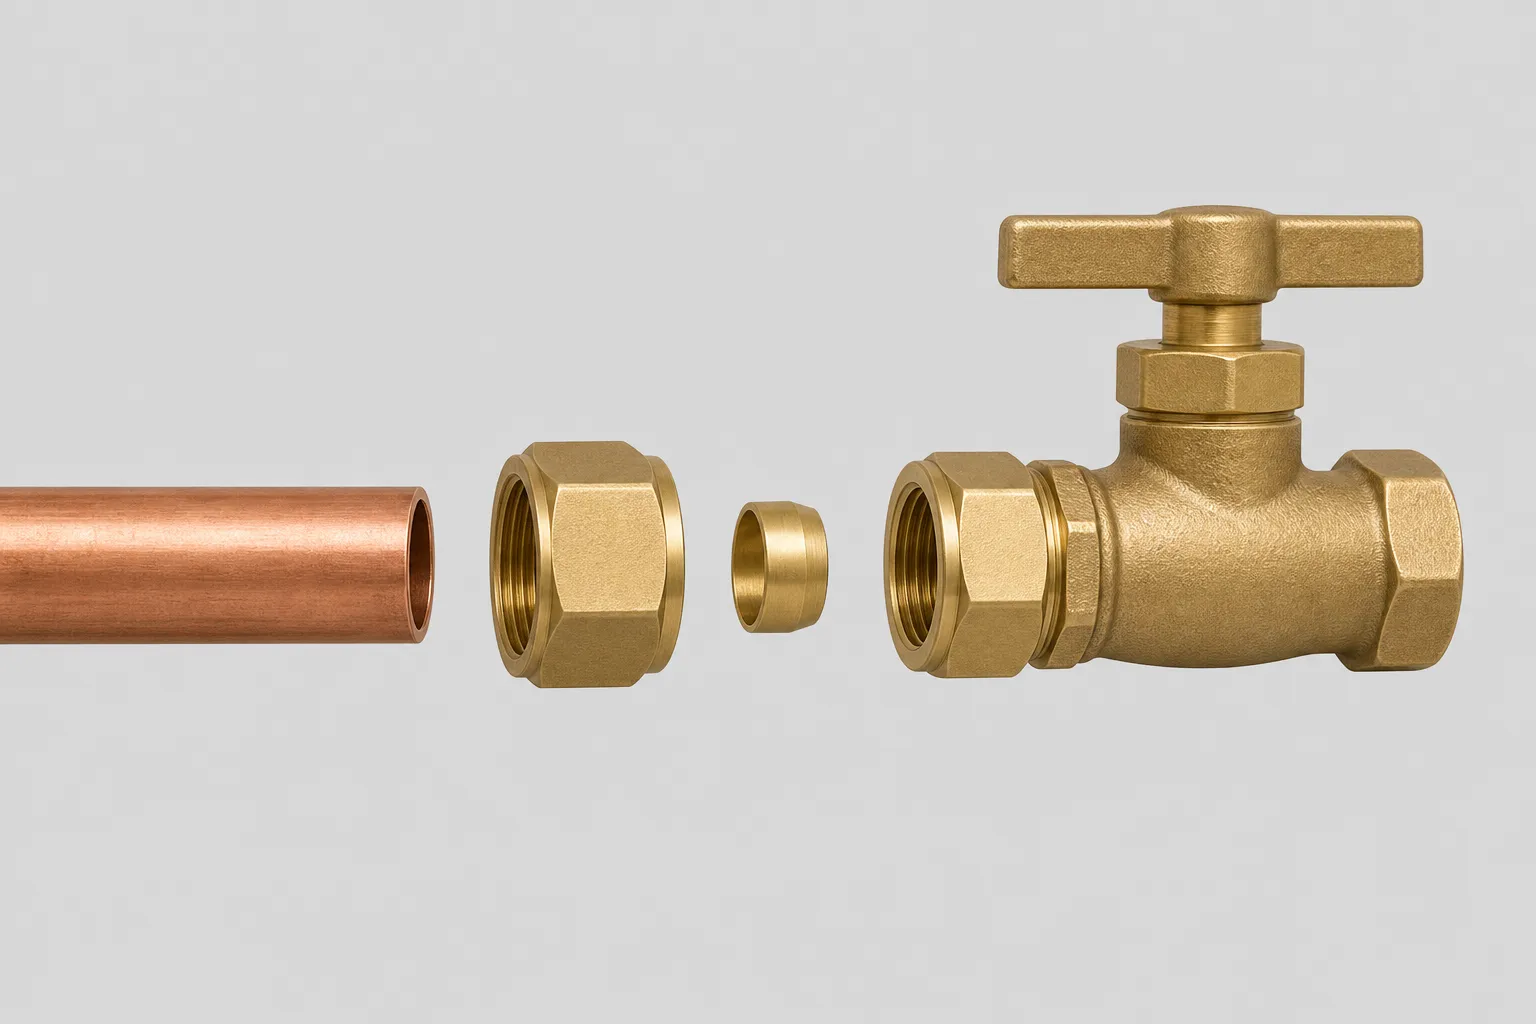
- Compression valve: Slide the compression nut and ferrule onto the pipe, insert the valve body, and hand-tighten the nut. Hold the valve body with one wrench while tightening the nut with a second wrench. Go 1/2 to 3/4 turn past hand-tight—overtightening crushes the ferrule and causes leaks.
- Push-fit valve: Push the valve straight onto the pipe until it bottoms out at your depth mark, then give it a firm tug to confirm it’s locked. If you’re installing on CPVC, call a plumber. CPVC becomes brittle with age and can shatter during valve installation.
Step 6: Attach the outlet side Connect the supply line to the valve outlet. Use Teflon tape or pipe dope on tapered threads only—never on compression or push-fit joints. Hand-tighten, then snug with a wrench.
Step 7: Test for leaks Turn the main water back on slowly. Check every joint with a dry paper towel. If you see a weep at a compression nut, tighten it in 1/8-turn increments until it stops. A push-fit leak usually means the pipe wasn’t fully inserted—shut off the water, remove the valve, and reinstall.
Tools & Materials: tubing cutter, emery cloth, deburring tool, adjustable wrenches, Teflon tape, marker, paper towels.
⚠️ Warning: Never use a push-fit valve on a pipe with scratches, pitting, or uneven cuts. The O-ring needs a perfectly smooth surface to seal. A blow-off under pressure can flood your house in minutes.
If you’ve followed these steps and still get a persistent drip, the pipe surface may be damaged or the valve itself defective. Shut off the water and inspect the sealing surfaces—replace the valve if you find nicks or a cracked ferrule.
Troubleshooting Common Issues
Leaking compression joint? Tighten it a little at a time. Still leaking? Take it apart and check the ferrule alignment. Valve won't turn? Tap the handle gently with a wrench to break up mineral deposits. Low water flow after? Look for crushed pipes or debris in the aerators.
If you're working on galvanized pipes, expect hard water deposits that may clog downstream fixtures when you disturb the plumbing. One homeowner noted: "I’ll bet those old galvanized pipes are pretty full of hard water deposits too. When you replace you’ll rattle around the pipes and probably knock some stuff loose." 3 Before you reconnect supply lines, flush the lines to clear debris. A plumber advised: "Before I reconnected the supply lines to my faucets, I might rig up a way to blow out the lines or flush them." 3
Pro Tips
Once you've got the valve in place and the water back on, a few small habits will keep things working smoothly. I've seen plenty of installations that were mechanically sound but still caused headaches later because of these details.
Always orient a ball valve so the handle is accessible when the valve is open — you don't want to have to reach behind a pipe or into a tight space to turn it off in an emergency. If you're installing a quarter-turn ball valve on a copper line, use a proper tubing cutter, not a hacksaw. A clean, square cut prevents leaks and makes the compression or push-fit connection more reliable 7.
After installation, cycle the valve open and closed a few times to make sure it operates smoothly and doesn't bind. Then check for drips at the connections with a dry paper towel — even a slow weep can cause water damage over time.
If you're working with galvanized steel pipes, expect the old valve to be stubborn. Experienced plumbers often recommend heating the fitting with a torch to break the rust bond, but if you're not comfortable with a torch near combustible materials, call a pro 3.
For compression fittings, don't overtighten. Snug the nut by hand, then give it a quarter to half turn with a wrench. Overtightening can deform the ferrule and cause a leak that's hard to fix 9.
Finally, label the valve if it's not obvious what it controls — a simple tag can save you frantic searching later.
Maintenance and Prevention
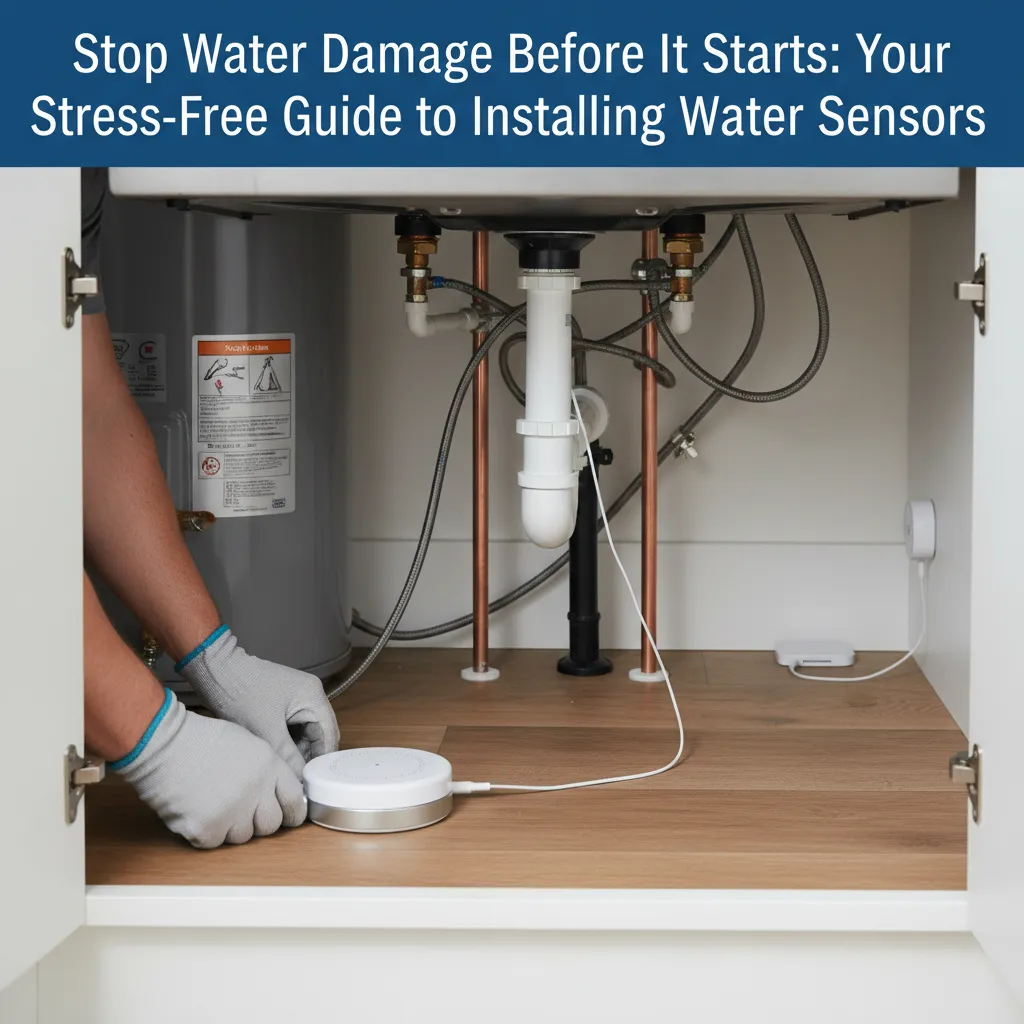
Turn your valves twice a year to keep them from seizing. If you've got pipes in unheated spaces, slip on some pipe sleeves so they don't freeze. Stick leak detectors under sinks—they'll catch drips early. Plastic valves usually need replacing every 5–7 years, while brass ones can last a decade or more.
Cost Analysis: DIY vs Professional
A DIY shut-off valve replacement typically runs $20–$50 for parts—a compression valve and a tubing cutter, for example 10. Hiring a plumber costs $277–$333 per valve for standard installations 10. That’s a significant spread, and it widens further when you’re dealing with the main water shut-off. Replacing a main valve averages $500, and if trenching is required, the bill can climb to $875 11.
One way to keep pro costs down is to bundle the work with other plumbing projects—you’ll avoid paying a separate service call fee. And don’t overlook the insurance angle: some insurers offer discounts for emergency shutoff systems, which can offset part of the installation cost over time.
Related Plumbing Problems
Frozen or burst pipes, low water pressure, leaky faucet repairs, appliance hose failures, water hammer noises — they all become manageable when you've got proper shutoff valves installed.
Frequently Asked Questions
Can I install a valve without shutting off main water?
No. Attempting this will flood your home. Always shut off the main supply first — no exceptions. If the main valve is stuck, call a pro immediately.
Why does my new valve leak after installation?
90% of leaks come from: 1) Under-tightening/over-tightening compression nuts, 2) Forgetting the ferrule, 3) Debris on pipe surface, or 4) Cross-threaded connections. Disassemble, inspect, and redo the connection carefully.
Are push-fit valves (like SharkBite) reliable?
Yes, when installed properly on clean, cut pipes. They're perfect for tight spaces or temporary fixes but cost 3x more than compression valves. Follow the insertion-depth marks exactly.