How High Should Sprinkler Heads Be Above Ground?
Getting the height right for your Rain Bird 1800 pop-up heads makes the difference between even coverage and a sprinkler that scalps the grass or trips you up. In most cases, the top of the head should sit flush with the soil surface or just slightly above it 1. That keeps the spray pattern clear of the turf while the head is down, and it won't catch a mower blade.
If a head sticks up too high, it's a tripping hazard—one homeowner put it bluntly: "Trust me, one day you'll roll your ankle on that" 2. A high head also risks damage from mowers and trimmers, which can crack the case or knock the nozzle out of alignment 2.
The exact height you need depends on how you mow. If you cut your lawn at 4 inches, a collar that's flush with the soil won't cause problems. But if you use a reel mower and cut low, you'll want the top of the head at least flush with the soil—maybe even a hair below—so the blades pass over it cleanly 2.
Before you dig, check for any plants or obstacles that might block the spray when the head pops up. Also think about future soil settling or landscaping changes that could shift the head's height over time. For the Rain Bird 1800 specifically, the manufacturer's installation guide is your best reference for model-specific depth and height specs 3.
Remember that water pressure, nozzle selection, and head spacing all play into how well your system performs. If you're unsure about the right setup for your landscape, an irrigation specialist can give you tailored advice.
What Height to Install Rain Bird Bodies with Bare Soil?
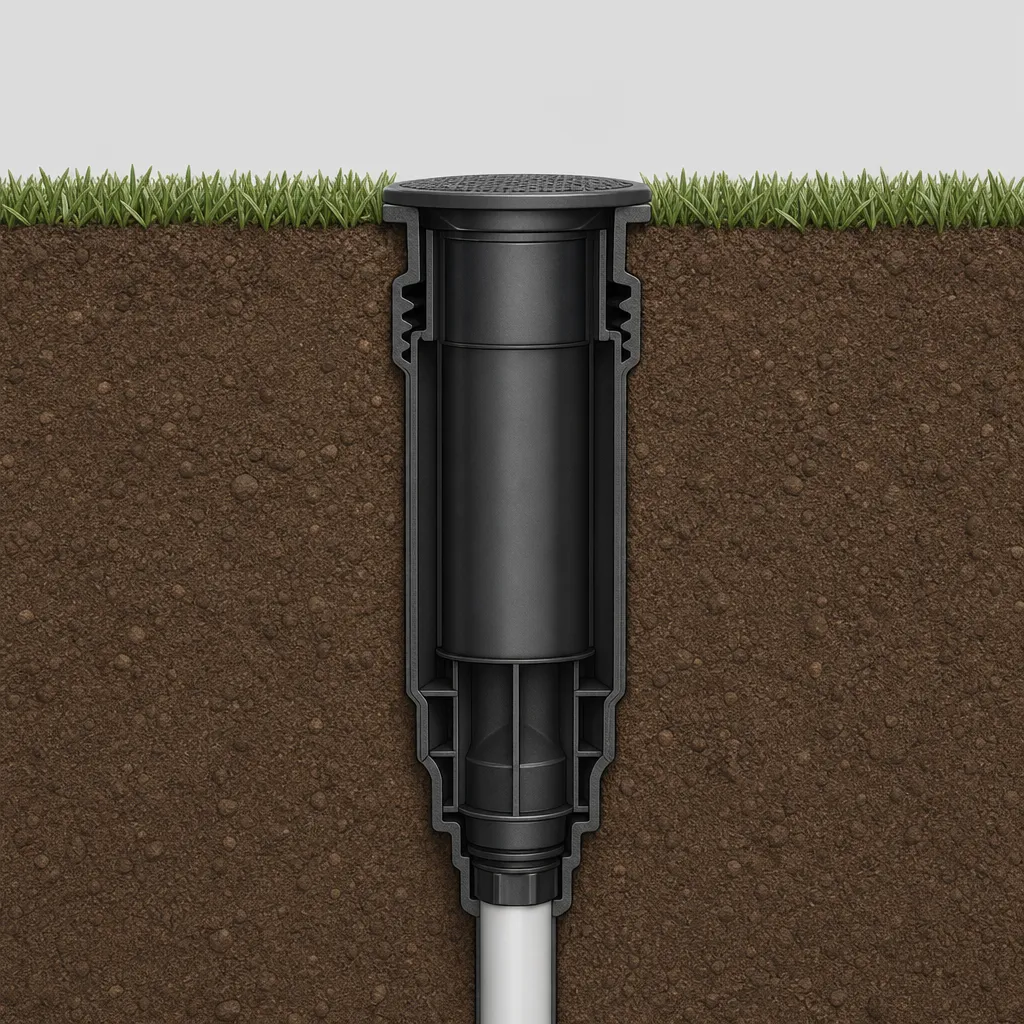
When you're installing Rain Bird 1800 pop-up bodies in bare soil, you want the top of the body flush with the soil surface 1. That keeps the head safe from mowers and foot traffic while letting it pop up properly. Here's how to do it:
Step 1: Set the depth Dig a hole so the body's cap sits level with the surrounding soil. If you're working with loose or freshly tilled soil, account for some settling—aim about ¼ inch above grade initially.
Step 2: Secure the body Place the Rain Bird body in the hole, check that it's level, and backfill gently. Tamp the soil with your hands or a shovel handle to remove air pockets, but don't over-compact—you don't want to restrict the riser.
If you end up with a body that's too low, you can raise it with a 2-inch riser extension (Rain Bird makes a 2-inch version, the 1802) or by adding a coupling to extend the riser 4. If it's too high, you'll need to dig it out and lower the connection. If adjusting the height requires cutting or extending the supply pipe, call a plumber—messing with the lateral line under pressure can lead to leaks or breaks.
Still not sitting right after you've adjusted? If the body keeps sinking, the soil may be too loose—try mixing in some gravel at the base for better support. If it's popping up crooked, the swing joint might be binding; loosen the connection and re-level before backfilling.
Components or variations
Rain Bird’s 1800 series is a workhorse in residential pop‑up irrigation, but you’ll see a few different versions on the shelf. The standard 1800 body pops up 4 inches — enough to clear most turf and low groundcover. If you’ve got taller grass or perennials that block a short spray, the 1804 lifts 4 inches and the 1812 extends 12 inches. That extra height keeps the spray pattern from getting clipped by foliage 3.
Inside the body, the nozzle shapes the water. Fixed‑arc nozzles (90°, 180°, 360°) are the simplest. Adjustable‑arc VAN nozzles let you dial in the pattern with a small screwdriver. For narrow strips along a fence or driveway, you’ll find side‑strip and center‑strip nozzles that throw a rectangular fan. All of them thread into the same 1800 body, so you can swap nozzles later without digging up the whole head 3.
You might also run into the 1800‑SAM. It has a built‑in check valve to stop low‑head drainage — handy on slopes where water would otherwise dribble out of the lowest heads after the zone shuts off. If your water has a lot of grit, the 1800‑PRS includes a pressure‑regulating stem that holds the nozzle at 30 psi. You get consistent droplet size and range even when your house pressure spikes 3.
Experienced plumbers often point out that the 1800 body itself is the same across these variants — the differences are in the internal stem and cap. That means you can upgrade an existing 1800 to a SAM or PRS by swapping the guts without replacing the whole canister, which saves a lot of digging 4.
How Deep to Bury Sprinkler Lines?

Burying sprinkler lines at the right depth protects them from damage and keeps your irrigation running smoothly. Typical trench depths for sprinkler pipe range from 6 to 12 inches 3. If your area doesn't have established codes for lateral line depth, you'll usually be safe within that 6- to 12-inch range 5.
In cold climates, though, you'll need to go deeper. Pipes must be buried below the frost line to prevent freezing, which often means going deeper than 12 inches 6. The International Plumbing Code requires pipes to be protected from freezing 7, so check your local frost depth and dig accordingly. Some experienced installers even recommend burying lines 16 to 18 inches deep for added protection 8.
Here's how to get the depth right:
Step 1: Check local codes Call your building department or check online for frost line depths and any local irrigation codes. This sets your minimum depth.
Step 2: Plan your trench Mark the trench path with spray paint or flags. Keep it straight and avoid utilities.
Step 3: Dig the trench Dig to your target depth—usually 6 to 12 inches in mild climates, or below the frost line in cold areas. Make the trench just wide enough to work in.
Step 4: Lay and connect pipe Lay the pipe in the trench and connect fittings. If you're using PVC, you'll need to solvent-weld joints. If you're not comfortable with PVC cementing, call a plumber for this step.
Step 5: Backfill carefully Shovel soil back in, removing rocks that could damage the pipe. Tamp lightly every few inches to avoid settling.
Still worried about freezing even after burying below the frost line? In borderline climates, adding a layer of rigid foam insulation above the pipe before backfilling can give you extra peace of mind.
When this matters for you
Getting the depth right on your Rain Bird 1800 heads isn't just a technical detail — it's what stops you from scalping sprinklers with the mower, tripping kids on exposed caps, or watching water pool where it shouldn't. If you're installing a new zone, retrofitting an old system, or just fixing one head that keeps getting knocked askew, the height you set now determines how evenly your lawn drinks for years. I've seen too many homeowners bury heads flush with bare soil, only to have the turf grow over the cap by midsummer 3.
You'll also care about depth when you're trenching for supply lines. In freeze-prone regions, burying lateral pipes below the frost line isn't optional — it's code 7. But even in mild climates, going too shallow leaves PVC vulnerable to a shovel or aerator. The right depth keeps your system invisible, durable, and easy to maintain without digging up half the yard every spring.
Frequently Asked Questions
How high should a Rain Bird 1800 pop-up head sit above the soil?
The top of the body (the cap) should be flush with the finished grade — not the soil surface you see right after digging. If you're working with bare soil, set the cap about ½ inch above the surrounding dirt to allow for settling after you backfill and water everything in 1. Once the lawn is established, the cap should sit level with the grass, not below it. A head that's too low gets buried by thatch and won't pop up fully; one that's too high becomes a tripping hazard and a mower blade target 2.
How deep do I bury the sprinkler supply lines?
In warm climates where the ground doesn't freeze, 6 to 8 inches is typical for lateral pipes 1. If you live where frost penetrates the soil, you'll need to go deeper — the IPC requires burying water pipes below the local frost line, which can be 12 inches or more depending on your region 7. Swing joints and funny pipe that connect the lateral to the head usually run shallower, but the main laterals must stay below the freeze zone. When in doubt, check your local building department for the required depth.
Can I adjust the height of a Rain Bird 1800 after it's installed?
Yes, but it's easier to get it right the first time. If the head ends up too low, you can dig around it, unscrew the body, and add a threaded riser or a longer nipple underneath — just don't stack more than one or two short risers, because that can make the assembly wobbly 4. If it's too high, you'll need to dig deeper and either cut the supply pipe lower or replace the swing joint with a shorter configuration. If cutting into the lateral pipe or re-gluing PVC fittings is required, call a plumber — a bad glue joint underground will leak and undermine the head.
What if my sprinkler head still doesn't pop up fully after setting it flush?
First, check that the cap isn't packed with dirt or grass clippings — debris in the wiper seal can bind the riser stem. Next, make sure the supply valve is fully open and the zone isn't over-pressured or under-pressured. If those are fine, the problem is usually that the body settled after installation and is now too low. Dig it up, add a ½-inch riser, and re-set it flush with the grade 1.
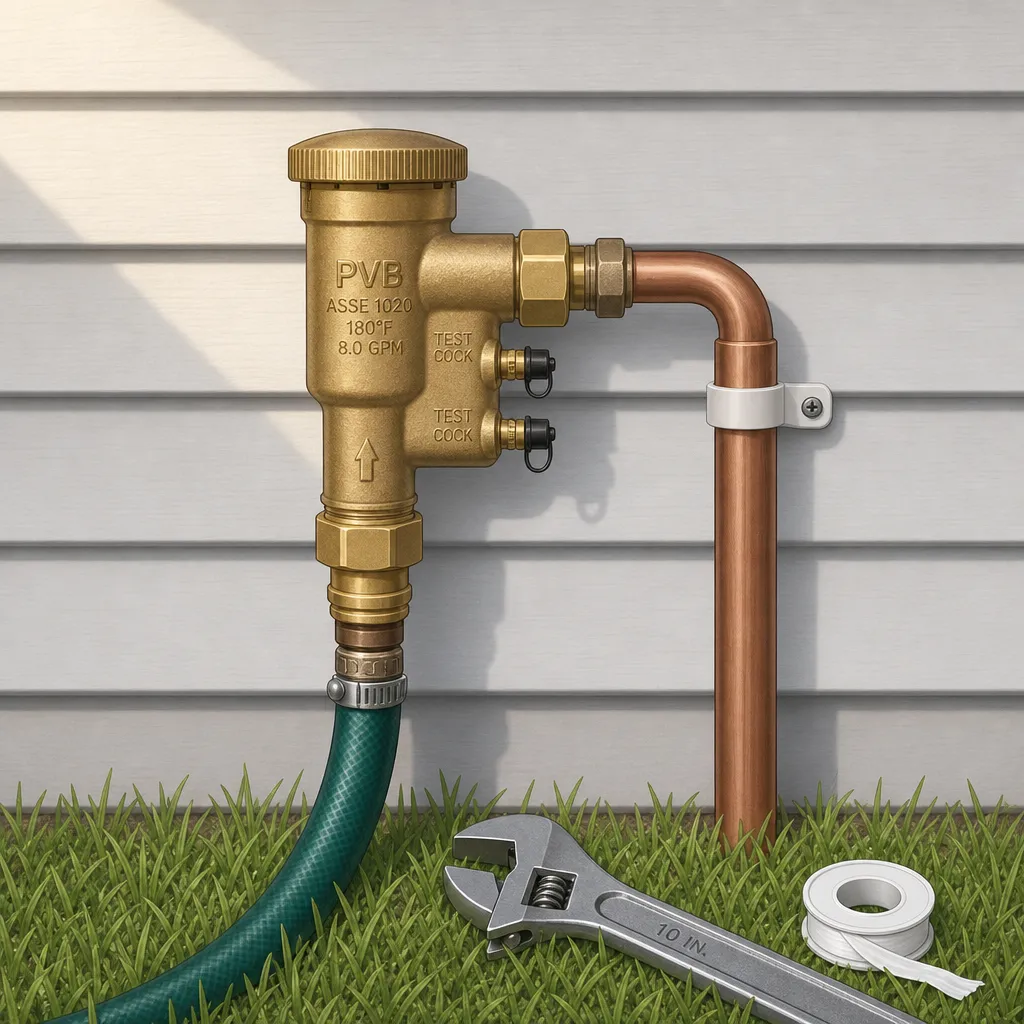
Do I need to use Teflon tape on the threaded connections?
Rain Bird 1800 heads have tapered pipe threads, so yes — wrap the male threads with three to four turns of PTFE tape before threading on the fitting. Don't use pipe dope; it can degrade the plastic over time. Hand-tighten plus a quarter turn with a wrench is enough — over-tightening can crack the body 3.
Related topics
If you're working on a Rain Bird 1800 system, you'll also want to plan your system layout, adjust the spray pattern once the heads are in, and winterize the lines before the first freeze.