When to Call a Professional
Some water main jobs are too risky or complex for a DIY approach. If you're dealing with any of these situations, stop and call a licensed plumber before you pick up a shovel.
- Your local code requires a licensed contractor for water service work. Many jurisdictions won't let homeowners pull permits for main-line connections, and doing the work without one can lead to fines or a failed inspection.
- The trench needs to go deeper than 5 feet. Shoring and safety get serious fast, and a cave-in can be deadly.
- You're connecting to a municipal main under pressure. A live tap is not a DIY task — one mistake can flood the street or contaminate the public supply.
- The existing line is lead or galvanized steel and you're not sure how to handle the transition. Disturbing old pipes the wrong way can release lead into your drinking water.
- You hit unexpected soil conditions — solid rock, groundwater, or contaminated soil. These can turn a weekend project into a multi-week ordeal without the right equipment.
- You're not 100% confident you can complete the job safely. Water mains carry high pressure and serious consequences if they fail. If you have any doubt, hire a pro.
A professional installation typically costs $1,500 to $5,000 depending on length, depth, and local rates, but it's cheaper than fixing a blown connection under your foundation 1.
Safety Considerations
Before you break ground, call 811 to have underground utilities marked — it's free and required by law. When you're cutting or soldering, wear eye protection. Never enter an unsupported trench deeper than waist-height; a collapse can happen in seconds. If you're soldering near the trench, use a gas detector to check for flammable vapors. Shut off electricity if you're digging near buried lines.
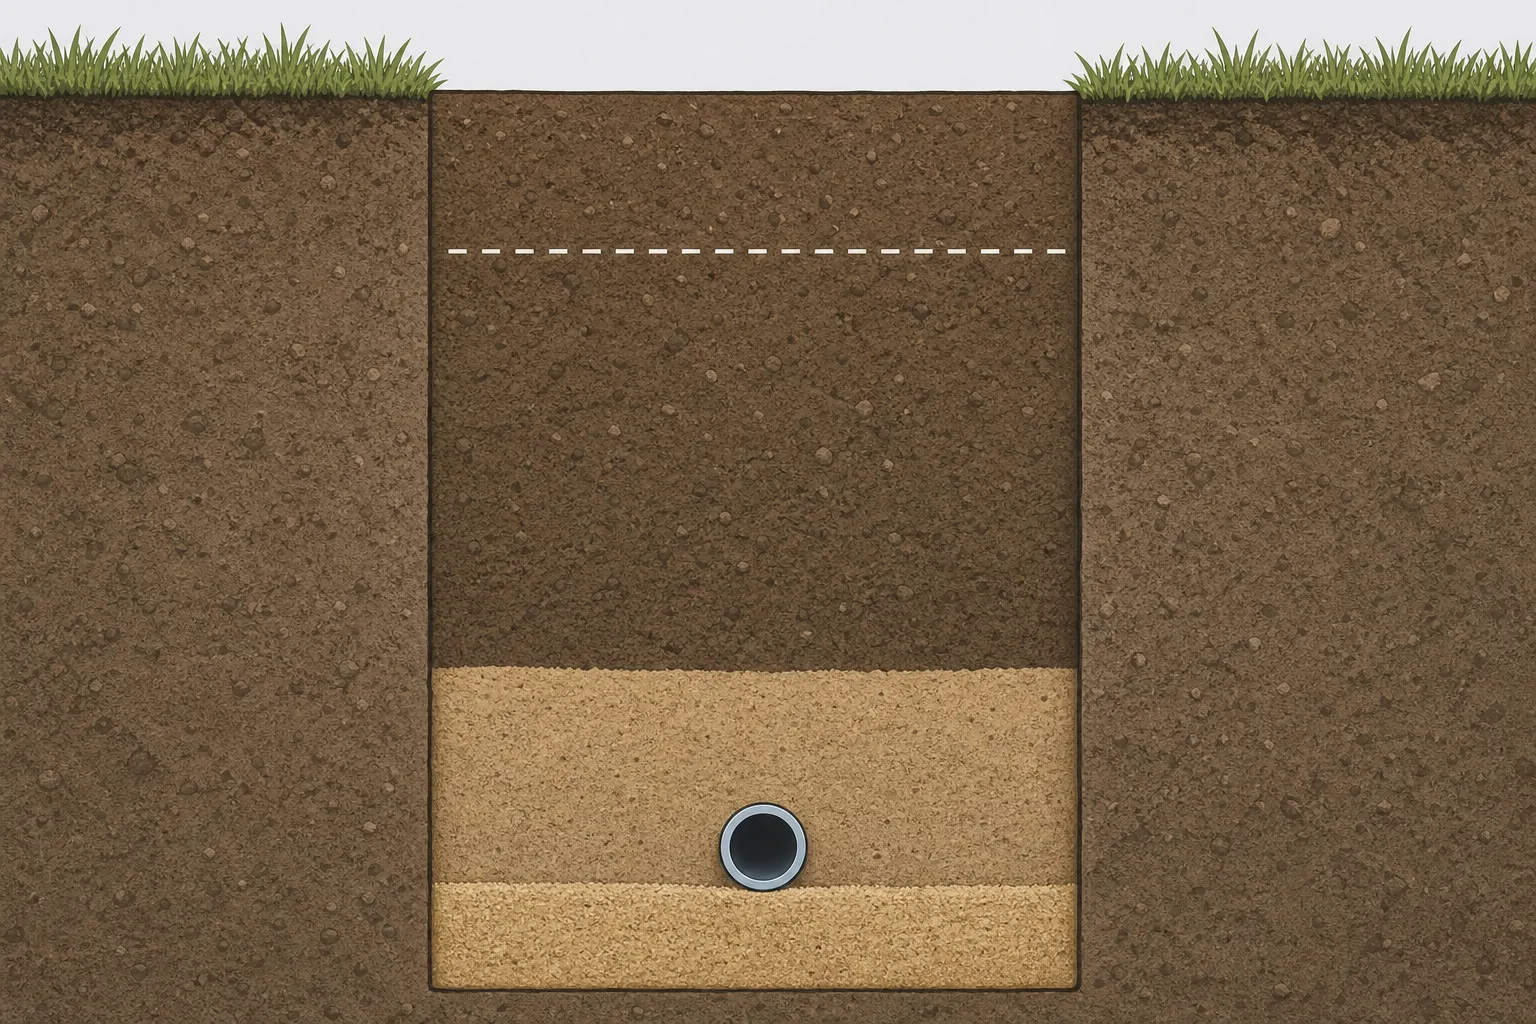
Your exterior water supply piping must be installed at least 12 inches below grade and 6 inches below the frost line 2. This protects the pipe from physical damage and freezing. When you hit rock during trenching, remove it to at least 6 inches below the pipe bottom and add bedding before laying the pipe 3. Sharp rocks can puncture or stress the pipe, leading to leaks down the road.
Understanding the Problem in Detail
Water mains fail for a few reasons: age (galvanized pipes rust from the inside), ground shifts, or freezing. Corrosion cuts pressure and fouls your water. Leaks spike your bill and can damage foundations. Modern materials like PEX resist these issues, but they need proper installation to last 50+ years.
PEX-B is affordable and DIY-friendly. Copper costs more but handles high-heat areas better. Rent tools from Home Depot—an excavator runs about $200/day and saves you backbreaking labor. Always use brass fittings. Plastic ones crack under pressure. Buy 10% extra pipe for mistakes.
Pipe diameter matters more than most guides let on. For runs under 50 feet, 3/4" may be enough. Over 50 feet, you'll want 1", and over 120 feet, 1.5" depending on your pressure. A water department engineer advised sizing based on distance to avoid pressure drops 4.
Step-by-Step Installation
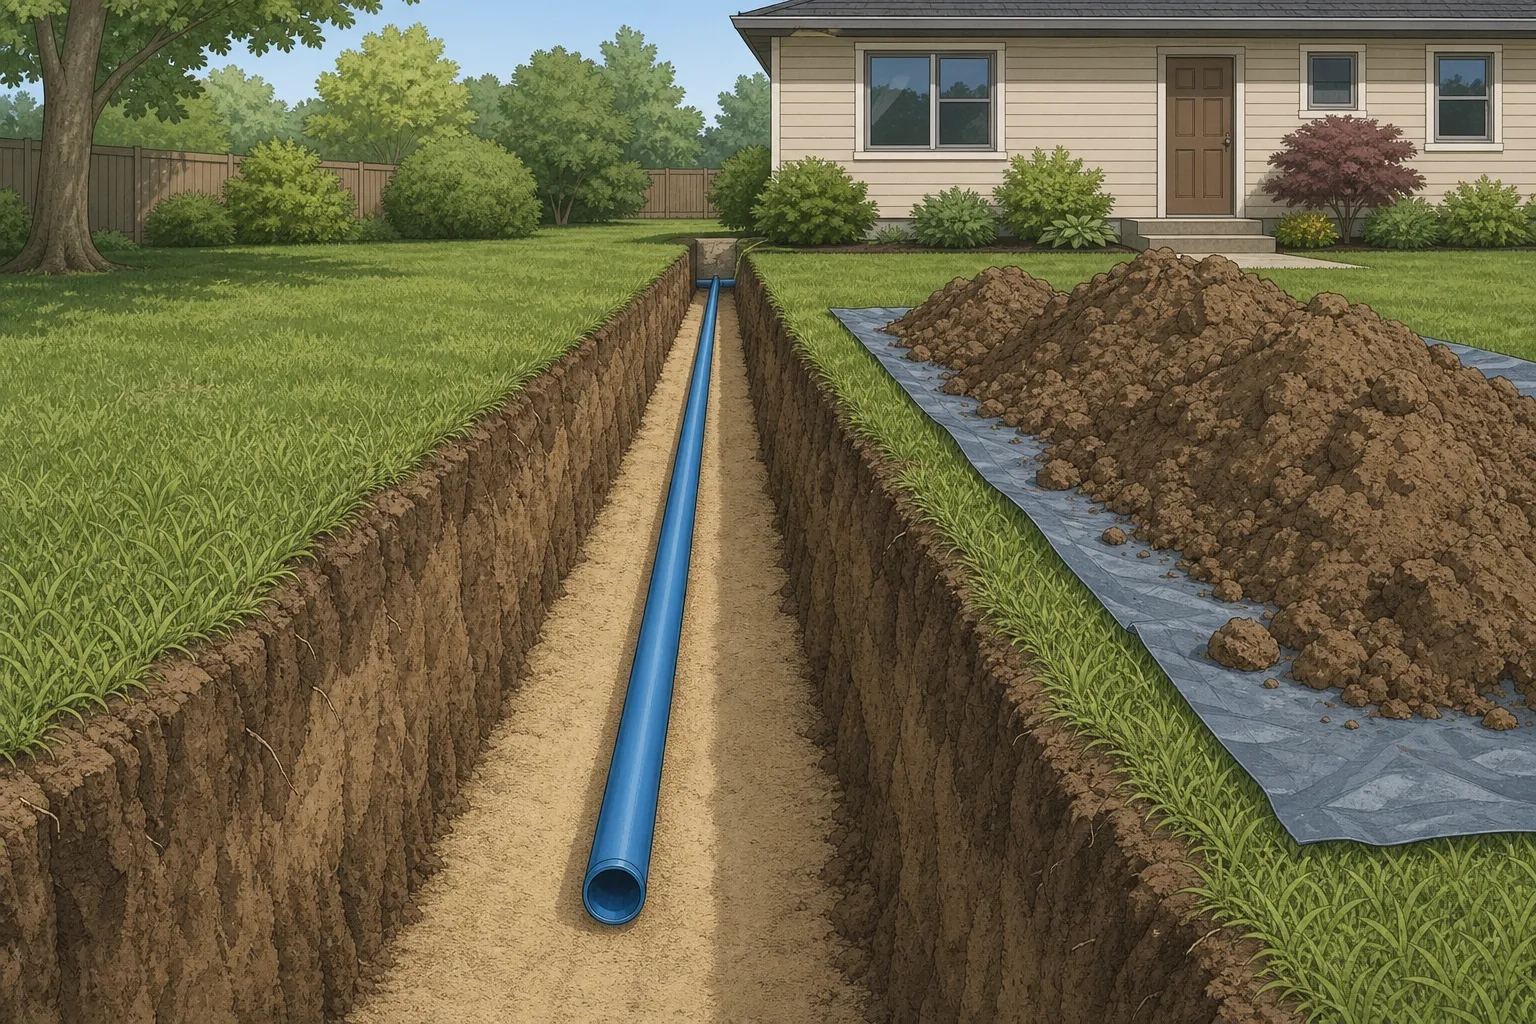
Step 1: Plan and Mark the Trench Route Call 811 before you dig to have underground utilities marked. Map the shortest straight path from the meter to your house, avoiding tree roots and other obstacles. Check local codes for required depth—typically 12 inches below the frost line 3.
Step 2: Excavate the Trench Dig the trench to the required depth and width, sloping the sides to prevent collapse. If you hit rock or unstable soil, stop and reassess. If trench stability is a concern or you’re digging deeper than 4 feet, call a plumber—trench collapses are deadly.
Step 3: Lay the Pipe Bed the trench with 4–6 inches of sand or pea gravel, then lay the pipe in a straight line with no dips or high spots. Use gentle bends, not sharp elbows, to maintain flow. If you’re not experienced with soldering copper or crimping PEX, call a plumber for this step.
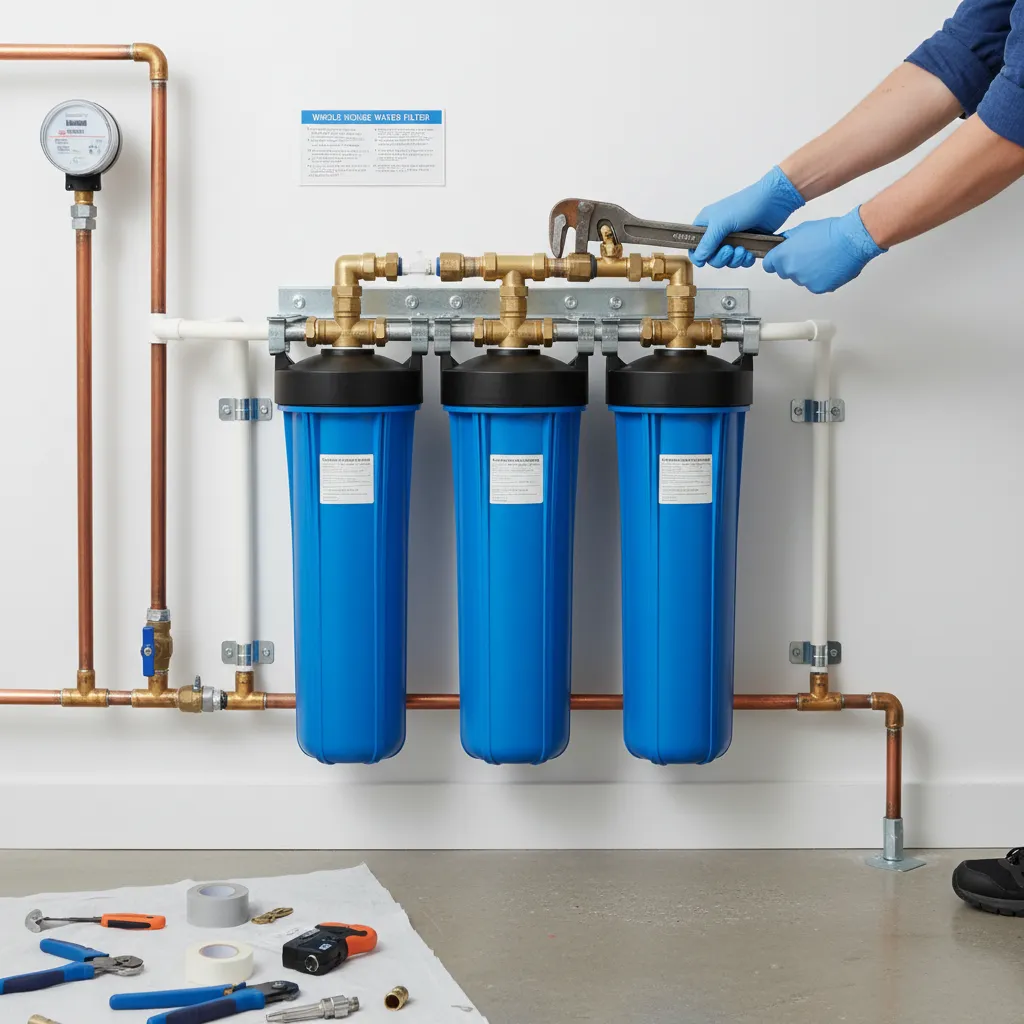
Step 4: Install the Shut-Off Valve and Meter At the street side, install a full-port ball valve before the meter. At the house side, install another valve where the pipe enters the building. Use dielectric unions if connecting dissimilar metals to prevent corrosion 5.
Step 5: Pressure Test the System Cap all open ends and pressurize the line to 1.5 times the working pressure for at least 15 minutes. Watch for pressure drop—any loss means a leak. Fix leaks before backfilling.
Step 6: Backfill and Compact Cover the pipe with 6 inches of sand or pea gravel, then backfill with native soil in 6-inch lifts, compacting each layer. Don't use rocks or debris that could damage the pipe 3.
Step 7: Flush and Disinfect Flush the line thoroughly to remove debris, then disinfect according to local health department guidelines—typically a chlorine solution left in the pipe for 24 hours, followed by a flush until chlorine is undetectable 6.
Compact Tools & Materials: trenching shovel or excavator, pipe cutter, crimp tool (for PEX) or torch (for copper), sand or pea gravel, brass fittings, shut-off valves, pressure gauge, chlorine bleach.
Troubleshooting Common Issues
If pressure drops off after the job, the usual culprit is a kinked PEX run or a valve that isn't fully open—check both before you assume the worst. Dirty water means debris is still working its way out, so flush the line longer. A weeping joint usually just needs a quarter-turn snug on the compression fitting; don't crank it past that or you'll crack the ferrule. And if a section freezes, thaw it with a hairdryer or heat gun—never an open flame near the pipe.
Loud rushing water noise after replacement is usually trapped air, not a leak 7. Run a faucet for an hour to clear it. Smelly or opaque water is typically harmless dissolved air or trace chlorine from flushing the mains, and it clears over time 8. If you find gravel in your lines, it means flushing wasn't thorough enough—keep running water until it's clear 9.
Pinhole leaks in a new water main can happen if external moisture drips onto the pipe and causes corrosion 10. Check for overhead condensation or leaks and protect the pipe.
Pro Tips
After you've wrapped up the main installation, a few extra steps can save you headaches down the line. Here's what experienced plumbers recommend to make sure your new water main performs well for years.
Flush the line thoroughly before connecting to your home's plumbing. Open the main shutoff and let water run for several minutes to clear out any dirt, gravel, or debris that got in during construction. One homeowner found gravel in their line after a replacement—flushing first keeps that grit out of your fixtures 9.
If you're connecting to an older galvanized supply line inside the house, consider cleaning it out before tying in. Years of sediment can break loose when pressure returns, clogging aerators and valves. Some plumbers use a pressure washer or air compressor to blow out the line. If you're not comfortable with that, at least remove and clean all faucet aerators after turning the water back on 11.
Check your water pressure after the job. A pressure gauge on an outdoor spigot should read between 40 and 60 psi. If it's higher, you might need a pressure-reducing valve to protect your pipes and appliances. Low pressure could mean a kink in the new line or a partially closed valve.
Listen for unusual noises. A loud rushing or hammering sound when water runs often means air is trapped in the line. Try opening all faucets at once for a few minutes to purge the air. If the noise persists, you may have a loose pipe clamp or a section of pipe that's rubbing against framing—secure it with additional straps 7.
Keep an eye out for pinhole leaks in the first few weeks, especially if you used copper. Small leaks can show up at joints or where the pipe passes through a foundation wall. If you spot one, shut off the water and call a plumber—pinholes can quickly turn into bigger problems 10.
If your water smells odd or looks cloudy after the installation, don't panic. New pipes can give off a temporary odor or discoloration. Run cold water for 10–15 minutes; if it doesn't clear up, have your water tested for contaminants 8.
Finally, if you have an irrigation system, check the sprinkler pressure. A new main can change the flow dynamics, and you might need to adjust the backflow preventer or pressure regulator to get even coverage 12.
Maintenance and Prevention
A new main is low-maintenance, but a few habits keep it that way. Insulate any exposed sections before each winter so a cold snap can't catch you out. Test your static pressure once a year—a gauge reading that's drifted down from one season to the next often points to a hidden leak. Mark your valve locations on a sketch of the property (or drop a stake at each one) so you're not digging blind years from now. And every five years or so, open the drain valve at the low point and flush the main to clear any sediment that's settled out.
Cost Analysis: DIY vs Professional
A standard residential water main replacement typically runs $1,500 to $5,000 when you hire a pro, but complex jobs can push past $10,000 13. If you're pricing out the work, expect $50 to $150 per linear foot on average, and up to $250 in high-cost areas 1.
Going the DIY route can save you thousands, but you'll need permits, the right tools, and a solid grasp of local codes 13. For a typical 50-foot run, materials and tool rental usually land between $500 and $1,500 13. You can keep costs down by renting a trencher instead of buying one, choosing PEX over copper, and handling all the prep work yourself. Spend a little extra on brass valves and quality insulation—they'll save you headaches down the road.
Related Plumbing Problems
A few issues tend to travel with an aging or undersized water main. Low pressure throughout the house is often the first sign that old pipes or a too-small main are choking your flow. Discolored, rusty water points to corrosion inside galvanized lines. Pipes that freeze repeatedly usually aren't buried deep enough or lack insulation. And a water bill that climbs for no obvious reason is worth a meter check—a steadily creeping reading with everything shut off means water is escaping somewhere underground.
Frequently Asked Questions
Can I use PVC for my water main?
Not recommended. PVC gets brittle over time and most codes don't allow it for direct burial. You're better off with PEX or copper—they're safer and last longer.
What if I accidentally cut the existing water main while digging?
Shut off the street valve right away. Keep a repair clamp on hand for emergencies. If the cut is clean, use a brass coupling; if it's jagged, replace that pipe section entirely.
How do I know if my new pipe is the right size?
1" diameter works for most homes. If you've got more than three bathrooms or a large garden, consider 1.25". Undersized pipes cause pressure drops, and oversized ones waste money while slowing water flow.