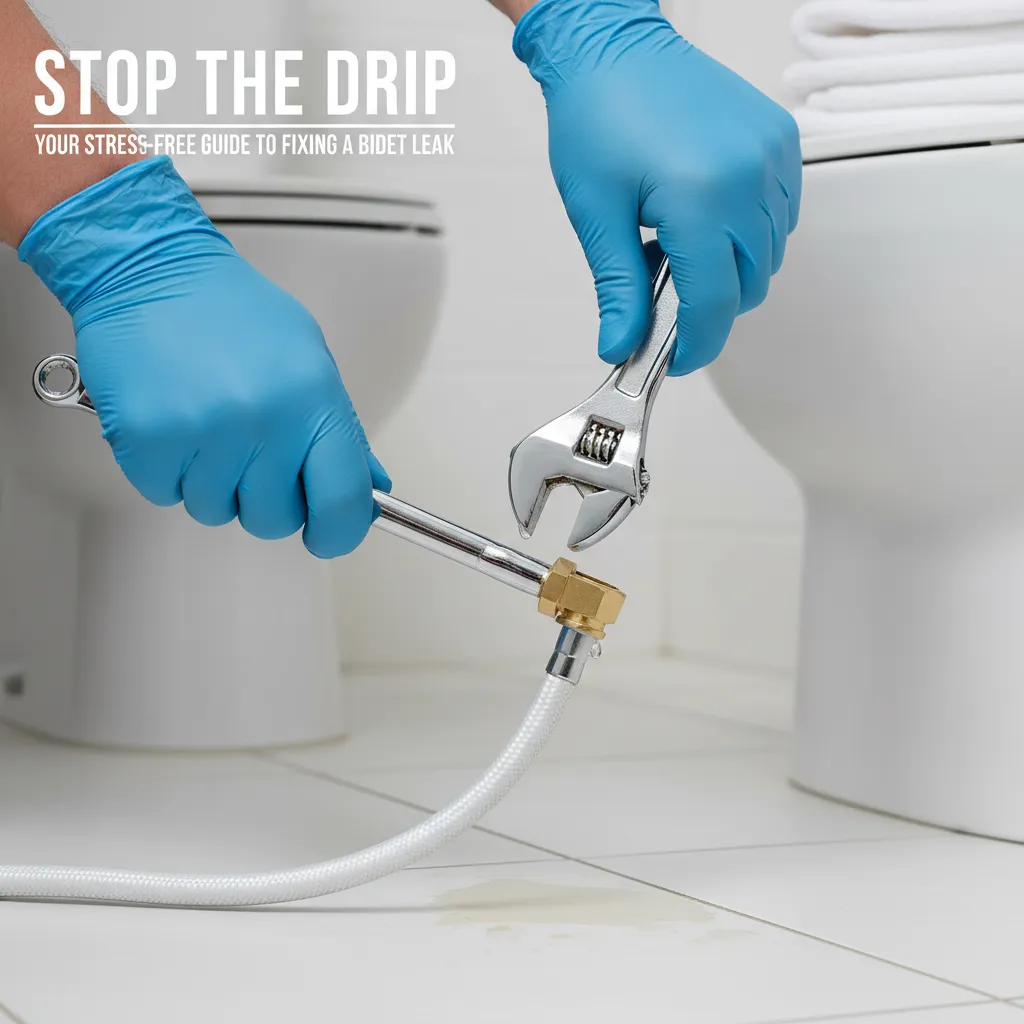
Stop the Drip: Your Stress-Free Guide to Fixing a Bidet Leak
Frustrated by a leaky bidet? Learn simple DIY fixes for common bidet leaks with step-by-step instructions. Save money on plumbers and prevent water damage!
That persistent drip or puddle around your bidet isn't just annoying—it's wasting water and risking floor damage. Maybe you see water pooling under the toilet, hear a faint hissing, or notice the bidet spray weakening. Leaks usually happen at connection points or internal seals, often due to loose fittings, worn washers, or cracked parts. It’s okay to feel flustered, but rest assured: 90% of bidet leaks are DIY-friendly with the right approach.
Hearing that annoying drip-drip from your bidet? We get it—nothing kills bathroom zen faster than a mysterious leak. Whether it's a puddle under your toilet or a hissing connection, take a deep breath. Most bidet leaks are surprisingly easy to fix yourself with basic tools. This guide walks you through every step calmly, so you can solve this today and get back to a dry, peaceful bathroom.
Tools Needed
- Adjustable wrench (for tightening connections without damaging nuts)
- Slip-joint pliers (gently grips rounded fittings)
- Old towels or rags (to catch drips and protect floors)
- Flashlight (to spot hidden leaks in dark spaces)
- Bucket or container (to catch residual water in supply lines)
Materials Needed
- Teflon tape (white PTFE tape, 3/4" width for sealing threads)
- Replacement rubber washers (1/2" size, NSF-certified for drinking water safety)
- Thread sealant paste (optional; use if tape isn't holding, choose potable-water-safe formula)
- Replacement bidet hose (if cracked; measure length from T-valve to bidet)
Solution (Beginner - 15–45 minutes (depending on leak source))
Step 1: Shut Off Water & Dry the Area
Locate your toilet's shut-off valve (usually on the wall behind the toilet) and turn it clockwise until tight. Flush the toilet to drain tank water. Use towels to mop up existing water around the bidet and connections. This gives you a dry workspace and prevents slips.
⚠️ Warning: If the shut-off valve is stuck, don't force it! Call a plumber to avoid breaking the valve.
Step 2: Pinpoint the Leak Source
With the area dry, turn the water back on briefly. Trace the leak: Is it at the T-valve (where the bidet hose meets the toilet supply)? The bidet hose itself? Or the bidet seat connection? Dab connections with toilet paper—wet spots reveal the culprit. Common suspects: Loose nuts (60% of leaks), cracked washers (30%), or damaged hoses (10%).
⚠️ Warning: Avoid touching electrical bidet connections while water is on. If your bidet is plugged in, unplug it first.
Step 3: Tighten Connections (Gently!)
Turn water off again. Use your wrench or pliers to snugly tighten the leaking nut—usually where the hose meets the T-valve or bidet seat. Hold the valve body steady with one hand while tightening. Pro tip: Over-tightening cracks plastic fittings! Tighten just until resistance increases, then give a 1/4 turn more.
⚠️ Warning: Never overtighten—plastic bidet parts crack easily. If resistance feels 'crunchy,' stop immediately.
Step 4: Replace Washers or Apply Tape
If tightening didn't work, disassemble the leaking connection. Remove the hose/nut and extract the rubber washer inside. Replace it with a new 1/2" washer (match the old one's shape). For threaded connections without washers, wrap Teflon tape clockwise around the male threads 3-4 times. Reassemble and hand-tighten first, then use tools gently.
⚠️ Warning: Teflon tape should never touch rubber washers—it can cause leaks. Only apply to metal threads.
Step 5: Test Your Fix & Check for Drips
Turn water back on slowly. Watch the repaired area closely for 2 minutes. Wipe connections dry with a paper towel—if it stays dry, you've won! If not, repeat Steps 3–4. For persistent leaks, try thread sealant paste or replace the hose (see Troubleshooting section).
⚠️ Warning: Go slow when reopening the water valve—sudden pressure surges can burst old hoses.
Pro Tips
- Rubber washers dry out over time—replace them every 2 years even if not leaking.
- Wrap Teflon tape clockwise so it doesn't unravel when screwing parts together.
- Use a small mirror to inspect hard-to-see connections behind the toilet.
- Turn off the water at the main house valve if the toilet valve is too stiff.
When to Call a Professional
Call a plumber if: 1) The leak is inside the bidet seat or electrical unit, 2) Shut-off valves won't turn or are leaking, 3) You see cracked pipes or major corrosion, or 4) The leak returns after 2 repair attempts. Electrical bidets require licensed pros for internal repairs.
Understanding the Problem in Detail
Bidet leaks usually stem from vibration loosening connections, rubber washers hardening over time, or minor misalignment during installation. Water follows gravity—start high and trace downward to find the source. Cold-water lines contract overnight, often making leaks worse in the morning!
Tools and Materials Guide
Adjustable wrenches prevent rounding soft brass nuts. Buy NSF-certified washers ($1–$2 at hardware stores)—cheap ones crumble fast. Teflon tape (under $5) should feel slightly stretchy; avoid brittle or waxy tapes. For hoses, measure existing length and choose stainless-steel-braided types for durability.
Safety Considerations
Always shut off water before working. Wear safety glasses—tiny pressurized water jets can harm eyes. Unplug electrical bidets. Never stand in water while handling connections. If you smell sewage or see black water, stop immediately—it's a sewer line issue.
Troubleshooting Common Issues
Problem: Leak returns after tightening. Fix: Replace washer or add Teflon tape. Problem: Hose spraying water. Fix: Tighten collar nuts or replace hose. Problem: Leak under bidet seat. Fix: Check seat alignment; debris may block the seal. Clean with a damp cloth. Problem: Bidet drips only when in use. Fix: Internal valve failure—consult manufacturer.
Maintenance and Prevention
Every 3 months: Check connections for snugness (hand-tighten only). Annually: Replace rubber washers and inspect hoses for bulges/cracks. Avoid harsh cleaners on plastic parts—use mild soap. Install a water pressure reducer if your home pressure exceeds 80 PSI.
Cost Analysis: DIY vs Professional
DIY fix: $2–$20 (washers, tape, or hose). Plumber visit: $150–$350. Save by buying washers in bulk packs. Always try tightening/replacing washers before calling a pro—it solves most leaks!
Related Plumbing Problems
Toilet tank leaks (if T-valve is shared), low bidet water pressure (from clogged filters), loose toilet seat (affects bidet alignment), or dripping supply valves (requires washer replacement).
Frequently Asked Questions
Can I use duct tape instead of Teflon tape?
Absolutely not! Duct tape disintegrates in water and won't seal threads. Teflon tape is designed for water lines and costs under $3. Using the wrong tape guarantees another leak.
Why does my bidet still drip after I tightened everything?
Likely a worn washer or cracked plastic fitting. Turn off water, disassemble the connection, and inspect the washer—replace if it's flat or cracked. If the plastic threading is stripped, you'll need a new hose or bidet component.
Is it safe to fix a leak if my bidet has electrical parts?
For external hose/valve leaks: Yes, if you unplug the bidet first. For leaks inside the seat or control unit: No. Electrical components require manufacturer-trained technicians to avoid shock hazards or voiding warranties.