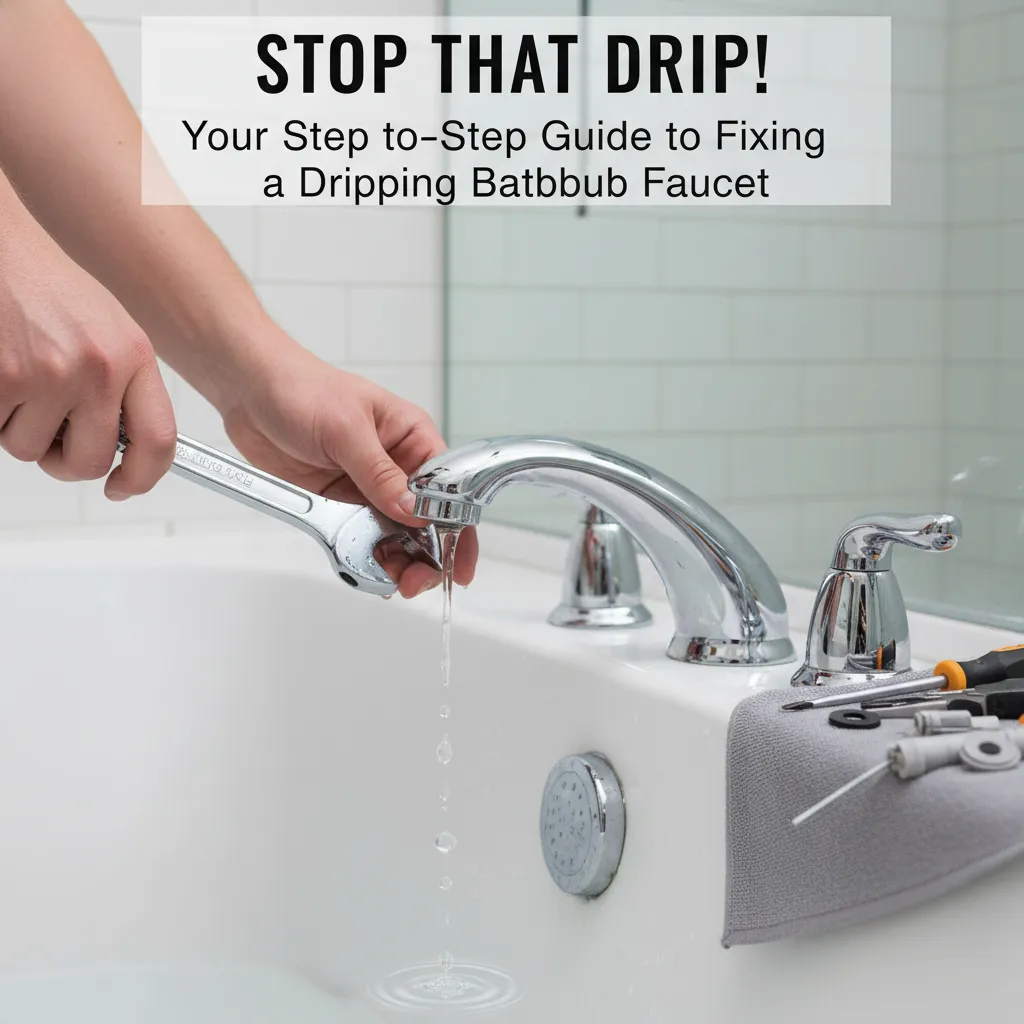
Stop That Drip! Your Step-by-Step Guide to Fixing a Dripping Bathtub Faucet
Frustrated by a dripping bathtub faucet? Learn how to fix it yourself safely with this beginner-friendly guide. Save money on plumbers & stop water waste today!
That drip is usually caused by worn-out internal parts. Constant water pressure wears down rubber washers, O-rings harden and crack, or ceramic cartridges develop imperfections. Mineral buildup can accelerate wear or prevent parts from sealing properly. It feels like a small problem, but the constant sound and the thought of wasted water (and money!) are genuinely frustrating. Take a breath – fixing this is well within reach for most homeowners.
That persistent drip... drip... drip... echoing in your bathroom isn't just annoying – it's wasting water and money, and keeping you up at night. You're not alone! A dripping bathtub faucet is incredibly common, but the good news is, with a little guidance and the right tools, you can often fix it yourself. This guide will walk you through the process calmly, step-by-step, turning frustration into DIY triumph.
Tools Needed
- Adjustable Wrench: For gripping nuts. Channel-lock pliers work too.
- Phillips & Flathead Screwdrivers: For removing handles and trim.
- Needle-Nose Pliers: For pulling out small parts like stems or cartridges.
- Allen Wrenches (Hex Keys): Often needed for set screws on handles.
- Rag or Towel: To protect the tub surface and catch small parts.
- Flashlight: Essential for seeing into dark faucet cavities.
- Penetrating Oil (e.g., PB Blaster): For stubborn, corroded parts (optional but helpful).
Materials Needed
- Replacement Parts Kit: CRUCIAL! Get one SPECIFIC to your faucet brand/model (e.g., Moen 1225 cartridge, Delta RP19804 seats & springs). Take old parts to the store!
- Plumber's Grease: Silicone-based grease for lubricating new rubber parts & threads.
- Teflon Tape (Plumber's Tape): For sealing threads on stems or shower arms if disturbed.
- White Vinegar & Old Toothbrush: For cleaning mineral deposits inside faucet body.
- Replacement Washers/O-rings: Often included in kits, but good to have spares (size varies).
Solution (Beginner (for compression & basic cartridge faucets) / Intermediate (for complex cartridges or severe corrosion) - 1-2 hours (First-timers: Allow 3 hours for unexpected snags))
Step 1: Shut Off the Water Supply (This is Non-Negotiable!)
Locate the shut-off valves for your bathtub. They're usually under the tub access panel (often in a hallway closet or adjacent room) or behind the wall near the faucet. Turn them CLOCKWISE until completely tight. Test by turning the tub faucet handles on – only a trickle or nothing should come out. NO WATER SHOULD BE FLOWING when you start disassembly!
⚠️ Warning: NEVER skip this step! Working on a faucet under pressure will flood your bathroom instantly.
Step 2: Remove the Faucet Handle & Trim
Look for a small decorative cap on the top or front of the handle. Pry it off gently with a flathead screwdriver. Underneath, you'll find a screw (Phillips, flathead, or Allen). Remove this screw. Wiggle and gently pull the handle straight off the stem. You might need to tap it lightly with a screwdriver handle if it's stuck. Next, remove the escutcheon plate (the decorative trim around the faucet base) by unscrewing any visible screws or gently prying it away from the wall if it's caulked.
⚠️ Warning: Protect your tub surface with a thick towel! Handle screws can be tiny – put them in a secure container immediately.
Step 3: Identify Your Faucet Type & Expose the Culprit
Look inside the handle hole: Compression Faucet: You'll see a threaded stem with a packing nut. Cartridge Faucet: You'll see a plastic/metal cartridge body, often with retaining clips or a large nut. Ball Faucet (Less common for tubs): You'll see a rounded cap under the handle. Knowing the type tells you which parts need replacing. Use your adjustable wrench or pliers to carefully remove the retaining nut or clip holding the stem or cartridge in place.
⚠️ Warning: Avoid using excessive force! If a nut is stuck, apply penetrating oil, wait 15 mins, and try again. Protect chrome finishes by wrapping wrench jaws with tape.
Step 4: Remove & Inspect the Old Parts
Gently pull the stem or cartridge straight out. For cartridges, needle-nose pliers can help grip and wiggle it loose. Lay all parts out in order on your towel. Examine closely: Compression stems have a washer at the bottom and O-rings along the shaft – look for wear, cracks, or flattening. Cartridges might not show obvious damage, but replacing them is standard for drips. Note the orientation of EVERYTHING! Take photos with your phone at each stage.
⚠️ Warning: Don't lose small parts like springs or seats that might fall out! Handle ceramic cartridges gently; they can break.
Step 5: Clean & Prepare the Faucet Body
While the guts are out, shine your flashlight into the faucet body. You'll likely see mineral buildup (calcium/lime scale). Dip an old toothbrush in white vinegar and scrub the inner surfaces, especially the valve seat where the washer or cartridge seals. Rinse thoroughly with water (a turkey baster helps) and dry with a clean rag. This ensures a clean surface for the new parts to seal against.
⚠️ Warning: Avoid harsh abrasives or metal tools inside the faucet body – they can scratch sealing surfaces and cause leaks.
Step 6: Install the New Parts (Correctly!)
Apply a thin coat of plumber's grease to ALL new rubber parts (washers, O-rings, cartridge seals) and the threads of stems. For compression stems, screw them back in HAND-TIGHT first. For cartridges, ensure the tabs/keyways align perfectly with the slots in the faucet body before pushing it firmly and straight in. Reinstall any retaining clips or nuts, tightening them snugly but NOT gorilla-tight – overtightening damages parts. Reassemble the trim and handle in reverse order of disassembly.
⚠️ Warning: Forcing parts that don't align will break them. Double-check cartridge orientation against your photos. Snug, not stripped, is the goal!
Step 7: Turn Water Back On & Test Thoroughly
Slowly turn the main water supply valves back on COUNTER-CLOCKWISE. Open the tub faucet handles fully. Listen and look for leaks around the base, stem, or handles. Let water run for a minute to flush out any debris. Check for drips from the spout with the handles fully OFF. Tighten the packing nut slightly (on compression faucets) if water leaks around the stem when on. Wipe everything dry and recheck for drips after 10 minutes.
⚠️ Warning: Open valves SLOWLY to prevent water hammer (loud banging pipes). If major leaks appear, shut water off IMMEDIATELY and recheck your work.
Pro Tips
- Take Pictures Constantly: Snap a photo before removing ANY part. Your future self will thank you during reassembly.
- Bag & Tag Small Parts: Use ziplock bags or small containers labeled for each step (e.g., 'Handle Screws', 'Retaining Clip').
- Lubricate is Key: Plumber's grease on rubber parts prevents premature wear and makes future repairs easier.
- Matchmaker for Parts: ALWAYS take the old stem, cartridge, or washer to the hardware store. Don't guess!
- Tame Stubborn Screws: If a screw is stripped, use a rubber band between the screw head and screwdriver for extra grip.
- Protect the Tub: Layer multiple towels or use a thick rubber mat to prevent scratches from dropped tools.
When to Call a Professional
Call a licensed plumber if: 1) You can't locate or turn the shut-off valves. 2) The faucet body itself is cracked or leaking. 3) Parts are severely corroded/fused and won't budge (risk of breaking pipes). 4) You have a complex thermostatic or pressure-balancing valve (common in modern showers). 5) You've followed the steps but the drip persists or leaks appear elsewhere. Don't risk major water damage – pros have specialized tools and expertise.
Understanding the Problem in Detail
Imagine tiny rubber parts inside your faucet constantly slamming shut against high water pressure, thousands of times a year. Over time, they wear down, harden, or get gouged by grit in the water. Minerals in the water (hard water) build up like cement, preventing a tight seal. Think of it like a door that won't close properly because the hinge is worn or there's gunk in the frame. The drip is the water sneaking past this imperfect seal.
Tools and Materials Guide
Adjustable Wrench/Channel Locks: 8-10 inch size offers good leverage without being unwieldy. Wrap jaws in electrical tape to protect chrome. Replacement Kits: This is the critical part! Brands like Delta, Moen, Kohler, Pfister have specific kits. Find your brand/model (often on the faucet base or handle underside) or take OLD parts to a plumbing supply store (better selection than big box for cartridges). Generic washer kits are okay for simple compression faucets. Plumber's Grease: Silicone-based only (like Danco 88693). Avoid petroleum jelly – it degrades rubber. Penetrating Oil: PB Blaster or Liquid Wrench are top choices for frozen nuts. Apply, wait, then try.
Safety Considerations
Water Off is Law: Double and triple-check water is OFF before starting. Know where your MAIN house shut-off is in case tub valves fail. Eye Protection: Wear safety glasses! Rust flakes, mineral chips, or spraying water can injure eyes. Hand Protection: Wear work gloves to protect from sharp edges and improve grip (avoid bulky gloves for small parts). Stable Platform: Use a sturdy step stool if needed. Don't balance precariously over the tub. No Electricity Nearby: Ensure no cords or appliances are in potential splash zones. Chemical Care: Use penetrating oil and vinegar in well-ventilated areas; avoid skin contact.
Troubleshooting Common Issues
Stuck Handle/Screw: Penetrating oil, wait 15-30 mins. Tap screwdriver gently with a hammer while turning (impact driver effect). Use a screw extractor if stripped. Stuck Stem/Cartridge: Penetrating oil around the base. Gently rock side-to-side while pulling. Use cartridge puller tools (rentable) for stubborn ones. Leak Around Stem When On: Tighten the packing nut (just below the handle) a quarter-turn clockwise. Drip Persists After Repair: Did you replace ALL worn parts (seats & springs too in compression faucets)? Did you clean the valve seat properly? Is the cartridge seated perfectly straight? Is the water pressure extremely high (may need a pressure regulator)? Leak from Base: Overtightening may have cracked the faucet body or damaged the gasket. May require professional replacement.
Maintenance and Prevention
Exercise Valves: Turn tub faucet handles on/off fully every few months to prevent seals from sticking. Address Hard Water: Install a water softener or use vinegar soaks in sink aerators/showerheads to reduce scale buildup. Avoid Slam Shutting: Turn handles gently; don't crank them shut with excessive force. Check for Drips Early: Fix small drips promptly before they wear parts faster. Annual Visual Check: Look for minor leaks or corrosion around handles/base during deep cleaning.
Cost Analysis: DIY vs Professional
DIY Cost: Replacement Kit ($10 - $50, average $25), Plumber's Grease/Tape ($5). Total: ~$15 - $55. Plumber Cost: Service Call Fee ($75 - $150) + Labor (1-2 hours @ $65 - $150/hr) + Parts ($25 - $50). Total: ~$165 - $450+. Savings: DIY saves $150 - $400+ on average. Caveat: DIY costs soar if you cause damage by forcing parts or incorrect repair. Know your limits!
Related Plumbing Problems
Dripping Sink Faucet: Very similar repair process, often easier access. Leaking Showerhead: Often caused by worn washers in the shower arm connection or the head itself. Low Water Pressure in Bathtub: Could be clogged aerator (on tub spout diverter if present), scale buildup in pipes, or a failing pressure-balancing valve. Tub Faucet Handle is Loose/Spins: Set screw likely loose or stripped, or internal splines are worn. Tub Spout Drips When Shower is On: Worn O-ring or washer in the diverter mechanism inside the spout.
Frequently Asked Questions
I can't find the shut-off valves for my bathtub! What do I do?
Don't panic! Look more carefully: check behind an access panel in the wall behind the tub or adjacent closet, near the floor or ceiling. Sometimes they're in the basement/crawlspace directly below the bathroom. If truly missing, you MUST turn off the main water supply to the entire house. Locate this valve (usually near where the water line enters your home, in the basement, garage, or near the water meter) before starting any work.
How do I know exactly which replacement parts to buy?
The most reliable way is to take the old parts (stem, cartridge, washers) to a plumbing supply store or a well-stocked hardware store. Failing that, identify the faucet brand and model number (often stamped on the faucet body under the handle trim or on the back of the handle). Take clear photos. Search online using brand + "bathtub faucet repair kit." When in doubt, ask store staff – show them your photos or old parts.
The drip is very slow. Is it really that urgent to fix?
Yes! A slow drip can waste 20+ gallons of water per day – that's over 7,000 gallons a year! That's money down the drain and unnecessary strain on water resources. Plus, a small drip often signals worn parts that will eventually fail completely, potentially causing a bigger leak or making the faucet unusable. Fixing it promptly saves water, money, and prevents bigger headaches.
Can I just tighten something to stop the drip temporarily?
Sometimes, but rarely permanently. On a compression faucet, tightening the packing nut (just below the handle) a SMALL amount might stop a drip temporarily if it's leaking around the stem shaft. However, this doesn't fix the worn washer at the bottom causing the spout drip, and overtightening can damage the stem. It's always best to fix the root cause with new parts.
I fixed the drip, but now the water pressure seems low. What happened?
This is common! During disassembly, debris (mineral chunks, old rubber bits) can get dislodged and clog the small holes in the cartridge or the aerator screen inside the tub spout. Remove the spout (usually twists off) and clean the screen. For cartridge faucets, remove the cartridge again and flush the faucet body thoroughly with water.