Fix a Garbage Disposal Jam in 10 Minutes: Your Stress-Free DIY Guide
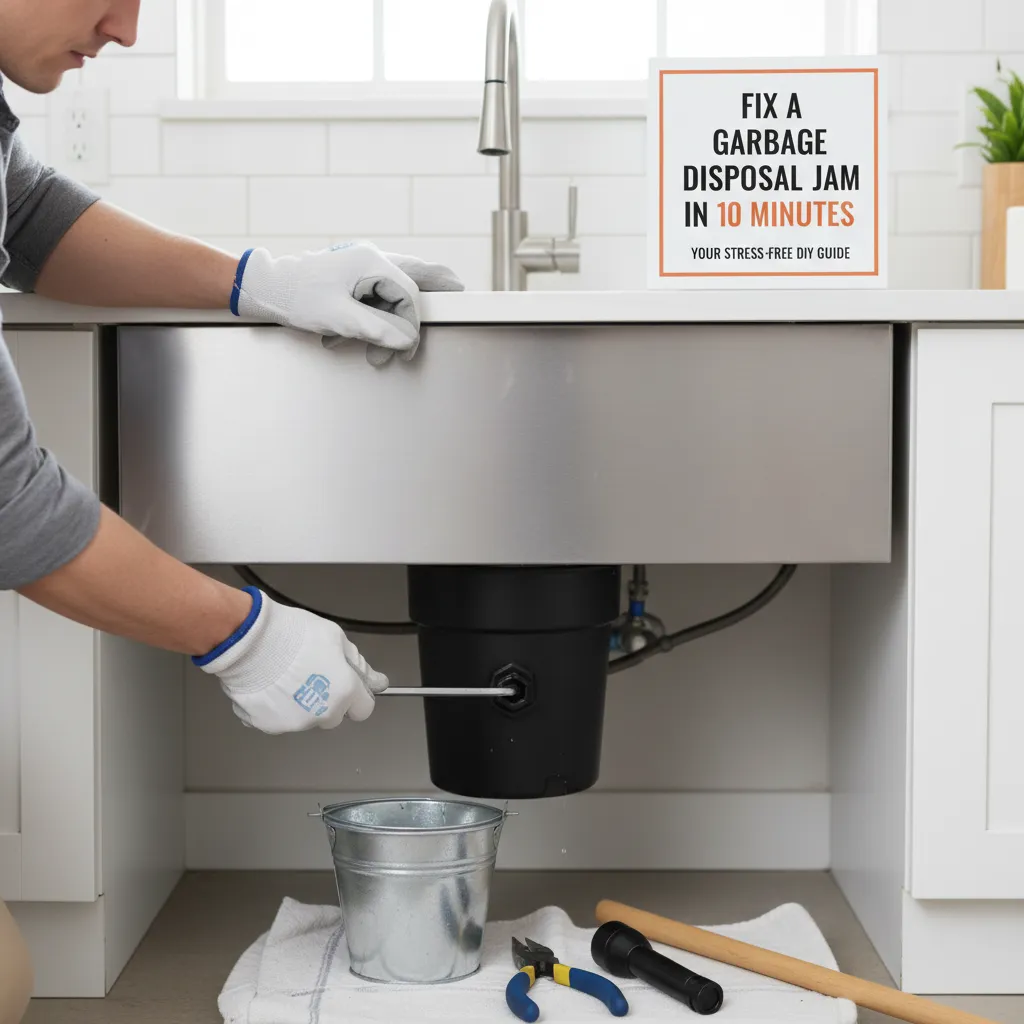
Stuck with a jammed garbage disposal? Learn how to safely unjam it yourself in minutes using common tools. Avoid costly repairs with our step-by-step guide for homeowners.
You ran the disposal, heard a loud 'CLUNK,' and now it's dead? That sinking feeling is normal. Jams usually happen when silverware slips in, potato peels tangle the blades, or avocado pits get wedged. The good news? Your disposal has built-in safety features to prevent damage – we'll work with those.
That horrible grinding sound? The sudden silence when your disposal stops working? We've all been there. Before you call a plumber or panic, know this: 90% of disposal jams are quick DIY fixes. I've unjammed hundreds of these, and I'll guide you through every step safely – no fancy tools needed!
Tools Needed
- Hex key (Allen wrench) - 1/4" size (usually comes with disposal)
- Pliers - needle-nose for grabbing debris
- Flashlight - to see inside chamber
- Wooden spoon or broom handle - NEVER metal!
Materials Needed
- Bucket or towel - for minor water drips
- Baking soda & vinegar - optional for cleaning post-fix
Solution (Beginner - 5-15 minutes)
Step 1: Kill the Power - No Exceptions!
Go to your breaker box and turn OFF the circuit labeled 'disposal' or 'kitchen.' Double-check it's dead by trying the switch. No breaker labels? Turn off the main power. This isn't just cautious – it prevents life-altering injuries.
⚠️ Warning: NEVER put hands in the disposal. Even when off, assume blades are sharp.
Step 2: Find Your Secret Weapon (The Hex Key)
Look under your sink for the hex key slot (usually center-bottom of disposal). Insert the wrench firmly. If you lost yours, any 1/4" hex key works. This manual override is your jam-busting tool!
⚠️ Warning: If no hex slot exists, stop – you have an old model. Skip to Step 5.
Step 3: Break the Jam with Manual Rotation
Turn the hex key back-and-forth like steering a car. Feel for resistance – that's the jam! Apply steady pressure until it rotates freely. Hear a 'crunch'? That's victory! Do 5 full rotations each way.
⚠️ Warning: Don't force it violently – if it won't budge, move to Step 4.
Step 4: Fish Out Offenders (The Safe Way)
Shine a flashlight into the disposal. See a spoon or peach pit? Use needle-nose pliers to grab it. For food jams, push debris sideways with a wooden spoon handle – never downward toward blades!
⚠️ Warning: Wear gloves if retrieving objects. Still stuck? Don't dig blindly – move to troubleshooting.
Step 5: Reset and Test Your Victory
Press the red reset button on the disposal's bottom. Restore power at the breaker. Run cold water and flip the switch. Hear smooth humming? Congrats! If not, it might need a minute to cool down – try again.
⚠️ Warning: If you hear only humming without grinding, the jam is still present. Repeat Steps 3-4.
Pro Tips
- Free jam prevention: Run cold water for 15 seconds AFTER grinding stops
- Unstick stubborn blades: Tap disposal sides with a rubber mallet while turning hex key
- Quiet testing: Place a thick towel over disposal before turning on to muffle sound if nervous
- Find lost hex key: Check under sink clips or junk drawer – replacements cost $2 at hardware stores
When to Call a Professional
Call a pro if: 1) Water leaks from disposal body (not pipes), 2) Burning smell persists after reset, 3) No sound at all when powered (motor likely dead), 4) Jam involves glass/metal objects you can't safely retrieve. Average service cost: $150-$300.
Understanding the Problem in Detail
Disposals jam when objects prevent the flywheel from spinning. Modern units have overload protectors that trip before motors burn out – that's your reset button! Fibrous foods (celery, artichokes) wrap around blades, while hard objects (pits, bones) get wedged between impellers.
Tools and Materials Guide
Hex keys: Universal 1/4" size fits 95% of disposals. Can substitute with 1/4" socket wrench in a pinch. Pliers: 6" needle-nose offer best control. Avoid cheap plastic flashlights – metal-bodied ones survive under-sink drops. Where to buy: Any hardware store (Home Depot, Lowe's) or Amazon.
Safety Considerations
- POWER OFF IS NON-NEGOTIABLE – test with a circuit tester if unsure. 2) Never use chemical drain cleaners – they corrode disposal seals. 3) Keep long hair tied back. 4) Work in dry conditions – stand on a rubber mat if floor is wet.
Troubleshooting Common Issues
Problem: Disposal hums but doesn't spin. Fix: Jam still present – redo Step 3 with more force. Problem: Reset button won't stay pressed. Fix: Motor overheated – wait 10 minutes. Problem: Water leaking from bottom. Fix: Seal failure – professional replacement needed. Problem: Frequent tripping. Fix: Worn bearings – likely needs replacement.
Maintenance and Prevention
Do: Grind citrus peels weekly to clean blades, Run cold water during/after use, Chop large items before disposal. Don't: Put grease, coffee grounds, onion skins, pasta, or potato peels down disposal. Monthly: Drop 6 ice cubes + 1/2 cup baking soda, run with cold water to sharpen blades.
Cost Analysis: DIY vs Professional
DIY cost: $0 (tools you likely own). Pro repair: $150-$300. New disposal install: $300-$600. Savings tip: Buy a refurbished disposal unit ($60-$120) if replacement needed – identical to new with warranty.
Related Plumbing Problems
Persistent odors: Indicates food trapped in splash guard – remove and clean. Slow drainage: Clogged pipes below disposal – use a sink plunger. Leaking pipes: Tighten slip-nut connections or replace washers. No power: Check GFCI outlets before disposal repairs.
Frequently Asked Questions
Is it safe to put my hand in if I see the object?
Absolutely not! Even unplugged, blades can shift and cause severe injury. Always use pliers or tongs. If unreachable, call a pro.
Why does my disposal keep jamming after I fix it?
Likely you have worn blades or damaged shredding rings. At 8-10 years old, replacements are more cost-effective than repeated repairs.
Can I use a plunger on my disposal?
Yes – but ONLY if you've removed standing water first. Cover overflow drain with wet rag, use quick plunges. Never plunge if you've used drain chemicals!
The reset button clicks but nothing happens – what now?
First, wait 10 minutes for motor to cool. If still dead, check breaker box and under-sink wiring connections. No luck? Likely motor failure.