Stop That Drip! Your Stress-Free Guide to Fixing a Leaky Sink
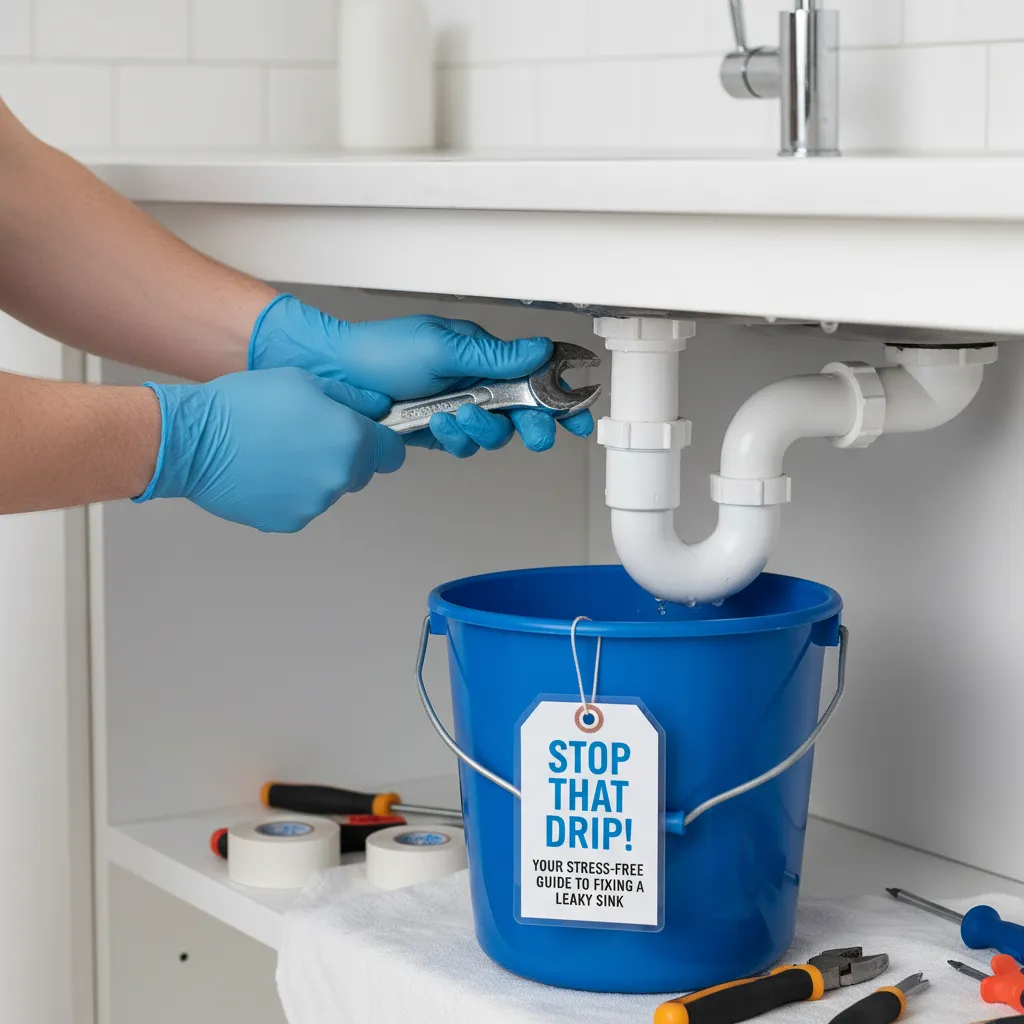
Frustrated by a leaky sink? Learn step-by-step DIY fixes for common faucet & drain leaks. Save money & water with our beginner-friendly guide, including when to call a pro.
A leaky sink feels like a personal attack, doesn't it? Wasted water, mysterious puddles, that annoying sound... and the worry that it might turn into a flood. Whether it's a drip from the spout, water pooling around the base, a trickle under the handles, or a slow seep from the drain pipe, the frustration is real. You just want it fixed simply, safely, and without breaking the bank.
That persistent drip... drip... drip... isn't just wasting water and money – it's driving you nuts! We've all been there, staring at a leaky sink feeling frustrated. Take a deep breath. Most sink leaks are surprisingly fixable DIY projects, even if you've never touched a wrench. This guide will walk you through finding the leak and stopping it for good, turning panic into plumbing confidence.
Tools Needed
- Adjustable Wrench (or Basin Wrench for tight spots) - Grips nuts securely
- Slip-Joint Pliers - For compression nuts and general gripping
- Screwdrivers (Flathead & Phillips) - For handle screws and cartridge access
- Allen Wrenches (Hex Keys) - Often needed for handle set screws
- Flashlight - Essential for seeing dark areas under the sink
- Old Towels/Rags - For soaking up spills and protecting surfaces
- Small Container/Bowl - To catch residual water and hold small parts
- Needle-Nose Pliers - Handy for retrieving small parts or washers
Materials Needed
- Replacement Cartridge/Stem Washers & O-rings (Kit specific to your faucet brand/model) - The most common fix!
- Plumber's Grease (Silicone-based) - Lubricates rubber parts for smooth operation & longer life
- Plumber's Tape (Teflon Tape) - Seals threads on pipe fittings
- Replacement Sink Strainer Basket/Gasket (If drain is leaking) - Ensure correct size for your drain
- White Vinegar (For cleaning mineral buildup) - Cheaper & effective alternative to commercial cleaners
- Replacement Supply Lines (Optional/if damaged) - Braided stainless steel recommended (3/8" compression x 1/2" IPS common)
Solution (Beginner - 30 minutes - 2 hours (depending on leak source and complexity))
Step 1: Find the Leak & Shut Off the Water
Dry everything under and around the sink completely with towels. Turn on the water briefly and watch closely. Is water dripping from the spout? Seeping around the faucet base? Coming from a handle? Or dripping from a pipe connection under the sink? Trace it! Once identified, locate the shut-off valves under the sink (usually small oval handles). Turn them clockwise firmly until they stop. Turn on the faucet above to drain remaining water and confirm water is off. Place towels and your container under the work area.
⚠️ Warning: NEVER skip turning off the water! Forcing parts under pressure can cause sudden bursts or flooding. If you can't find shut-offs under the sink, locate your main house water shut-off valve.
Step 2: Remove the Faucet Handle(s)
Look for a small screw – often hidden under a decorative cap (pry it off gently with a flathead screwdriver). It might be on the top, back, or side of the handle. Remove the screw. Handles usually lift straight off or might need a gentle wiggle. If stuck, tap lightly around the base with a screwdriver handle wrapped in cloth. Keep the screw safe!
⚠️ Warning: Use gentle force. Forcing a stuck handle can break it. Wrap tools in cloth to prevent scratching chrome or finishes.
Step 3: Access & Remove the Cartridge/Stem
Under the handle, you'll find a retaining nut (large hexagonal nut) or a decorative bonnet nut. Use your adjustable wrench or basin wrench to loosen and remove this nut. Now you can pull out the cartridge (modern faucets) or stem assembly (older faucets) straight up. It might require slight wiggling. Pay attention to how it comes out!
⚠️ Warning: Note the orientation of the cartridge/stem! Take a picture before removal to ensure correct reinstallation. Avoid scratching the valve body.
Step 4: Replace the Culprit: Washers & O-rings
This is where the magic happens! For a stem assembly: Remove the screw holding the rubber washer on the bottom. Replace it with an identical new one. Check the O-rings on the stem shaft for nicks/wear – replace if needed. For a cartridge: While entire cartridges can be replaced, often the leak (especially spout drip) is caused by worn O-rings on the cartridge. Carefully remove the old O-rings using a small screwdriver or pick. Lubricate new O-rings (and any other rubber parts) with plumber's grease before sliding them into place on the cartridge. Match the old ones exactly!
⚠️ Warning: Use ONLY plumber's grease (silicone-based). Petroleum jelly or oils damage rubber. Ensure replacement washers/O-rings are identical in size and shape.
Step 5: Reassemble & Test Carefully
Reinsert the cartridge or stem assembly exactly as it came out, aligning any tabs or notches. Hand-tighten the retaining nut first, then give it a gentle snug turn with the wrench – don't overtighten! Reattach the handle(s) and secure the screw(s). Turn the water supply back on SLOWLY. Check meticulously for leaks at the repair site and all connections under the sink. Turn the faucet on and off several times.
⚠️ Warning: Overtightening nuts is a top beginner mistake! It cracks plastic parts or distorts metal, causing worse leaks. Snug is enough. Go slow when turning water back on.
Pro Tips
- Take Pictures: Snap photos with your phone at each disassembly stage – your future self will thank you!
- Bag & Tag: Use small ziplock bags to keep screws and parts organized by step.
- Clean First: Use vinegar and an old toothbrush to clean mineral buildup off cartridge seats and parts before reassembly for a better seal.
- Matchmaker: Bring your old washers/O-rings/cartridge to the hardware store to ensure perfect replacements. Know your faucet brand/model if possible.
- Teflon Tape Trick: Only use plumber's tape (2-3 wraps clockwise) on male pipe threads, never on compression fittings or faucet shanks.
When to Call a Professional
Call a licensed plumber if: The leak is from the supply lines themselves (cracks, bulges), the pipes under the sink are corroded or leaking, the leak is behind the wall, you can't identify the source after careful inspection, the faucet body is cracked, you feel completely uncomfortable with any step, or your repairs don't stop the leak after two attempts. It's cheaper to call a pro than fix water damage!
Understanding the Problem in Detail
Leaks happen because rubber parts (washers, O-rings) wear out over time due to friction and water pressure. Hard water minerals accelerate wear and can cause corrosion on metal parts. Loose connections under the sink vibrate open slightly. Knowing it's usually just a tiny worn piece of rubber ($0.10) causing the problem makes it less intimidating!
Tools and Materials Guide
Adjustable Wrench: The MVP. A 6-10" size is ideal. Basin Wrench: Worth buying/borrowing for awkward nuts behind sinks – it grips from the side. Washers/O-rings: Universal kits are cheap starters, but brand-specific kits are best. Plumber's Grease: A small tub lasts years. Teflon Tape: The cheap white kind is fine for sinks. Where: Big box stores (Home Depot, Lowe's), hardware stores, plumbing supply houses (for specific cartridges). Online (Amazon, FaucetDirect) for obscure parts.
Safety Considerations
- Water Off is Non-Negotiable: Double-check before disassembly. 2. Protect Your Eyes: Wear safety glasses, especially under the sink where debris can fall. 3. Mind Your Back: Use a small stool; don't hunch awkwardly. 4. Avoid Chemicals: Use vinegar for cleaning, not harsh chemicals near drinking water lines. 5. Sharp Edges: Be cautious under sinks – pipes and cutouts can be sharp. Wear gloves. 6. Don't Force It: If something won't budge, reassess – you might have missed a screw or clip.
Troubleshooting Common Issues
Handle Won't Budge: Tap gently, use penetrating oil (sparingly, wipe excess), try gentle heat (hair dryer). Leak Returns Immediately: Likely overtightened (cracked part) or wrong/worn washer installed. Water Still Drips After Repair: Did you replace all the O-rings on the cartridge? Is the cartridge seat clean? Leak from Faucet Base: Often requires tightening the mounting nuts under the sink (carefully!), or replacing the base gasket (requires removing the faucet). Drain Leak: Tighten the large slip nut connecting the tailpiece to the drainpipe (hand-tight plus 1/4 turn). If it leaks at the sink bowl, replace the strainer basket & gasket.
Maintenance and Prevention
Operate Gently:* Don't crank handles hard shut. Clean Aerators:* Unscrew the spout tip monthly, rinse out sediment. Lubricate Annually:* A tiny dab of plumber's grease on cartridge stems/O-rings during aerator cleaning prolongs life. Check Under Sink:* Glance periodically for moisture or drips – catch leaks early!
Cost Analysis: DIY vs Professional
DIY Fix: $2-$25 (Washer/O-ring kit, cartridge, plumber's grease, tape). Supply Lines: $10-$20 each. Professional Repair: $150-$350+ (Service call + labor + parts). Savings Strategy: Fix leaks ASAP to save water bills. Invest in good washers/grease. Learn to identify your faucet brand for faster part sourcing.
Related Plumbing Problems
Low water pressure (clogged aerator), slow drain (clogged P-trap), dripping bathtub faucet (similar repair), running toilet (flapper valve), leaking refrigerator water line (compression fitting).
Frequently Asked Questions
Do I REALLY need plumber's grease? Can't I use Vaseline?
Yes, you really need plumber's grease (silicone-based). Vaseline and other petroleum-based products will cause rubber washers and O-rings to swell, deteriorate, and fail much faster, leading to another leak. Silicone grease protects and lubricates without damage.
I tightened everything super tight, but it still leaks! Why?
Overtightening is a common mistake! It can crack plastic parts, distort metal, crush washers unevenly, or strip threads, all of which cause leaks. The solution is often to disassemble, inspect for damage, replace any damaged parts, clean surfaces, and reassemble snugly – firm hand-tight plus maybe a 1/4 to 1/2 turn with a wrench, not muscle-bound force.
How do I know what replacement parts to buy if my faucet has no brand name?
First, look very carefully – brand names are often tiny and stamped on the underside of the spout or base. Take clear pictures of the faucet, the handles, and the cartridge/stem you removed. Bring the old parts (especially the cartridge/stem and washers) to a well-stocked hardware store or plumbing supply house – they often have identification guides or knowledgeable staff. Universal washer/o-ring kits are a good starting gamble for stem faucets.
The leak is coming from the pipes under the sink, not the faucet. What now?
First, try tightening the connection slightly (1/8 to 1/4 turn) where the leak is – it might just be loose. If it's a compression fitting (nut squeezes a ring), tightening often works. If it's a threaded fitting, ensure Teflon tape is used. If the pipe itself is leaking (crack, hole, severe corrosion), or if tightening doesn't stop it, this is a job for a plumber. Don't risk a major leak!