Fix Your Shower Drain in 7 Simple Steps: A DIY Guide for Frustrated Homeowners
Stuck with a slow-draining or clogged shower? Learn safe, beginner-friendly solutions without chemicals. Save $200+ with our step-by-step guide to unclog drains and prevent future issues.
You're staring at murky water that refuses to drain, knowing every second adds to your frustration. Maybe it started as slow drainage, or suddenly became a mini swimming pool. That gurgling sound? The faint odor? It's usually a cocktail of hair, soap scum, and gunk trapped just below the surface – gross but totally fixable.
That moment when you're ankle-deep in dirty shower water? We've all been there. Before you call an expensive plumber or pour harsh chemicals down the drain, take a deep breath. Most shower drain fixes are surprisingly simple with the right approach. This guide turns intimidating plumbing into manageable DIY – no experience needed!
Tools Needed
- Needle-nose pliers (for pulling hair clogs)
- Flathead screwdriver (to remove drain cover screws)
- Plunger (specifically a flat-bottom 'cup plunger' for showers)
- Drain snake/zipper (5-6 ft handheld auger for hair removal)
- Bucket (for catching water during deep clean)
- Adjustable wrench (for strainer basket removal)
- Flashlight (to inspect drain pipe)
Materials Needed
- White vinegar (cleaning alternative to chemicals)
- Baking soda (for non-toxic drain cleaning)
- Replacement drain gasket (3-4 inch rubber, if old one cracks)
- Plumber's putty (waterproof sealant for strainer reinstallation)
- Old towels (spill protection)
- Rubber gloves (thick, for handling debris)
Solution (Beginner - 30 minutes to 2 hours (depending on clog severity))
Step 1: Remove the Drain Cover
Locate the screws on your drain cover (often hidden under flip-up tabs). Unscrew with a flathead, then gently pry up the cover. If it's glued, slide a thin knife edge around the rim. Pro tip: Take a photo before removal so you remember the orientation!
⚠️ Warning: Wear gloves! Sharp edges and bacteria love drain covers.
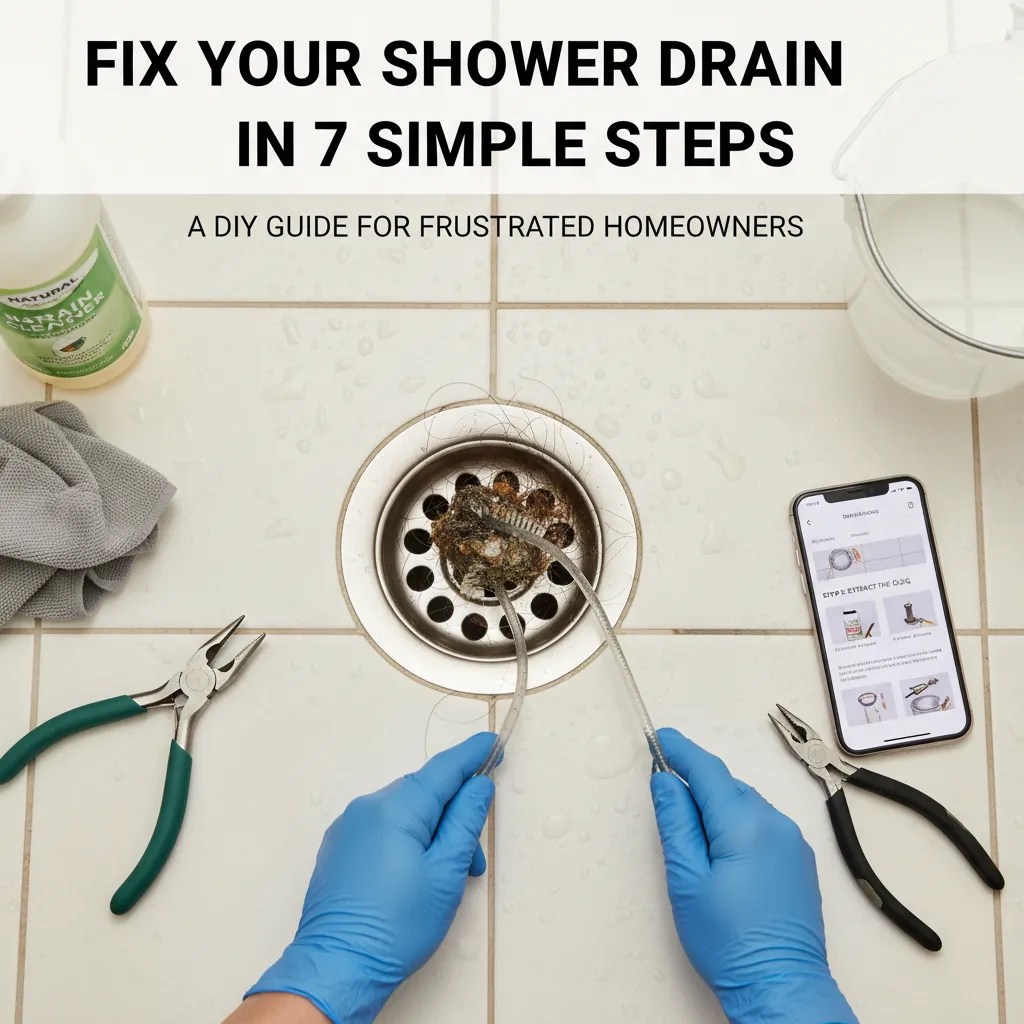
Step 2: Fish Out Visible Clogs
Shine a flashlight into the drain. Use needle-nose pliers to pull out hair wads near the surface – this solves 80% of clogs! Twist slowly to avoid dropping debris deeper. Insider trick: Bend the pliers' tips at 45° for better grip.
⚠️ Warning: Never push debris downward – you'll worsen the clog.
Step 3: Plunge Strategically
Cover the overflow hole (the rectangular opening near the top of your tub) with a wet rag. Fill the shower base with 1-2 inches of water. Place your cup plunger directly over the drain, creating a tight seal. Give 6-8 firm, quick pumps. The wet rag trick amplifies pressure exactly where you need it!
⚠️ Warning: Avoid excessive force on tile showers – grout can crack.
Step 4: Snake the Drain
Insert a 6ft drain snake into the pipe until you feel resistance. Rotate clockwise while gently pushing – this hooks hair clogs. Slowly retract, cleaning the snake after each pass. Pro secret: Rotate counter-clockwise if stuck; it prevents kinking.
⚠️ Warning: Stop if you meet solid resistance – you might hit pipes.
Step 5: Clean the Strainer Basket
Unscrew the crossbar strainer (if present) with an adjustable wrench. Remove and scrub its basket with an old toothbrush dipped in vinegar. Replace cracked gaskets – a $2 fix that prevents leaks!
⚠️ Warning: Place a bucket under pipes when removing – residual water will spill!
Step 6: Natural Flush
Pour ½ cup baking soda down the drain, followed by 1 cup white vinegar. Wait 15 minutes as it fizzes away scum. Flush with hot (not boiling) water. This monthly habit keeps drains clear without damaging pipes.
⚠️ Warning: Never mix vinegar with chemical cleaners – toxic fumes result.
Step 7: Reassemble & Test
Reinstall the strainer basket with a fresh ring of plumber's putty under the flange. Tighten by hand first, then give a quarter-turn with a wrench. Replace the cover and run water. Celebrate your victory!
⚠️ Warning: Over-tightening cracks porcelain – snug is enough.
Pro Tips
- Shine your phone light down the pipe – greenish buildup means soap scum is taking over.
- Keep a 'drain hook' (bent wire coat hanger) in your bathroom for weekly hair removal.
- For stubborn gunk: Use a wet/dry vac on 'blow' mode to dislodge deep clogs.
- Drop a marble down the drain after reassembly – if you hear it hit water, the P-trap is intact.
When to Call a Professional
Call a plumber if: water backs up in multiple drains (sewer issue), you see corrosion or major leaks under the shower, or if DIY methods fail after 2 attempts. Don't risk damaging pipes for a $150 service call!
Understanding the Problem in Detail
Shower drains clog because hair binds with soap residue, forming a net that catches more debris. Your drain's P-trap (U-shaped pipe under the shower) holds water to block sewer gases but also collects gunk. Hard water minerals amplify buildup over time.
Tools and Materials Guide
Alternatives: No plunger? Use a toilet plunger with the flange folded inward. No snake? Straighten a wire coat hanger with a small hook bent at the end. Where to buy: Big-box stores (Home Depot, Lowe's) have snake kits under $15. Buy gaskets/putty in plumbing aisles – bring old parts for size matching.
Safety Considerations
- Wear gloves and eye protection – drain bacteria can cause infections. 2) Never use chemical drain cleaners in showers – they corrode metal pipes and can splash back. 3) Place towels around work area to prevent slips. 4) Turn off shower water supply if removing pipes.
Troubleshooting Common Issues
- Cover won't budge? Tap edges with a screwdriver handle to break sealant. Apply penetrating oil, wait 10 mins, then try.
- Snake stuck? Rotate counter-clockwise while gently pulling.
- Leaks after reassembly? Double-check putty seal and gasket orientation.
- Still slow draining? The clog may be deeper in pipes – try vacuum method or call pro.
Maintenance and Prevention
- Weekly: Remove visible hair from cover
- Monthly: Baking soda/vinegar flush
- Quarterly: Remove cover and snake 12 inches down
- Use drain catchers ($5 mesh screens) – they stop 90% of clogs
- Rinse shower walls before exiting – less soap enters drain
Cost Analysis: DIY vs Professional
- DIY Cost: $0-$25 (tools you may own + snake/putty)
- Professional Cost: $150-$350
- Savings Tip: Buy a $10 drain snake instead of $50 liquid cleaners annually
- Worst-Case: Pipe replacement costs $500+ – hence early DIY pays off!
Related Plumbing Problems
- Tub faucet leaks: Often caused by worn cartridges. 2) Showerhead clogs: Soak in vinegar to dissolve mineral deposits. 3) Sewer smells: Indicates dried P-trap – run water in unused showers monthly. 4) Tile grout damage: From standing water – fix drains promptly!
Frequently Asked Questions
Can I use Drano or Liquid Plumber?
Strongly discouraged! These chemicals can: 1) Eat through PVC pipes with repeated use 2) Splash into eyes/skin 3) Fail on hair clogs and leave toxic residue. Natural methods are safer and often more effective for showers.
Why does my drain smell like rotten eggs?
This signals bacteria buildup or an evaporating P-trap. Try the baking soda/vinegar flush first. If smells persist, check for leaks under the shower that might be draining the P-trap. Never ignore sewer gas – it's both smelly and potentially hazardous.
How do I know if the clog is deeper than my snake can reach?
If: 1) Water backs up when you run sinks/toilets 2) Snaking retrieves no debris 3) Gurgling comes from walls/floors. This likely means a blockage in the main stack – time for a pro with a powered auger.