Stop Toilet Overflow Fast: Your Step-by-Step DIY Rescue Guide
Panicked by an overflowing toilet? Learn how to instantly stop the flood, fix clogs & faulty parts with household tools. Save $200+ on plumber calls with this beginner-friendly guide!
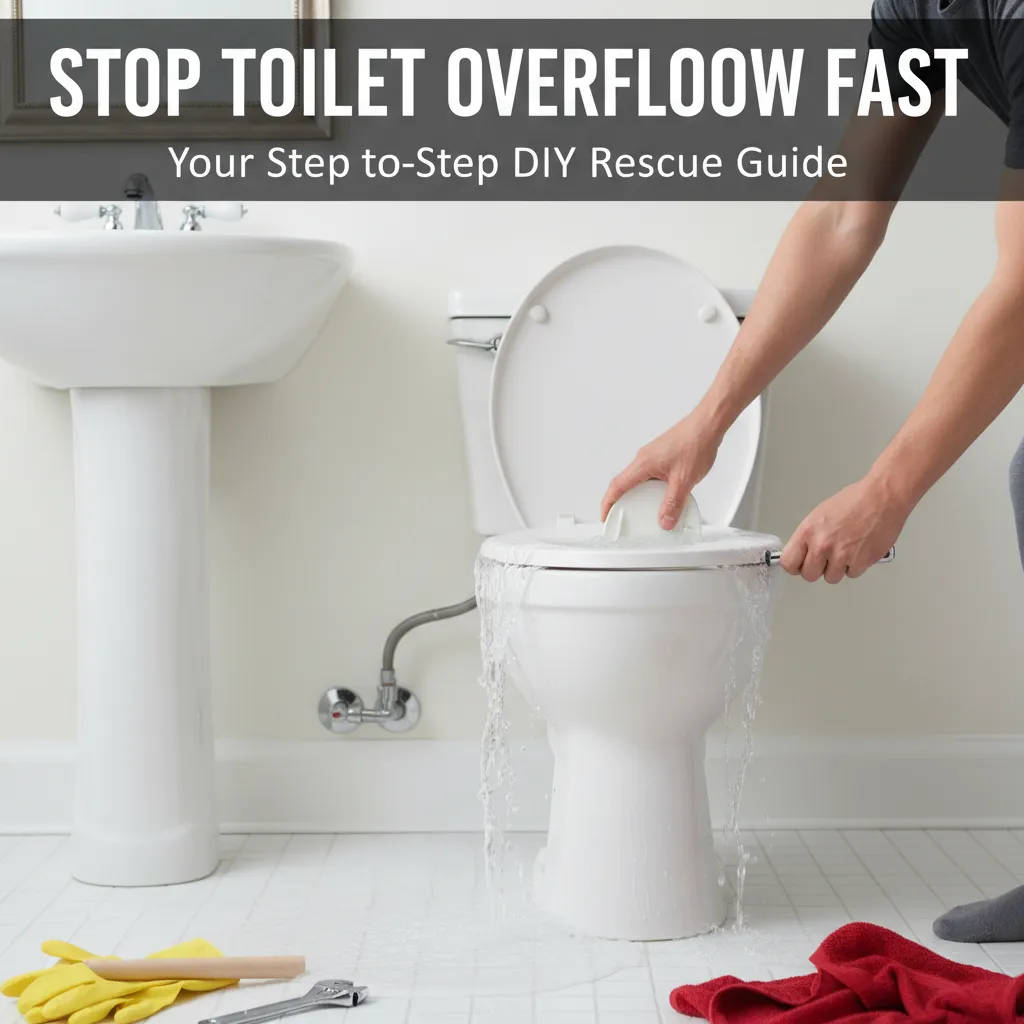
You hear that dreaded gurgling sound, see water creeping toward the rim, and suddenly it's a race against time. Whether it's a toy flushed by a toddler, a failing flapper, or mysterious plumbing gremlins – I know the stress. The good news? 90% of overflows are fixable with what's already in your home.
That heart-sinking moment when water spills over your toilet rim is pure panic. Breathe – you've got this! As a DIY plumbing veteran, I'll guide you through stopping the overflow immediately and fixing the root cause safely. No fancy tools needed, just clear steps to turn chaos into confidence.
Tools Needed
- Plunger (flange-style for best toilet seal)
- Adjustable wrench (for water supply valve)
- Bucket (to catch water)
- Old towels (for quick cleanup)
- Toilet auger/snake (for stubborn clogs)
Materials Needed
- Replacement flapper valve (universal size, check chain length)
- Fill valve repair kit (universal Fluidmaster recommended)
- Plumber's grease (tube, silicone-based)
- White vinegar (for mineral deposit cleaning)
Solution (Beginner - 5-15 minutes for emergency stop; 20-45 minutes for full repair)
Step 1: KILL THE WATER SUPPLY NOW
Locate the water shutoff valve (usually behind toilet base). Turn clockwise until tight. Can't find it? Lift tank lid and lift the float arm HIGH – this stops new water entering.
⚠️ Warning: Avoid touching contaminated water barehanded. Wear rubber gloves!
Step 2: CONTAIN THE FLOOD
Quickly place towels around base. Use bucket to scoop water from bowl if level is critical. Tip: Pouring hot water into bowl reduces surface tension for easier plunging.
⚠️ Warning: Never pour boiling water – it can crack porcelain!
Step 3: PLUNGE LIKE A PRO
Insert plunger completely over drain hole. Push down firmly, then pull up sharply 15-20 times. Keep seal intact! Insider move: Add petroleum jelly to plunger rim for better suction.
⚠️ Warning: Avoid violent thrusts – gentle pressure waves work best.
Step 4: SNAKE STUBBORN CLOGS
Insert auger into drain, crank clockwise until resistance. Gently push/pull to hook debris. Key tip: Always retract fully before removing to avoid splashback!
⚠️ Warning: Never force the auger – porcelain scratches easily.
Step 5: FIX TANK COMPONENTS
Check chain connecting flush handle to flapper – should have 1/2" slack. Adjust float if water rises within 1" of overflow tube. Replace flapper if worn or cracked.
⚠️ Warning: Turn off water and flush tank empty before repairs!
Pro Tips
- Keep a dedicated 'toilet plunger' – sink plungers won't seal properly
- Test flush valve by adding food coloring to tank – color in bowl means leak
- Silence tank refill noise by adjusting water flow screw on fill valve
- Always replace flapper AND fill valve together – they wear out simultaneously
When to Call a Professional
Call a plumber if: 1) Water backs up from multiple drains (sewer line issue), 2) You see cracks in porcelain, 3) Clogs recur weekly (root intrusion), or 4) You're uncomfortable with tank repairs. Average cost: $150-$350.
Understanding the Problem in Detail
Overflows happen when water can't exit faster than it enters. Clogs block the drain path, while faulty tank parts (flapper, fill valve, float) allow water to continuously fill until it spills through the overflow tube. Simple physics – but terrifying when it's your bathroom!
Tools and Materials Guide
Flange plungers ($10-20) create toilet-specific seals. Universal Fluidmaster repair kits ($15) fit 95% of toilets. Augers ($25) reach deeper than plungers. Pro tip: Bring old flapper to hardware store for perfect match. Buy plumber's grease ($5) to prevent valve corrosion.
Safety Considerations
WEAR GLOVES AND EYE PROTECTION. Toilet water contains harmful bacteria. Never mix chemical cleaners (they can create toxic fumes). Ensure good ventilation. Turn off water BEFORE touching internal parts. Place towels to prevent slips.
Troubleshooting Common Issues
Plunger not working? Check seal – add water to cover plunger. Gurgling sounds? Vent stack may be blocked – try running sink while plunging. Tank still overflowing after repair? Adjust float height downward. Weak flush? Mineral buildup – soak parts in vinegar overnight.
Maintenance and Prevention
- Monthly: Test shutoff valve function 2) Quarterly: Clean flapper seat with vinegar-soaked cloth 3) Annually: Replace flapper/fill valve 4) Never flush: Wipes (even 'flushable'), feminine products, or thick paper towels.
Cost Analysis: DIY vs Professional
DIY: Plunger ($15) + repair kit ($20) = $35. Pro: $150-$350. Save $100+ by replacing parts preventatively before they fail. Bonus: New fill valves cut water bills by 30%!
Related Plumbing Problems
Running toilet (wastes 200+ gallons daily), weak flush (mineral buildup), leaking base (wax ring failure), phantom flushes (flapper leak). All fixable with these same tools!
Frequently Asked Questions
Can I use chemical drain cleaners for toilet clogs?
NO! They rarely work on toilet clogs and can damage seals, creating bigger leaks. They're also hazardous if you need to disassemble pipes later. Mechanical clearing (plunger/auger) is safer and more effective.
Water keeps rising after I shut off the valve! What now?
This indicates a severe clog deeper in pipes. Immediately remove tank lid and pull up the float arm to stop all water flow. Use your bucket to scoop water from bowl to prevent overflow. Then proceed with vigorous plunging/augering.
How do I know if I need a new flapper?
Add food coloring to the tank. Wait 15 minutes without flushing. If color appears in bowl, the flapper isn't sealing. Also inspect visually – cracked or warped flappers need replacement. When in doubt, replace it! They cost under $10.