How to Install a Reverse Osmosis System: Your Stress-Free Guide to Cleaner Water
Tired of bad-tasting tap water or bottled water costs? Learn how to install an RO system safely in your kitchen with this beginner-friendly DIY guide. Save money and enjoy pure water!
You want safer, better-tasting water but dread complex plumbing jobs. Maybe you're frustrated by contaminants in your tap water, tired of buying bottled water, or nervous about drilling under your sink. It's normal to feel hesitant – but with the right guidance, this is totally doable.
Feeling overwhelmed by murky tap water or endless plastic bottles? You're not alone. As a homeowner, you deserve clean water without the plumbing headaches. This guide breaks down reverse osmosis installation into simple, confidence-building steps – no prior experience needed. Let's transform your kitchen water together!
Tools Needed
- Adjustable wrench: For tightening fittings
- Drill with 1/4" bit: To create faucet hole if needed
- Tube cutter: Ensures clean cuts on plastic tubing
- Screwdriver set: For mounting components
- Teflon tape: Seals threaded connections
- Bucket & towels: Catches spills during hookup
Materials Needed
- RO system kit: Includes membrane, filters, tank, and faucet
- 1/4" polyethylene tubing: Food-grade tubing for water lines (10-15 ft recommended)
- Saddle valve or tee adapter: Connects to cold water line (check kit compatibility)
- Drain saddle clamp: Taps into sink drain pipe
- Plumber's putty or silicone sealant: For faucet base sealing
Solution (Intermediate - 2-4 hours (depending on setup complexity))
Step 1: Prep Your Workspace & Shut Off Water
Clear everything from under your sink. Turn off the cold water supply valve and open the sink faucet to drain residual water. Lay down towels – this keeps your workspace dry and prevents damage.
⚠️ Warning: Double-check water is OFF by testing the faucet. Unexpected sprays soak everything!
Step 2: Install the RO Faucet
Drill a 1/4" hole in your sink or countertop (if no spare hole exists). Insert the faucet stem, secure it underneath with the provided nut, and apply plumber's putty under the base to prevent leaks. Keep the tubing stub accessible.
⚠️ Warning: Avoid ceramic sinks – they can crack. Use low drill speed and masking tape on drill sites.
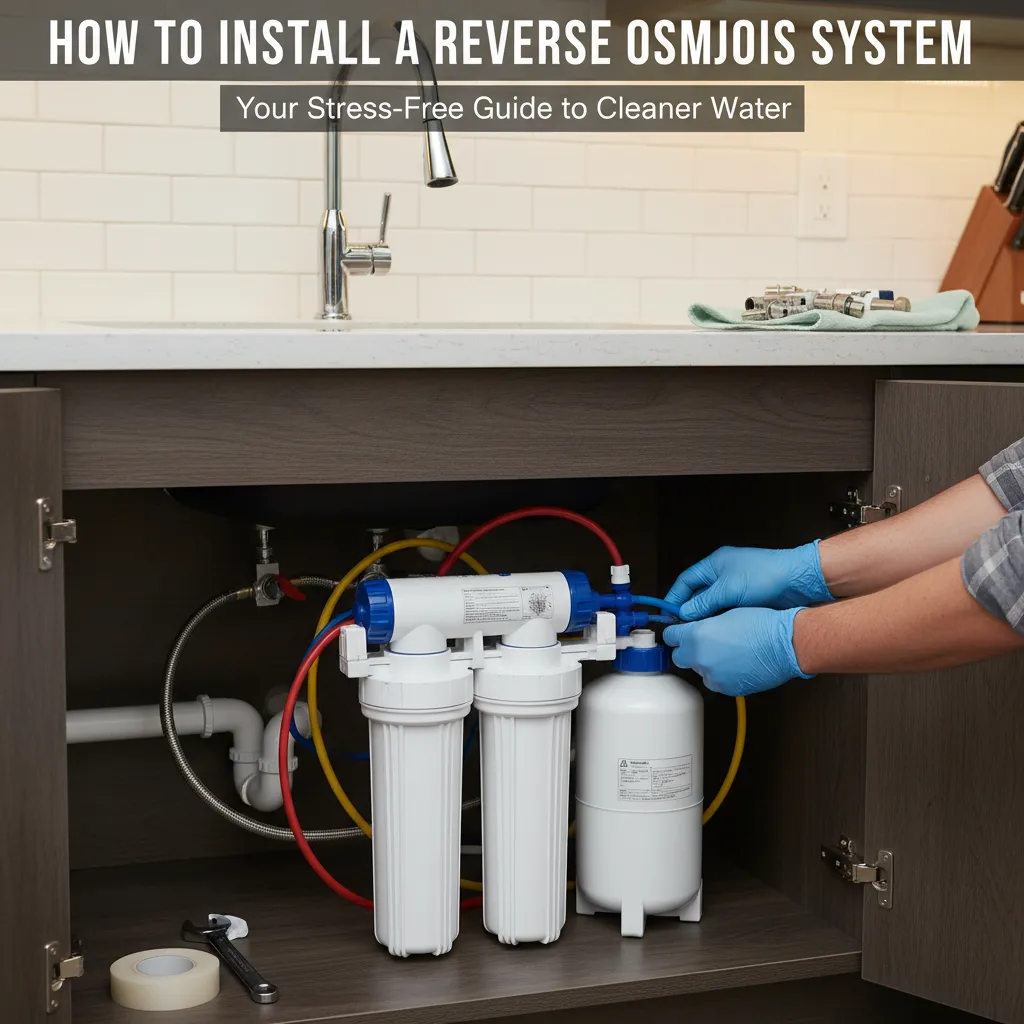
Step 3: Mount the System & Storage Tank
Position the RO unit vertically on the cabinet wall using screws (leave 6" clearance for filter changes). Place the tank nearby, ensuring it won't block pipes. Use the tank strap if provided – a full tank is heavy!
⚠️ Warning: Don't mount components directly to water/drain lines – vibrations cause leaks.
Step 4: Tap Into Water Supply Line
Attach the saddle valve or tee adapter to the cold water line. For saddle valves: Tighten until it pierces the pipe (listen for a click). Connect one end of your tubing to the valve and run it to the RO unit's "IN" port.
⚠️ Warning: Overtightening saddle valves cracks pipes. Snug is enough!
Step 5: Connect Drain Line & Tank
Clamp the drain saddle onto the sink's tailpipe. Insert the drain tube (marked 'Drain' from RO unit) into the saddle. Connect tubing from the RO unit's 'OUT' to the tank valve, and from the tank to the faucet's tubing stub.
⚠️ Warning: Ensure drain tube loops upward before descending – prevents sink water backflow.
Step 6: Flush & Test for Leaks
Slowly turn on the water supply. Open the RO faucet and let water run for 2 hours (flushes manufacturing carbon dust). Check every connection with a paper towel – tiny drips mean tighten fittings. Celebrate your leak-free victory!
⚠️ Warning: Bypass the first tank of water – it contains preservatives from new filters.
Pro Tips
- Label tubing ends with masking tape during install – avoids confusion later
- Keep extra tubing for future maintenance cuts
- Pre-flush filters separately if your kit allows – reduces initial wait time
- Use a tubing insert (John Guest style) when connecting lines – prevents leaks
When to Call a Professional
Call a plumber if: Your water lines are corroded/shaky, you lack a shut-off valve, or leaks persist after 3 tightening attempts. Also if drilling granite/quartz counters – specialized bits are needed.
Understanding the Problem in Detail
Reverse osmosis forces water through a semi-permeable membrane, trapping contaminants like lead, chlorine, and sediments. Standard systems have 3-5 stages: pre-filters (sediment/carbon), the RO membrane, and a post-filter. It solves taste/odor issues and reduces toxins, but produces wastewater – typically 3-4 gallons wasted per gallon purified.
Tools and Materials Guide
Buy RO kits from home centers (HD/Lowe's) or Amazon. Look for NSF/ANSI 58 certification. For tubing, ensure it's marked 'NSF 61'. Saddle valves work for copper/pipes; use sharkbite tees for PEX. Teflon tape must be pink (for water) – wrap clockwise 3 times on threads.
Safety Considerations
Always shut off main water first. Wear safety glasses when drilling. Never install near garbage disposals or hot water lines. Ensure good under-sink ventilation – RO tanks can release trace hydrogen gas. Keep children/pets away during installation.
Troubleshooting Common Issues
Leaking connections: Tighten 1/4 turn more or re-cut/reinsert tubing,Low water pressure: Check for kinked tubes or clogged pre-filters,Tank not filling: Verify tank air pressure (should be 7-8 PSI when empty),Faucet dripping: Replace O-rings or check valve alignment,Gurgling drain: Ensure drain tube isn't submerged in standing water
Maintenance and Prevention
Change pre-filters every 6 months, post-filter yearly, membrane every 2-3 years. Sanitize the system annually with bleach solution (follow manual). Leave enough space under the sink for easy access.
Cost Analysis: DIY vs Professional
DIY install saves $200-$300 vs pro. Kits cost $150-$400. Annual filter replacements: $50-$100. Expect 5-10 years from tanks/membranes. Tip: Buy generic filters (same specs as brands) to save 30%.
Related Plumbing Problems
If you have low water pressure, consider a permeate pump add-on. For hard water, pair with a water softener. Cloudy ice? RO systems often resolve this. Slow flow? Check existing plumbing pressure first.
Frequently Asked Questions
Will this slow down my kitchen faucet water flow?
No – the RO system taps your cold water line but doesn't affect main faucet pressure. Only the dedicated RO faucet runs slower (takes 2-3 minutes to fill a glass), which is normal for filtration.
Why is my system making noise?
A slight hum during filtration is normal. Loud vibrations mean the unit isn't mounted securely. Gurgling indicates drain flow – ensure the tube isn't kinked. Hissing suggests a leak – check connections.
Can I install under a sink with a garbage disposal?
Yes! Mount the RO unit on the opposite cabinet wall. Route tubing away from the disposal body and secure it with clips. Avoid drilling into disposal wiring.