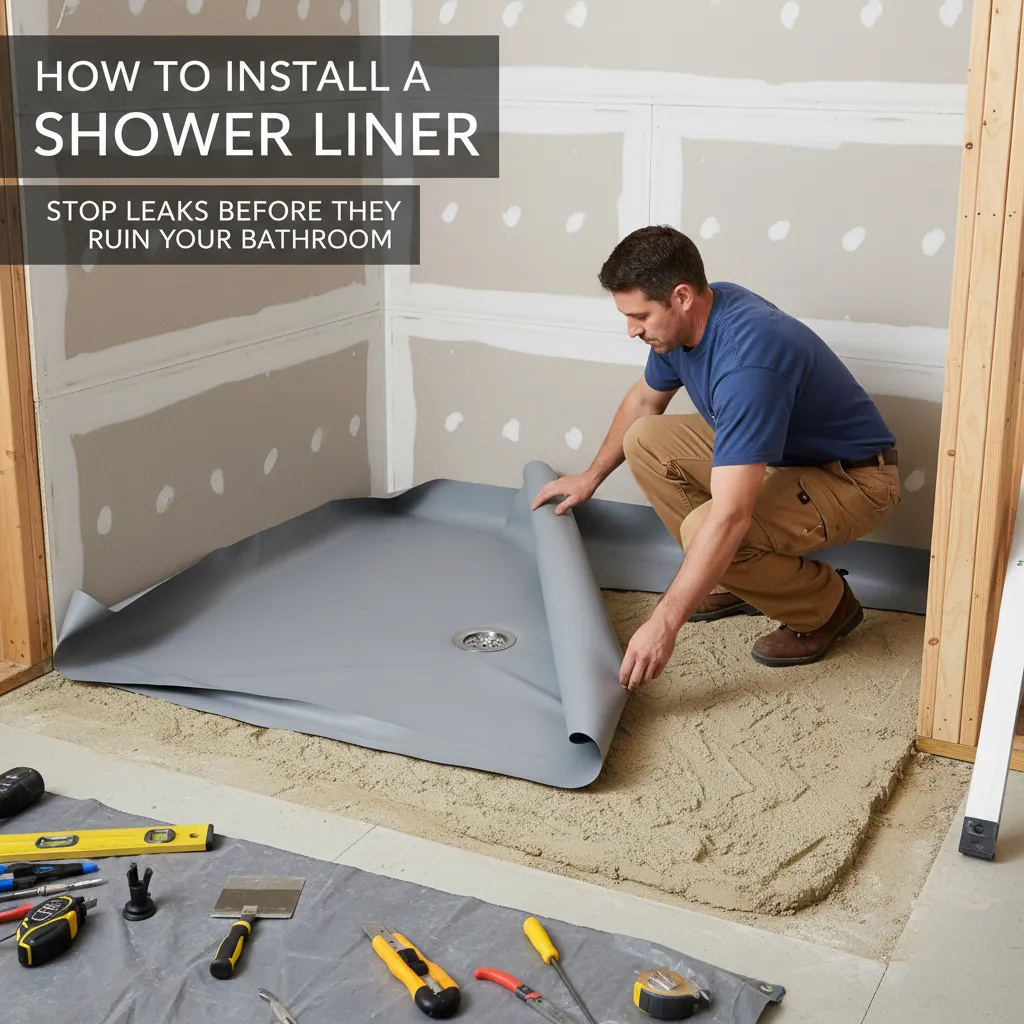
How to Install a Shower Liner: Stop Leaks Before They Ruin Your Bathroom
Frustrated by shower leaks? Learn step-by-step how to properly install a shower liner with pro tips. Prevent water damage and mold in your DIY shower project. Save $1000s!
You notice damp subfloor, peeling baseboards, or musty smells near your shower – classic signs your liner has failed. Maybe you're renovating and realize that skipped step could cost you thousands in water damage later. That sinking feeling when water pools at your feet instead of draining? It's often due to an improper liner install. I get it – plumbing jargon is overwhelming, and one wrong cut feels catastrophic. But here's the secret: 90% of liner failures come from just 3 fixable mistakes.
That suspicious damp spot near your shower isn't just annoying – it's a warning sign. Water damage from a failed liner can rot floors and breed mold, turning your DIY dream into a nightmare. Take a deep breath! With this guide, you'll learn exactly how to install a shower liner like a pro, even if you've never held a trowel. I've helped hundreds of homeowners conquer this critical step – let's get your shower waterproof and worry-free.
Tools Needed
- Utility knife (for precise liner cuts)
- Tin snips (for cutting metal lath)
- Measuring tape (25' for accurate dimensions)
- Notched trowel (1/4" x 1/4" for mortar bed)
- Flat trowel (for smoothing pre-slope)
- Hammer (for securing liner folds)
- Level (2-ft for checking slope)
- Chalk line (marking layout lines)
- Scissors (heavy-duty for liner)
Materials Needed
- PVC or CPE shower liner (40 mil thickness, 5' wider/longer than shower base)
- Pre-slope mortar mix (sand-topping mix recommended)
- Metal lath (cut 2" smaller than shower base)
- Clamping drain assembly (match your drain type)
- PVC liner cement (specific for shower liners)
- Sealant tape (butyl or silicone for corners/seams)
- Corner dam corners (pre-formed for leak-proof joints)
- Concrete blocks/bricks (to hold liner folds during curing)
Solution (Intermediate - 4-6 hours (plus 24h drying time for pre-slope))
Step 1: Demolish & Prep Your Shower Base
Remove old shower base/tiles down to subfloor. Sweep debris, then staple metal lath over subfloor, leaving 1" gap from walls. Mix pre-slope mortar to oatmeal consistency. Starting at drain, trowel mortar at 1/4" per foot slope toward walls. Use level to verify slope – this is CRITICAL for drainage! Let cure 24h. Pro tip: Shine a flashlight across the slope – shadows reveal low spots.
⚠️ Warning: Wear N95 mask and goggles when cutting lath – metal fragments fly!
Step 2: Dry-Fit & Cut the Liner
Unroll liner over pre-slope, draping 3" up walls. Mark where drain hole touches liner center. Cut a cross (+) pattern 1" smaller than drain flange diameter – too big causes leaks! Temporarily secure liner with duct tape. Check for 3" wall overlap everywhere. Pro tip: Warm liner with hairdryer in cold rooms – it folds easier without cracking.
⚠️ Warning: Never walk on liner with shoes – grit creates micro-punctures. Socks only!
Step 3: Seal Corners & Install Dam
Apply sealant tape to all wall corners. Press pre-formed corner dams into tape, creasing sharply. Seal dam tops with liner cement. This triple-layer defense stops 95% of corner leaks. Pro tip: Use a J-roller (or glass bottle) to press out air bubbles – they weaken seals.
⚠️ Warning: Avoid standard caulk – it degrades PVC. Use only compatible sealants.
Step 4: Secure the Drain & Test for Leaks
Insert liner into clamping drain flange. Sandwich liner between flange pieces, tightening bolts evenly. Connect drain pipe. Fill shower base with 1" water (plug drain first!). Mark waterline and wait 2h. If level drops, trace leaks with tissue paper. Pro tip: Add food coloring to water – colored drips reveal leak locations instantly.
⚠️ Warning: Overtightening drain bolts cracks PVC – snug plus 1/4 turn only!
Step 5: Fold & Protect for Tile Installation
Drain test water. Fold liner neatly against walls, securing with staples ABOVE flood level (usually 3"). Cover entire liner with protective board or felt paper before mortar bed. Pro tip: Take photos of liner before covering – helps locate pipes later during repairs.
⚠️ Warning: Staples below flood level = guaranteed leaks. Measure twice!
Pro Tips
- Buy 15% extra liner – those corners eat material
- Use a rubber mallet to mold corner dams – prevents creasing
- Dust pre-slope with cement powder before liner install – reduces slippage
- Work in warm room (70°F+) – cold liners crack when folded
- Install liner mid-day – sunlight through windows reveals wrinkles
When to Call a Professional
Call a pro if: 1) Your subfloor feels spongy (structural damage), 2) Drain pipes are corroded/galvanized (requires welding), or 3) You're installing over concrete slab (specialized tools needed). Most plumbers charge $500-$900 for liner installs.
Understanding the Problem in Detail
Water always finds the weakest point. Without a proper liner, moisture seeps through grout/tile, rotting wood subfloors and breeding mold inside walls. The pre-slope is non-negotiable – flat bases trap water UNDER the liner, guaranteeing failure. Think of your liner as a watertight bathtub under your tiles.
Tools and Materials Guide
Choose PVC or CPE liner (NOT vinyl). 40 mil is code minimum. Buy from plumbing supply stores (box stores often carry thinner versions). Clamping drains must match pipe size. Alternative to mortar pre-slope: Foam shower pans (like Schluter) but costs 3x more. Save $50 by renting tools from hardware stores.
Safety Considerations
- Cut liner on plywood – utility knives slip easily 2) Wear knee pads – you'll spend hours kneeling 3) Ventilate when using cement – fumes cause dizziness 4) Support drain pipes before disassembly – a dropped pipe floods your basement!
Troubleshooting Common Issues
Problem: Wrinkles in liner. Fix: Lift area, apply cement, weight down flat. || Problem: Leaking corners. Fix: Dry thoroughly, apply extra sealant tape under dam. || Problem: Pooling water. Fix: Only solution is redoing pre-slope – no shortcuts!
Maintenance and Prevention
- Re-caulk wall joints yearly 2) Use pH-neutral cleaners (bleach degrades PVC) 3) Never let standing water remain – it tests seals 4) Inspect for tile cracks biannually.
Cost Analysis: DIY vs Professional
DIY Cost: $120-$250 (liner, drain, mortar). || Pro Cost: $500-$900. || Water Damage Repair: $3,000+ (subfloor, drywall, mold remediation). Savings Tip: Buy liner online in bulk – same quality, 30% cheaper than stores.
Related Plumbing Problems
- Wobbly shower base – requires subfloor repair 2) Slow-draining shower – clogged pipes below liner 3) Cracked tiles – movement from compromised subfloor 4) Grout discoloration – moisture wicking upward.
Frequently Asked Questions
Can I reuse my old shower liner?
Absolutely not. Liners degrade over time and get damaged during removal. Reusing one is like putting a bandaid on a broken pipe – guaranteed leaks within months.
How high up the wall should the liner go?
Minimum 3 inches above the finished curb height. For glass-door showers, go 6 inches. Always above the flood level – water can surge during use! Measure from the top of the drain, not the floor.
What if I accidentally puncture the liner?
Don't panic! Dry the area completely. Cut a patch 2" larger than the hole from scrap liner. Apply liner cement to both surfaces, press firmly, and weight it down for 2 hours. Test thoroughly before proceeding.