Stop Water Damage Before It Starts: Your Stress-Free Guide to Installing a Water Heater Pan
Scared of water heater leaks ruining your floors? Learn how to install a water heater pan correctly with beginner-friendly steps, safety tips, and money-saving advice. Protect your home today!
Water heaters can leak unexpectedly due to age, corrosion, or valve failures. Without a pan, water silently soaks into subfloors, causes mold, and leads to thousands in repairs. Many homeowners panic when they see rust stains or dampness—but catching it early with a simple pan install saves your wallet and sanity.
That sinking feeling when you spot water pooling around your water heater? You're not alone. A missing or damaged drain pan is a ticking time bomb for expensive home damage. But take a deep breath—installing one is totally DIY-able with the right guidance. I'll walk you through every step so you can sleep soundly knowing your floors are protected.
Tools Needed
- Adjustable wrench (for disconnecting supply lines)
- Hacksaw or PVC cutter (for trimming drain pipes)
- Tape measure (critical for pan sizing)
- Level (to prevent uneven water pooling)
- Marker (for marking cut lines)
- Utility knife (for cutting insulation if needed)
- Safety glasses (debris protection)
- Work gloves (sharp edges on old pipes)
Materials Needed
- Water heater pan (22" diameter for standard 40-50 gal heaters - check label!)
- PVC drain pipe (¾" or 1" diameter - match pan outlet size)
- PVC couplings/elbows (for routing drain line)
- PVC primer & cement (for leak-proof joints)
- Pipe insulation (for exposed drain lines in cold spaces)
- Teflon tape (for threaded connections)
- Shims (wood or plastic - for leveling if floor is uneven)
Solution (Beginner - 1-2 hours (including prep and cleanup))
Step 1: Power Down & Drain Preparation
Turn OFF gas/electricity to the heater at the breaker or valve. Connect a garden hose to the drain valve and run it outside or to a floor drain. Open a hot water faucet upstairs to prevent vacuum lock, then open the drain valve. Tip: Do this on laundry day—you’ll reuse the drained water!
⚠️ Warning: Never work on a pressurized or powered water heater. Scalding risk is real!
Step 2: Measure Twice, Pan Once
Measure your heater's diameter (usually 20-22") and note drain valve location. Buy a pan 2" wider than the heater with a drain outlet positioned away from walls. Insider trick: Get a pan with a threaded outlet—it’s easier to connect pipes than push-fit styles.
⚠️ Warning: Avoid galvanized steel pans in humid areas—they rust. Plastic is foolproof.
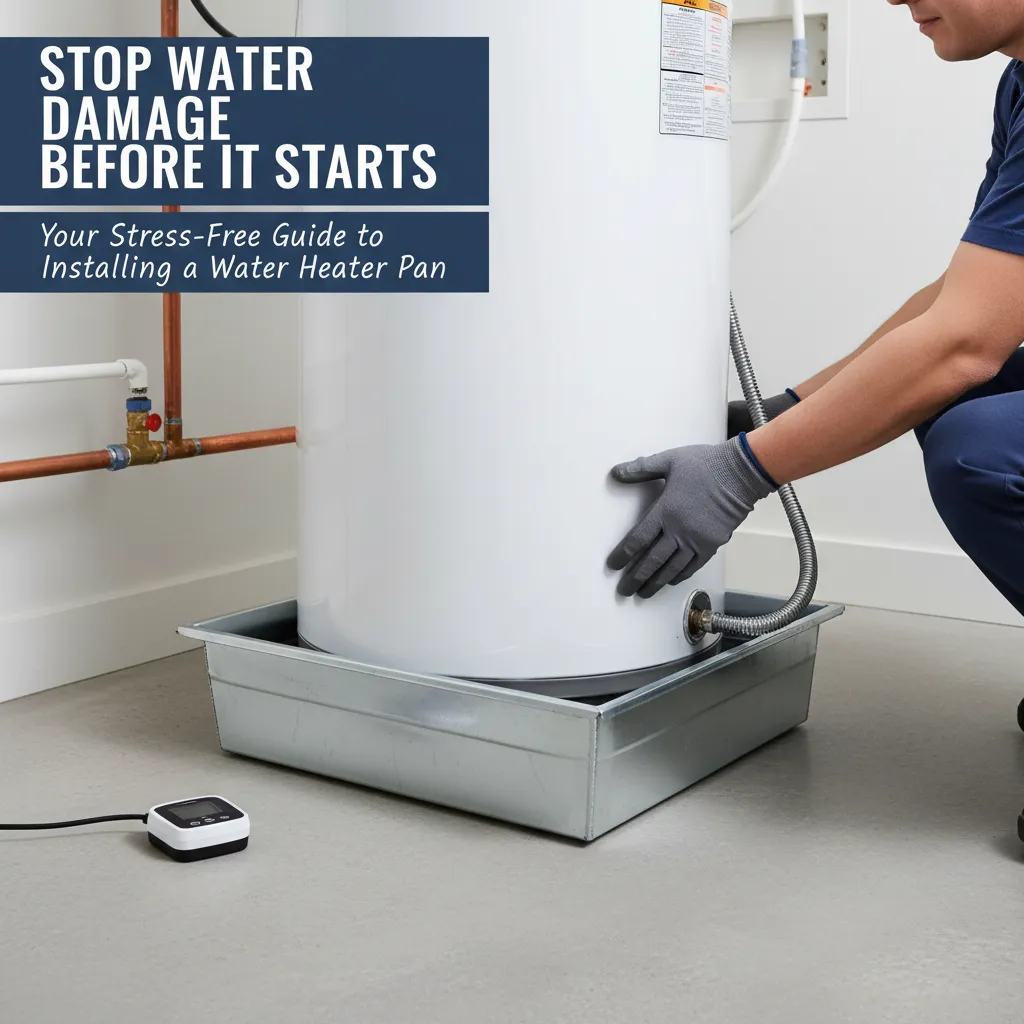
Step 3: Position & Level the Pan
Slide the pan into place, centering it under the heater. Place a level on the pan rim. If uneven, slide shims under the low side until perfectly level. Critical: The drain outlet MUST slope downward—aim for ¼" per foot toward your drain point.
⚠️ Warning: An unlevel pan lets water pool and stagnate instead of draining.
Step 4: Route the Drain Line
Dry-fit PVC pipe from the pan outlet to your drain location (floor drain, sump, or outside). Keep it simple—use 45° elbows instead of 90°s for better flow. Mark pipes for cutting, then trim with a hacksaw. Deburr cuts with a utility knife.
⚠️ Warning: Never drain into sewer lines—it’s illegal in most areas and causes backups.
Step 5: Glue & Secure Connections
Prime and cement PVC joints within 30 seconds for a solid seal. Wrap Teflon tape clockwise around threaded fittings. Support pipes every 4 ft with hangers—sagging pipes trap debris. Pro trick: Leave a 1" gap between pipe and floor drain to prevent backflow.
⚠️ Warning: PVC cement fumes are toxic—work in a ventilated area.
Step 6: Reinstall Heater & Test
Carefully lower the heater into the pan, ensuring no hoses or valves contact the pan walls. Reconnect supply lines with Teflon tape on threads. Refill the tank slowly with cold water, then restore power. Check for leaks at connections and pan seams.
⚠️ Warning: Over-tightening supply lines cracks fittings—snug plus ¼ turn is enough.
Pro Tips
- Place a water alarm ($10) in the pan—it screeches at the first sign of leakage.
- In freezing climates, insulate drain pipes to prevent ice blockages.
- Take photos before disassembly—they’re golden for reconnection doubts.
- Use a clear primer—purple stains look messy if exposed.
When to Call a Professional
Call a plumber if: Your heater is in a tight closet requiring relocation, drain routing requires wall/floor penetration, or you smell gas. Also if local codes require soldered pipes or complex venting adjustments.
Understanding the Problem in Detail
Water heaters fail gradually. Sediment buildup corrodes tanks, temperature/pressure valves weep, and fittings degrade. Pans catch these 'early warnings' before 40+ gallons flood your home. Building codes often require pans for heaters in attics or living spaces.
Tools and Materials Guide
Buy pans at hardware stores (look for EPDM rubber or polypropylene—they won’t crack). Drain pipes must be PVC/CPVC—garden hoses degrade. Need a shorter pan? Some brands offer 'low-profile' 1.5" deep options. Budget tip: Use leftover PVC from sprinkler projects.
Safety Considerations
• Shut off water AND power/gas—double-check with a voltage tester.
• Wear knee pads—you’ll be crouching a lot.
• Never bypass the temperature/pressure relief valve for drain routing.
• Ensure the floor can support the pan’s added weight (1,000+ lbs when full).
Troubleshooting Common Issues
• Pan not draining? Check for debris in the outlet or incorrect slope.
• Heater wobbles? Add more shims—vibration cracks pipes over time.
• Condensation pooling? Insulate tank and pipes—warm rooms cause 'sweating'.
• Leaky connections? Tighten gently or reapply Teflon tape.
Maintenance and Prevention
• Test drain valves annually by briefly opening them.
• Flush sediment every 6 months to extend tank life.
• Replace anode rods every 3-5 years.
• Keep the area around the heater clutter-free for easy inspections.
Cost Analysis: DIY vs Professional
• DIY cost: $40-$100 (pan: $20-$60, pipes/fittings: $20-$40)
• Pro install: $200-$400
• Water damage repair: $2,000-$10,000+
Savings hack: Many homeowners insurance discounts require pans—ask your agent!
Related Plumbing Problems
• Fixing leaky water heater valves
• Replacing an old water heater
• Installing flood sensors
• Repairing water-damaged subfloors
• Soundproofing water heater closets
Frequently Asked Questions
Can I install a pan without moving my water heater?
Unfortunately not—the heater must be drained and lifted to slide the pan underneath. But with my step-by-step, it’s safer and easier than you think!
What if my floor drain is across the room?
Route the pipe along the wall (not across walkways). Use PVC hangers every 4 ft and conceal it with a paintable conduit. If impossible, consider a condensate pump to push water uphill.
Do I need a pan for a tankless water heater?
Usually not—tankless units don’t store water. But check local codes, and always install a drain pan under whole-house filtration systems.