How to Install a Water Line: A Stress-Free DIY Guide for Homeowners
Stop stressing about adding water lines! Our beginner-friendly guide shows you how to safely install water lines for fridges, sinks & more—with pro tips to avoid leaks. Save $ & gain confidence.
You’re staring at your new fridge’s ice maker hookup or that empty sink cabinet, dreading the plumber’s quote. Maybe there’s an old leaky line, or you’re adding your first appliance. The anxiety about flooding your kitchen or wasting money on mistakes is paralyzing. Sound familiar? You’re not alone—and this project is more achievable than you think.
Feeling overwhelmed about running a new water line for your fridge, sink, or appliance? That nagging leak fear is real—but take a deep breath. Whether you're adding an ice maker or replacing old pipes, this guide walks you through every step safely and clearly. No plumbing jargon, just straight talk from a DIYer who’s been there.
Tools Needed
- Adjustable wrench (for tightening fittings without stripping)
- Tube cutter (guarantees clean cuts on plastic/metal tubing)
- Deburring tool (removes sharp edges inside cut pipes)
- Drill with 1/4" bit (for piercing cabinet walls)
- Teflon tape (seals threaded connections)
- Pressure gauge (optional but recommended for leak testing)
Materials Needed
- PEX tubing (1/4" or 3/8" OD - NSF-rated for potable water)
- Shut-off valve (angle stop or saddle valve - brass recommended)
- Compression fittings (matched to tubing size - avoid plastic)
- Pipe clamps (stainless steel for securing tubing every 2 ft)
- Foam insulation sleeves (for lines in unheated spaces like garages)
- Safety glasses & work gloves (non-negotiable!)
Solution (Beginner to Intermediate - 1.5–3 hours (depending on complexity))
Step 1: Shut Off Water & Map Your Route
Locate your main water shut-off valve (usually near the water meter or where pipes enter the house) and turn it clockwise until tight. Open a faucet to drain residual pressure. Now plan your tubing path: shortest distance from the water source (like an existing pipe under the sink) to the appliance, avoiding sharp bends or heat sources. Tip: Use masking tape to mark the route on floors/walls.
⚠️ Warning: Never skip shutting off the main water! A surprise geyser can cause thousands in damage.
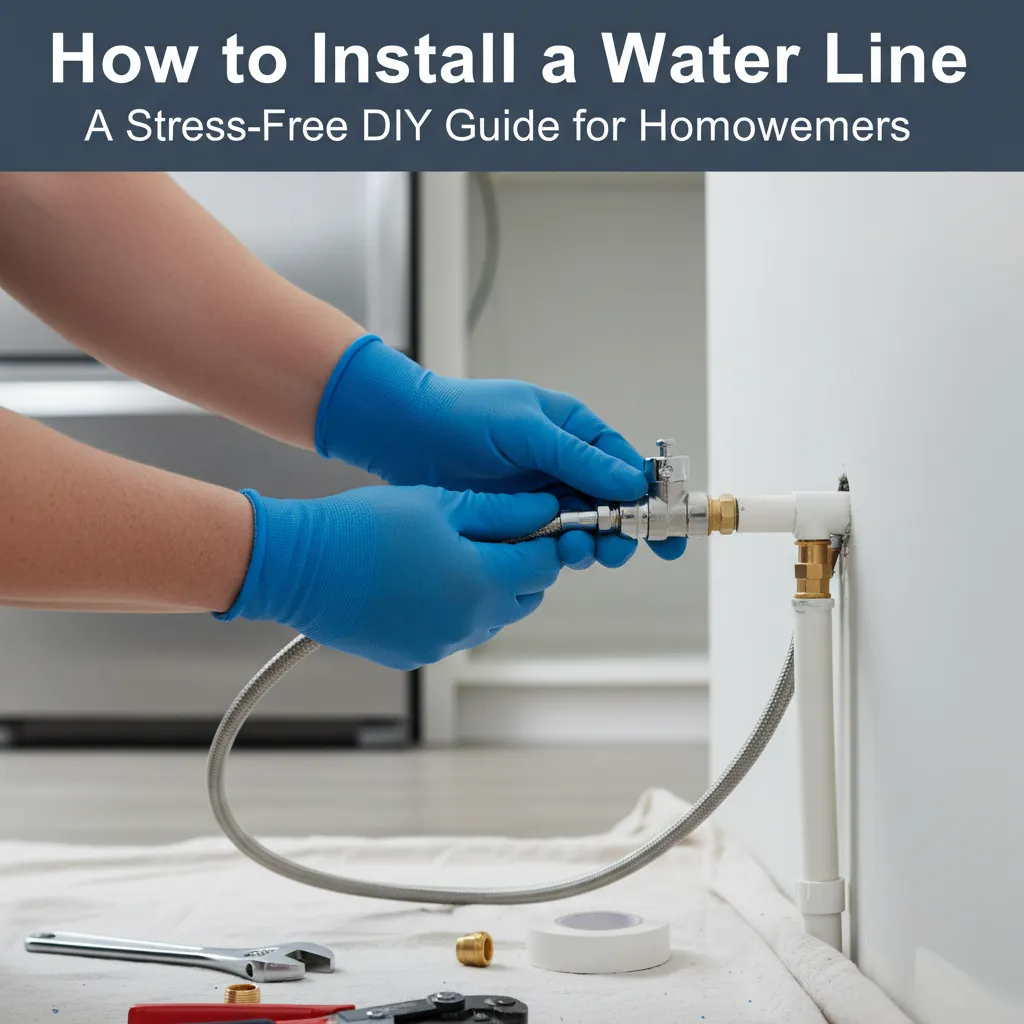
Step 2: Install the Shut-Off Valve
For under-sink taps: Attach an angle-stop valve to an existing cold-water supply line using Teflon tape on threads. Tighten with a wrench—snug but don’t muscle it. For pipe taps: Place a saddle valve clamp around a cold-water copper pipe, drill through the valve into the pipe (per instructions), then tighten. Insider tip: Put a bucket under the valve during install to catch drips.
⚠️ Warning: Overtightening cracks valves. If you feel strong resistance, stop!
Step 3: Measure, Cut & Deburr Tubing
Run PEX tubing along your taped route. Add 12" extra for slack. Use the tube cutter to make a clean perpendicular cut—no saws (they create burrs that cause leaks!). Swivel the deburring tool inside/outside the cut end to remove plastic shavings. Pro secret: Shine a flashlight through the tube—if you see light clearly, it’s debris-free.
⚠️ Warning: Wear safety glasses! Plastic shards fly when cutting.
Step 4: Connect Fittings & Secure Tubing
Slide a compression nut and ferrule (brass ring) onto the tube end. Push the tube fully into the fitting until it bottoms out. Hand-tighten the nut, then give it a 1/4 turn with a wrench. Repeat at the appliance end. Every 2 ft, secure tubing to studs or joists with clamps—no sagging! Tip: Avoid kinks by coiling excess tubing in wide loops.
⚠️ Warning: Kinked tubing reduces water flow and bursts under pressure.
Step 5: Pressure Test Before Celebrating
Slowly turn the main water back on. Open your new shut-off valve. Check EVERY connection with a paper towel—even tiny leaks show as dark spots. Wait 30 mins. No drips? Test water flow at the appliance. Still dry? You’ve nailed it! Insider move: Leave the paper towels under connections for 24 hours as a final check.
⚠️ Warning: If you see ANY moisture, immediately shut off water and re-tighten fittings.
Pro Tips
- Use colored PEX (blue = cold, red = hot) to avoid confusion later.
- Keep tubing 6" away from hot surfaces like dryer vents.
- Wrap foam insulation around lines in cold spaces to prevent freezing.
- Buy 25% extra tubing—it’s cheap insurance against measuring mistakes.
- Smear a dab of dish soap on connections to make bubbles appear during leak tests.
When to Call a Professional
Call a pro if: pipes are corroded/greasy (indicating major issues), you need to tap into a pressurized main line, or leaks persist after 2 repair attempts. Also, if local codes require permits for plumbing work—safety first!
Understanding the Problem in Detail
Water lines fail due to aging materials (like brittle rubber hoses), incorrect sizing (reducing pressure), or poor installation. Modern PEX tubing solves this—it’s flexible, freeze-resistant, and DIY-friendly. Think of it as 'building with plumbing Legos'.
Tools and Materials Guide
PEX vs. Copper: PEX wins for DIY (no soldering). Buy NSF-rated tubing at home centers. Avoid cheap saddle valves—opt for brass angle stops. Compression fittings > push-to-connect for reliability. Need a tube cutter? A $15 model works perfectly.
Safety Considerations
- WATER OFF: Double-check with a faucet test. 2) EYE PROTECTION: Tubing cuttings fly. 3) NO ELECTRICAL RISKS: Keep away from outlets. 4) SLIP HAZARD: Wipe spills immediately. 5) MOLD PRECAUTION: Wear a mask if opening damp walls.
Troubleshooting Common Issues
- Leak at fitting: Tighten compression nut 1/8 turn more. Still leaks? Cut tubing 1" back and redo the connection. - Low water pressure: Check for kinks or undersized tubing (use 3/8" for fridges). - Gurgling noises: Air in line—run water for 2 mins to purge. - Frozen line: Shut off water immediately and thaw with a hairdryer (never open flame!).
Maintenance and Prevention
Every 6 months: Check for moisture under sinks. Annually: Test shut-off valves by turning them on/off. Replace plastic supply lines every 5 years (they degrade). Insulate lines in unheated areas before winter.
Cost Analysis: DIY vs Professional
DIY: $50–$150 (tubing, valve, fittings). Pro install: $250–$500+. Save by: Buying PEX in bulk, reusing existing valves, and skipping unnecessary accessories. Emergency leak repair: $500–$5,000+ (why prevention matters!).
Related Plumbing Problems
Fixing leaky faucets, replacing shut-off valves, installing dishwasher drain lines, winterizing pipes, or upgrading to PEX whole-house systems.
Frequently Asked Questions
Can I use a garden hose for my fridge water line?
Absolutely not! Garden hoses aren’t food-grade and can leach lead or chemicals into drinking water. Always use NSF-certified PEX tubing.
Why does my new water line taste/smell like plastic?
Flush the line for 5 minutes—residual manufacturing oils are common. If it persists after 48 hours, swap to a different brand of PEX (some have lower odor thresholds).
How tight should fittings be?
Hand-tight plus 1/4–1/2 turn with a wrench. Overtightening cracks fittings. If it leaks, tighten incrementally—don’t crank it!