Fix Leaky or Clogged Drains: Your Stress-Free Guide to Replace a Bathtub Drain
Struggling with a leaky or clogged bathtub drain? Learn how to replace it yourself with confidence. Step-by-step guide, tool tips, and money-saving strategies for DIY homeowners.
You notice water pooling under the tub, hear dripping sounds, or your drain stopper just won't seal. Maybe it's rusted shut or leaking around the edges. It's frustrating, messy, and makes you worry about hidden water damage. I get it – but 90% of these issues boil down to a worn-out drain assembly.
That annoying drip under your tub or the drain that won't hold water? We've all been there. Whether it's corrosion, leaks, or a broken stopper, replacing your bathtub drain is totally doable – and I'll walk you through every step. No plumbing degree needed!
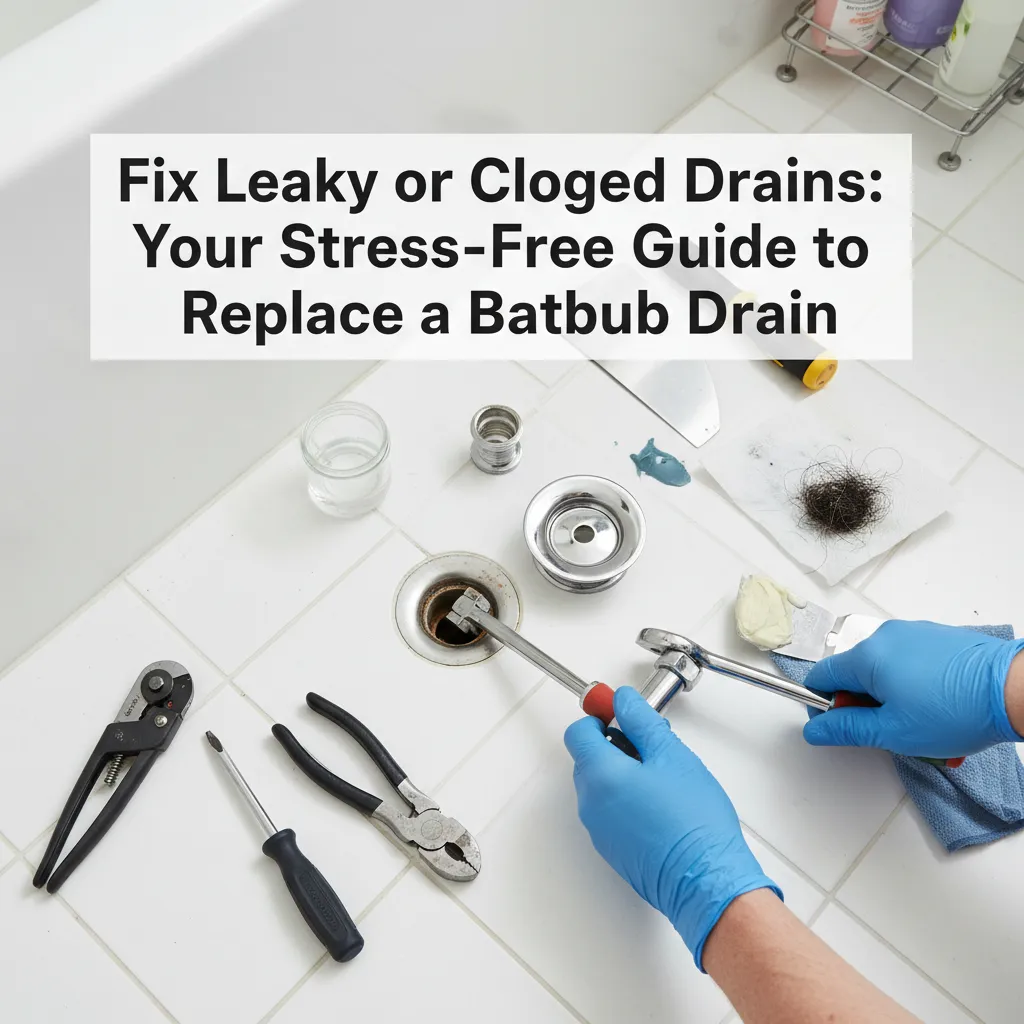
Tools Needed
- Drain wrench (tub-specific tool to grip drain from above)
- Adjustable pliers (for overflow plate and connections)
- Hacksaw (to cut stubborn pipes if needed)
- Screwdriver set (for overflow plate screws)
- Plumber's putty knife (to clean old sealant)
- Flashlight (visibility under the tub)
Materials Needed
- New bathtub drain kit (match your tub type: pop-up/lift-and-turn/toe-touch)
- Plumber's putty (high-quality, non-staining formula)
- Teflon tape (for threaded connections)
- Silicone caulk (waterproof, mold-resistant)
- Rags or towels (for cleanup and water absorption)
Solution (Intermediate - 1-2 hours (depending on drain type))
Step 1: Prep Your Workspace & Identify Drain Type
Clear everything from under the tub access panel (or crawl in). Shine your flashlight to spot the linkage connecting the overflow plate to the drain. Take a phone pic – this helps when reassembling. Determine if you have a pop-up, lift-and-turn, or toe-touch drain.
⚠️ Warning: Turn off water at main supply! Unexpected pipe pressure can cause messy surprises.
Step 2: Remove the Old Drain
Unscrew the overflow plate with a screwdriver. Disconnect the linkage. From above, insert the drain wrench into the drain crossbars and turn counter-clockwise. If stuck, tap gently with a hammer. For stubborn drains, use a hacksaw under the tub to cut the pipe (protect tub finish with cardboard!).
⚠️ Warning: Never force the drain wrench – you could crack the tub. If it won't budge, use the hacksaw method.
Step 3: Clean & Prep the Drain Hole
Scrape off old plumber's putty or caulk from the tub surface using a putty knife. Wipe clean with a rag and rubbing alcohol. Check the rubber gasket under the tub – if cracked or brittle, replace it. This ensures a watertight seal!
⚠️ Warning: Avoid abrasive scrubbers – they can scratch the tub's finish and cause leaks.
Step 4: Install the New Drain
Roll a 1/2" rope of plumber's putty around the new drain flange (top part). Insert it into the drain hole. From below, thread on the gasket and locknut. Hand-tighten first, then use pliers for a 1/4 extra turn – snug is enough! Reattach the overflow linkage per manufacturer's instructions.
⚠️ Warning: Overtightening cracks tubs! If resistance spikes, stop immediately.
Step 5: Test for Leaks & Final Touches
Wipe excess putty from the flange. Apply silicone caulk around the overflow plate. Fill the tub with 2" of water – check underneath for drips. If dry, drain and check again. Celebrate with your favorite beverage!
⚠️ Warning: Wait 24 hours before full use if using silicone caulk – it needs cure time.
Pro Tips
- Putty trick: Chill plumber's putty in fridge for 10 mins – it's less messy to work with
- Can't find an access panel? Check behind adjacent drywall or consider adding one
- Wrap drain wrench teeth with electrical tape to prevent scratching chrome finishes
- Use a shop vac under the drain while cutting pipes to catch metal shavings
When to Call a Professional
Call a pro if: pipes are severely corroded, your tub has no access panel and you're uncomfortable cutting drywall, or leaks persist after 2 attempts. Also if you discover mold or structural damage – safety first!
Understanding the Problem in Detail
Bathtub drains fail due to corrosion (especially in older metal drains), worn gaskets, or stripped threads. Continuous water exposure degrades seals over time. Modern plastic drains resist rust but can crack if over-tightened. Knowing your drain type (pop-up vs. lift-and-turn) is critical for buying the right replacement.
Tools and Materials Guide
Drain wrenches ($8-$20) are tub-specific – get one with reversible teeth. Avoid universal 'drain keys' – they often slip. For putty, choose non-staining formulas to avoid tub discoloration. Kits like Fluidmaster or Watco include drain+overflow for $25-$50. Pro tip: Bring old drain to hardware store for perfect matching!
Safety Considerations
Wear safety goggles when cutting pipes! Support pipes with one hand while cutting to prevent sudden drops. Place a thick towel under work areas to catch tools. Never work on drains while standing in the tub – slips are dangerous. Check for electrical wires near access panels before cutting.
Troubleshooting Common Issues
Leaking after install? Tighten locknut 1/8 turn (no more!). Still leaking? Disassemble and check gasket alignment. Drain won't catch? Adjust linkage via overflow plate screw. Strange noises? Add Teflon tape to threaded joints. Stuck removal? Apply penetrating oil and wait 15 mins before retrying.
Maintenance and Prevention
Clean drain mechanisms monthly with vinegar/baking soda. Avoid chemical cleaners that eat seals. Every 2 years, remove overflow plate and lubricate linkage with silicone grease. Tighten visible connections finger-tight annually to prevent slow leaks.
Cost Analysis: DIY vs Professional
DIY: $30-$60 (kit + tools). Pro replacement: $200-$400. Save by borrowing tools (ask neighbors!) and buying mid-range kits. Reuse existing linkage if in good condition. Warning: $10 bargain kits often have thin gaskets that leak!
Related Plumbing Problems
If water stains appear on ceilings below, check shower valves too. Slow drainage? Main sewer line may need snaking. Wobbly tub? Might require securing subfloor. Leaking overflow plate? Replace its gasket with silicone.
Frequently Asked Questions
Can I replace just the drain without removing the tub?
Absolutely! That's the beauty of this repair. All work happens through the drain hole and access panel – no tub removal needed.
What if my drain has no crossbars for a wrench?
You likely have a 'toe-touch' drain. Buy a special internal wrench (like Danco 11822) that grips from inside. Still stuck? Use the hacksaw method – cut vertically through the drain collar, then collapse it inward with pliers.
Is plumber's putty better than silicone?
For drains, yes! Putty remains pliable for decades and allows easy future removal. Silicone bonds too tightly and can tear tub finishes during disassembly. Use silicone only around overflow plates.