Fix Low Water Pressure Fast: Your Step-by-Step Guide to Replacing a Sink Faucet Aerator
Struggling with weak flow or splashing water? Learn how to replace your sink faucet aerator in 15 minutes with common tools. Save money and regain perfect water pressure!
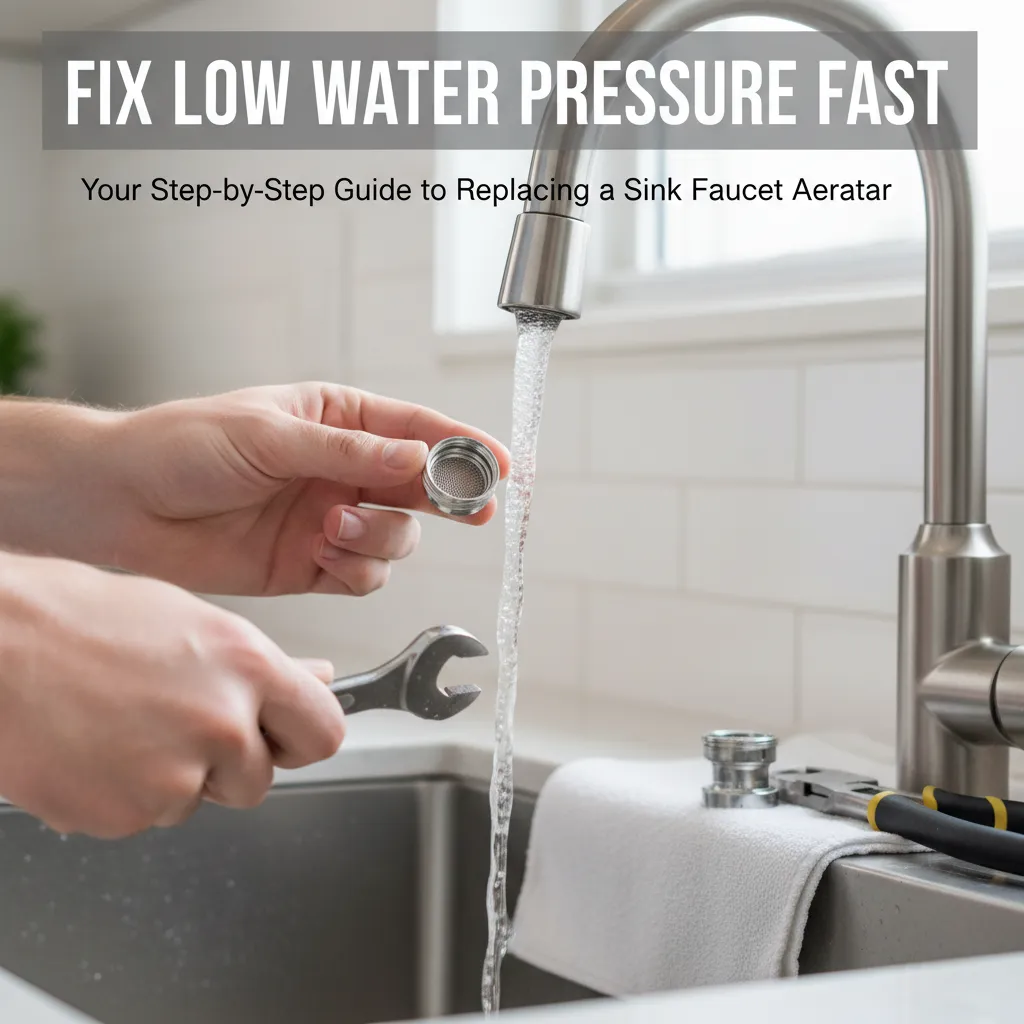
You turn the faucet handle, expecting a steady stream, but get a sad dribble instead. Or maybe water sprays sideways like a rebellious garden hose. These are classic signs of a clogged or damaged aerator—the little screen at your faucet's tip. Mineral buildup from hard water, sediment from pipes, or simple wear-and-tear can turn this $5 part into a daily annoyance.
That pitiful trickle when you're trying to rinse a plate or the annoying splash that soaks your shirt—we've all been there. A faulty aerator is often the sneaky culprit behind frustrating sink issues. Take a deep breath: replacing it is simpler than changing a lightbulb. I'll guide you through every step so you can restore your faucet's power in minutes, no plumber required.
Tools Needed
- Adjustable pliers (grip gently with cloth to avoid scratches)
- Towel or rag (protects faucet finish)
- Old toothbrush (for cleaning threads)
- Aerator removal key (optional for stubborn aerators)
Materials Needed
- Replacement aerator (match size/flow rate - usually 15/16" or 13/16")
- Plumber's tape (Teflon tape, 1/2" width for leaks)
- White vinegar (for soaking old aerator if reusing)
Solution (Beginner - 10-20 minutes)
Step 1: Cut the Water & Prep Your Workspace
Locate the shutoff valves under your sink and turn clockwise until tight. Open the faucet briefly to drain remaining water. Lay a towel in the sink basin to catch dropped parts and protect surfaces.
⚠️ Warning: Never skip shutting off water! Forcing a stuck aerator with water pressure on can flood your kitchen.
Step 2: Remove the Old Aerator
Wrap the aerator with a cloth to protect its finish. Grip firmly with pliers and twist counterclockwise. If stuck, tap pliers lightly with a rubber mallet or soak a rag in vinegar and wrap it around the aerator for 10 minutes to dissolve minerals.
⚠️ Warning: Avoid excessive force—you could bend the faucet neck. If resistance is extreme, use an aerator removal key ($3 at hardware stores).
Step 3: Clean & Inspect the Faucet Threads
Scrub inside the faucet tip with an old toothbrush to remove sediment. Check threads for damage. If corroded, wrap new plumber's tape clockwise around them (2 rotations max) for a tighter seal.
⚠️ Warning: Don't over-wrap tape—it can shred and clog your new aerator.
Step 4: Install the New Aerator
Hand-tighten the new aerator clockwise until snug. Give it one gentle quarter-turn with pliers (cloth-protected!). Avoid overtightening—it distorts the gasket inside.
⚠️ Warning: Cross-threading destroys faucets! If resistance starts immediately, back off and restart threading.
Step 5: Test for Victory
Slowly turn water back on at shutoff valves. Check for leaks around the aerator. Enjoy your restored water pressure! If dripping occurs, tighten incrementally—never force it.
Pro Tips
- Take your old aerator to the store—match it visually rather than trusting package sizes.
- Soak a severely clogged aerator overnight in vinegar to salvage it as a spare.
- Upgrade to a laminar-flow aerator if you hate splashback—they maintain pressure without turbulence.
- Mark aerator threads with a dab of nail polish to track loosening over time.
When to Call a Professional
Call a plumber if: the faucet neck moves when twisting the aerator, threads are stripped, or leaks persist after proper installation. Also seek help if shutoff valves won't turn—forcing them risks pipe damage.
Understanding the Problem in Detail
Aerators mix air into water for a smoother stream and conserve water. Over time, minerals in tap water (like calcium) cling to the mesh screen, blocking flow. A single grain of sand can redirect water sideways! Modern aerators have flow restrictors—if your pressure dropped suddenly after plumbing work, debris may have dislodged into it.
Tools and Materials Guide
Adjustable pliers with taped jaws prevent chrome scratches. Aerator sizes: standard kitchen is 15/16" (M24x1 thread), bathroom 13/16" (M22x1). Flow rates: 1.5 GPM (gallons per minute) for bathrooms, 2.2 GPM for kitchens. Buy at hardware stores or online—avoid generic brands with plastic screens; metal mesh lasts longer. No pliers? Try a wide rubber band wrapped around the aerator for grip.
Safety Considerations
Always shut off water first! Wear safety glasses—mineral chunks can fly when removing old aerators. Secure step stools if working under deep sinks. Never use penetrating oil near drinking water fixtures.
Troubleshooting Common Issues
Leaking after install? Remove aerator and check the rubber gasket—it may be kinked. Still low pressure? Sediment might be trapped deeper in the faucet—remove the aerator and flush the system. Cross-threaded? If new aerator sits crooked, threads are damaged—replace faucet or call a pro. Wrong flow rate? Check packaging—some 'water-saving' aerators reduce flow too aggressively.
Maintenance and Prevention
Soak aerators in vinegar every 6 months to dissolve minerals. Install whole-house filters if you have sandy water. When reopening shutoff valves after plumbing work, let water run briefly through the faucet without the aerator to flush debris.
Cost Analysis: DIY vs Professional
DIY cost: $2-$15 for aerator + $1 for tape. Pro replacement: $75-$150. Save $100+ by DIYing! Bonus: Efficient aerators cut water bills—saving 500+ gallons yearly per faucet.
Related Plumbing Problems
If pressure is low throughout the house, check the main shutoff valve or water heater. If only hot water is weak, your heater's inlet screen may be clogged. Persistent leaks may indicate cracked faucet internals.
Frequently Asked Questions
How do I know what size aerator I need?
Remove your old one and take it to the store. No aerator? Measure faucet tip diameter: 15/16" (kitchen) or 13/16" (bathroom) are most common. Thread a dime—if it fits snugly, it's 13/16"; a nickel means 15/16".
Can I just clean my old aerator instead of replacing it?
Absolutely! Soak it in vinegar for 1-4 hours, then scrub with a toothbrush. But if the mesh is torn or calcification is severe, replacement is better—they're cheap!
Water sprays everywhere after replacing—what did I do wrong?
Likely a missing or damaged gasket inside the aerator. Remove it, check for a small rubber ring, and ensure it's seated flat. No gasket? Return the aerator—it's defective.